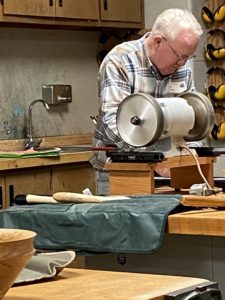
Our January 2020 meeting presentation was on sharpening using a variety of tools, jigs and techniques brought to us by Jim Finley, Dan Kozar, and Reg Goeke.

Checkout our YouTube channel for some video highlights
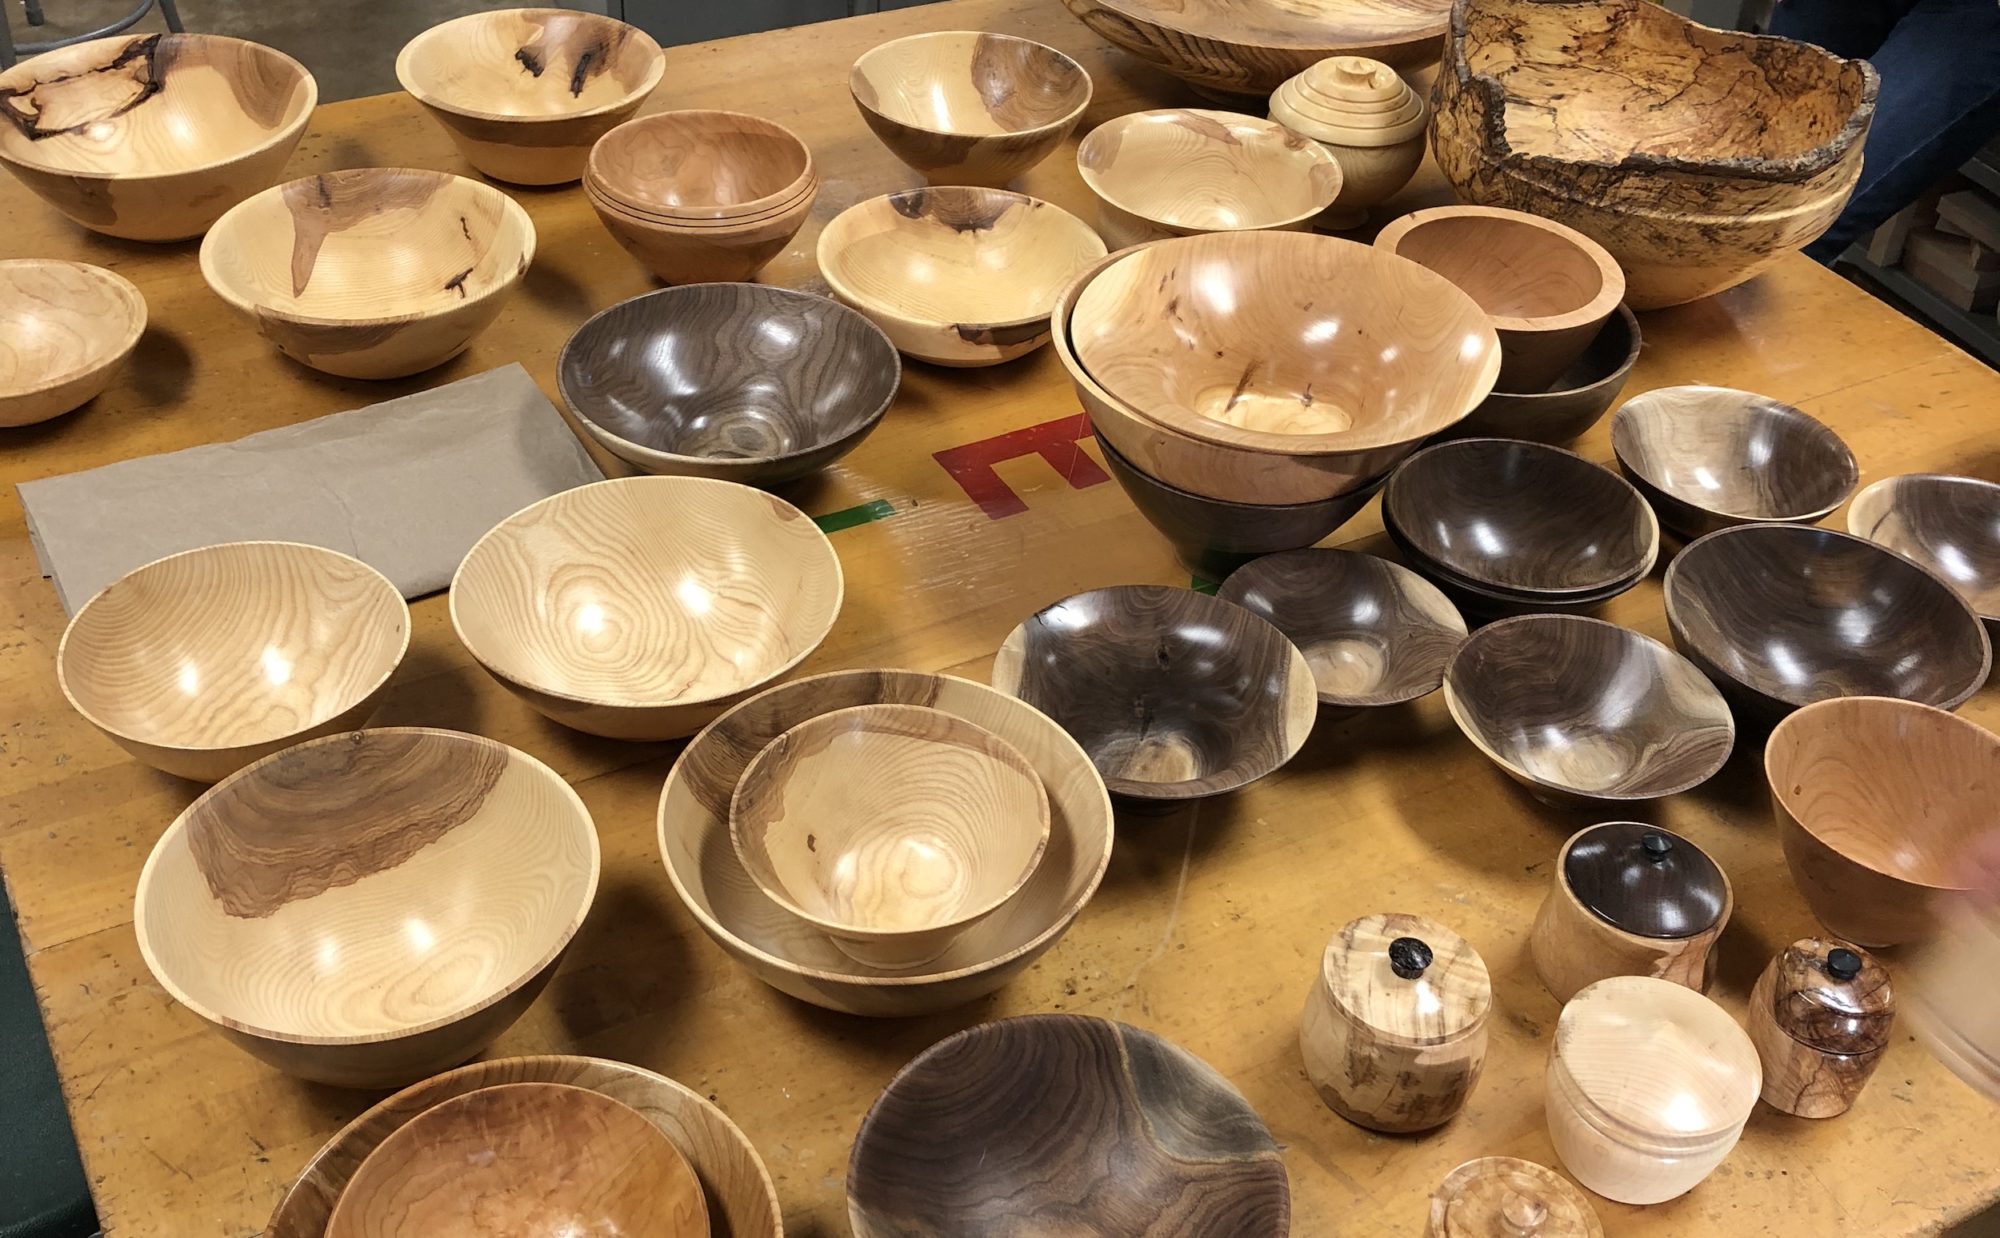
Some member made items for show and tell: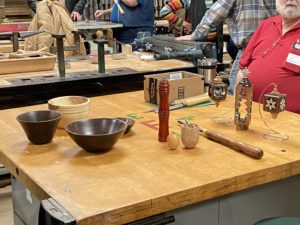
A typical wood auction: 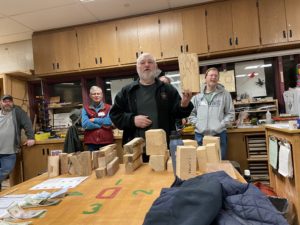
Some notes on sharpening from Dan:
Start by choosing the angle of the grind. The angle that a tool comes with may not be correct. A good starting point is: 35° for spindle gouges, 60° for bowl gouges, 25° for skews and parting tools, and 80° for scrapers. 2 0r 3 degrees either side of these numbers is fine. New tools almost always need sharpened before you use them, even if the angle is correct.
I use the Wolverine, also called the Oneway system for all my sharpening.
I sharpen roughing gouges, skews and scrapers on the Wolverine platform. The combination of the angle of the platform, and the distance of the platform from the wheel, determine the angle of the grind on the tool.
I sharpen spindle and bowl gouges with the Wolverine Vari-Grind jig. This jig is tricky to set up. For spindle gouges I set the arm of the Vari-Grind near the top of the jig, and for bowl gouges somewhere around the middle. The first thing is to get the correct angle. If the angle of the tool is correct, put the arm of the Vari-Grind in the pocket of the long arm of the Wolverine system, and slide it in and out until the bevel of the tool matches the wheel exactly. To check this, I shine a flashlight on one side of the tool where it meets the wheel and look at the other side of the tool to see in any light shines through. If light shines through at the top (edge) of the tool, pull the long arm out a wee bit and try the light again. If light shines through the bottom (heel), push the long arm in. Once you have it adjusted that no light shines through, you are good to go. You can also check the angle by using a black magic marker to paint the bevel of the tool black. Put the tool in the jig in the long arm, rest the tool on the wheel, and rotate the wheel by hand 3 or 4 revolutions. If you have a shiny strip from top to bottom, you are good to go. If you see black at either the top or bottom, adjust the long arm as if you see light shining there. But every time you adjust the long arm, you have to repaint the tool bevel.
If you want a different angle than what is already on the tool, or you change the position of the arm on the Vari-Grind, start by matching the bevel to the wheel by eye. It doesn’t have to be exact. Push the long arm in if you want to go to a sharper angle. Say from 40° to 35°. Or pull the long arm out, if you want to go to a less sharp angle. Say 35° to40°. After each adjustment, check the angle of the bevel.
If you are using stone wheels on your grinder, you will need to adjust the position of the long arm every 2 or 3 times you dress the wheel. Every time you dress the wheel, it gets smaller. As the wheel gets smaller, and you don’t reposition the long arm, the angle of the bevel gets less sharp.
If you have CBN wheel, you never have to dress it. Therefore, you canmeasure the distance between the front of the pocket of the long arm, and the base it slides in, and cut a piece of wood to this length. Label the block of wood as to which tool it is for. Do this for each type of tool. Then you can easily use the block of wood to adjust the position of the long arm for each tool type. No need to use the flashlight, or magic marker when you go from a spindle gouge to a bowl gouge.
When grinding, exert VERY LITTLE pressure against the wheel. Hold the tool near the jig, NOT at the end of the handle. Watch the shape of the tool as you grind, and keep the tool moving. If you hold the tool in one position, you will get a flat spot.
Sources:
Sharpening Woodturning Tools Book available from AAW
Sharpening turning tools 71-page article on AAW website
Don’t expect to a get a perfect grind on your first try. It takes practice !