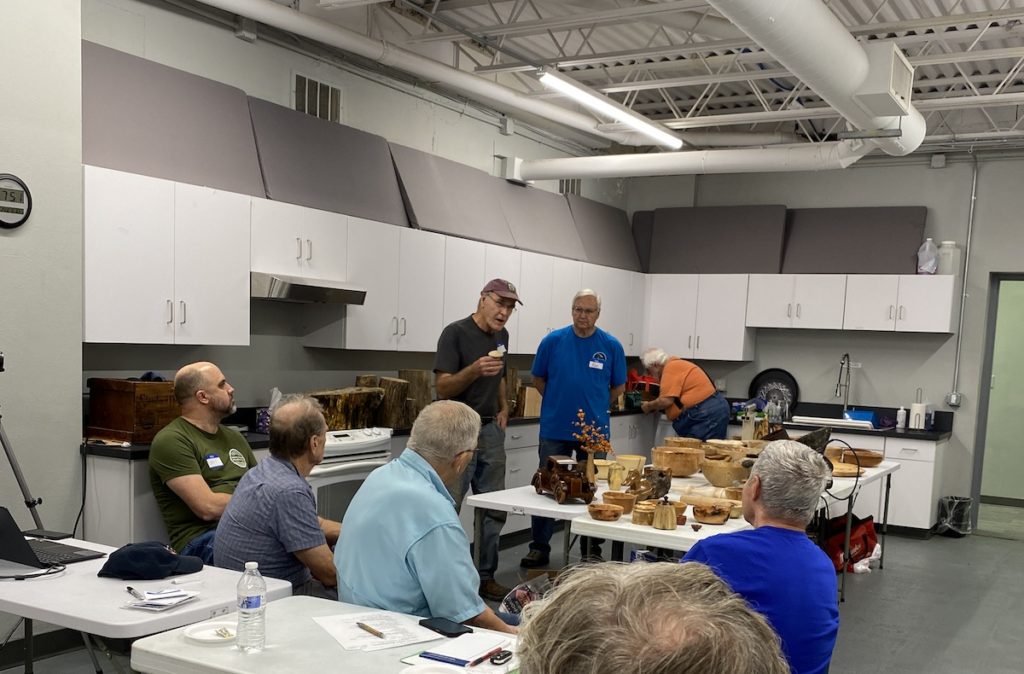
Demonstration
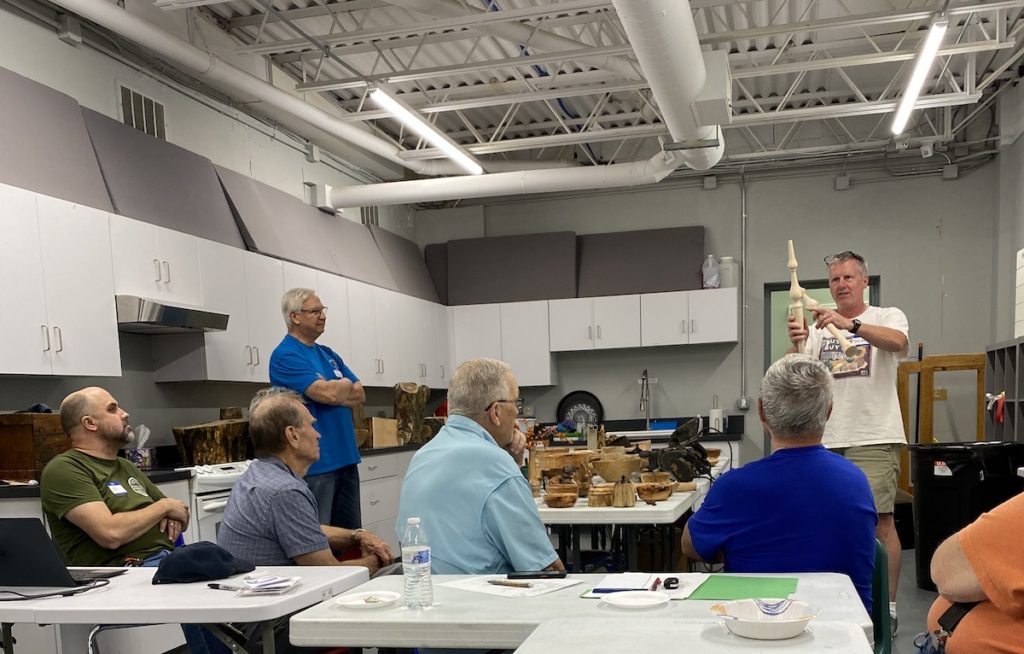
Dan demonstrated how to make Gnomes.
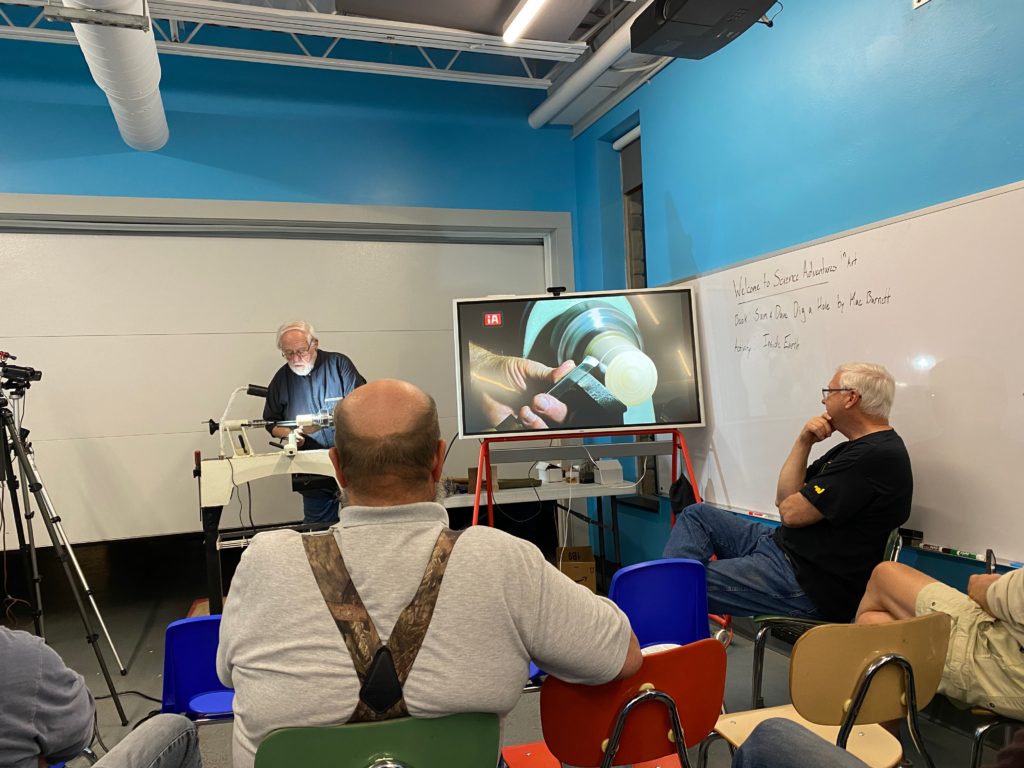
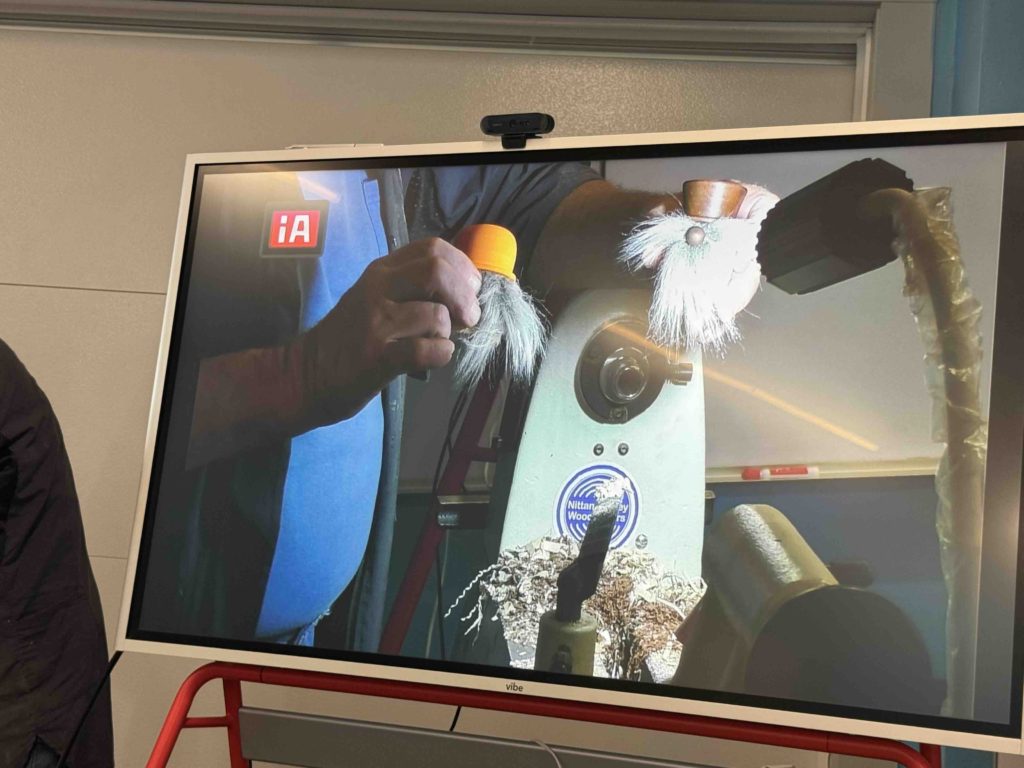
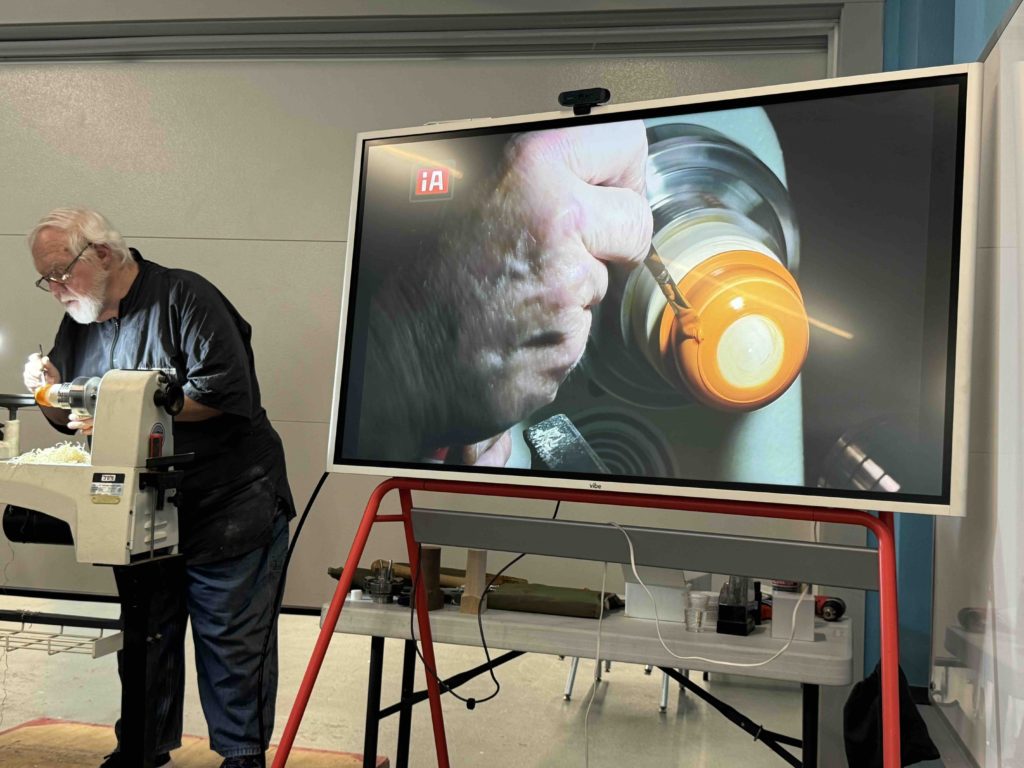
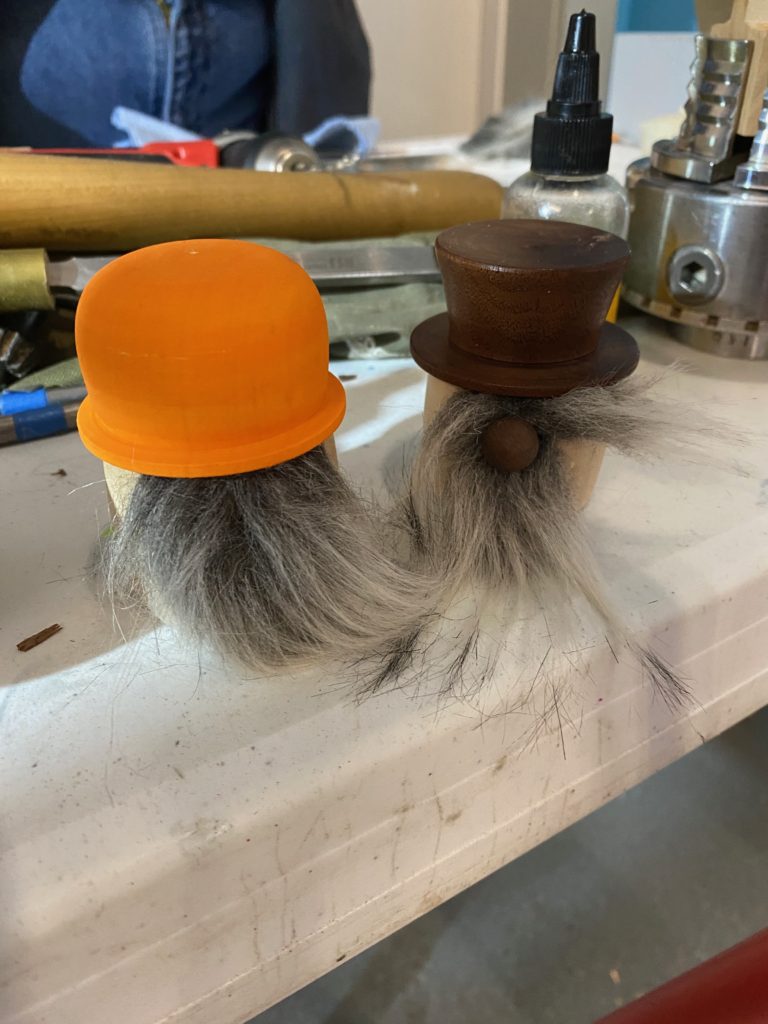
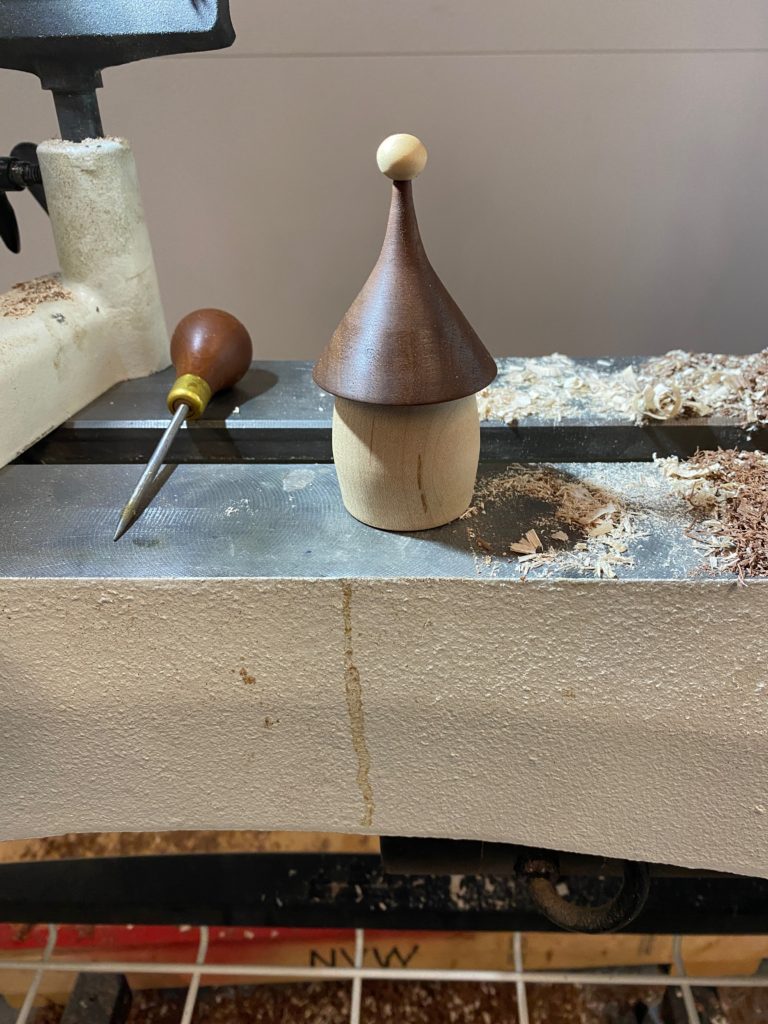
Dan provided notes so anyone can make a gnome like he does:
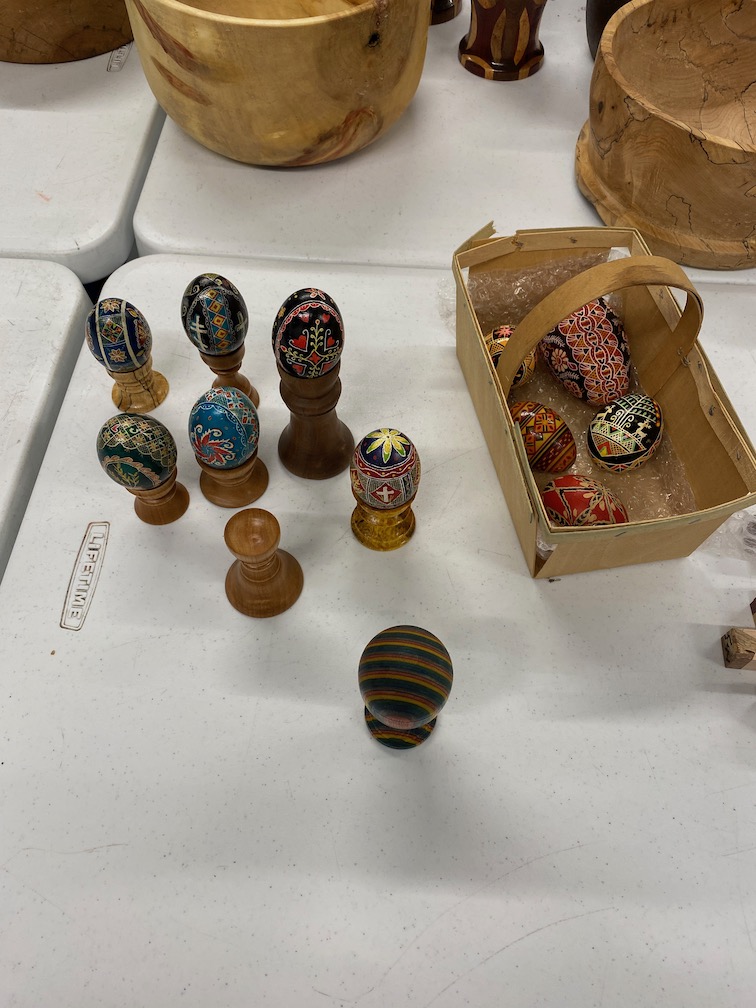
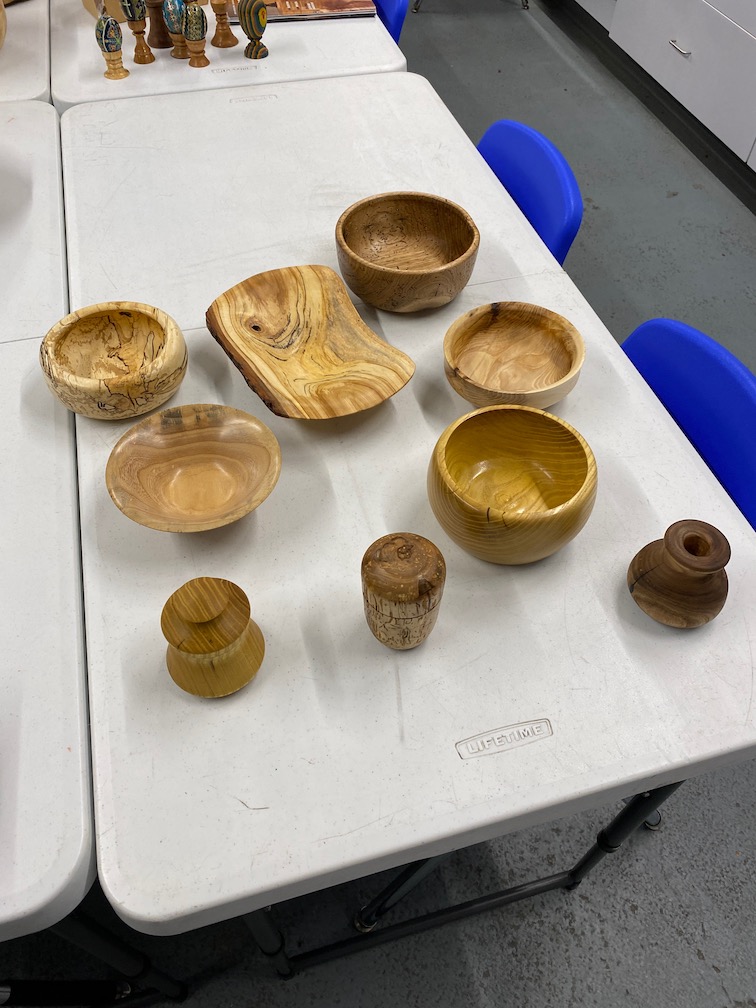
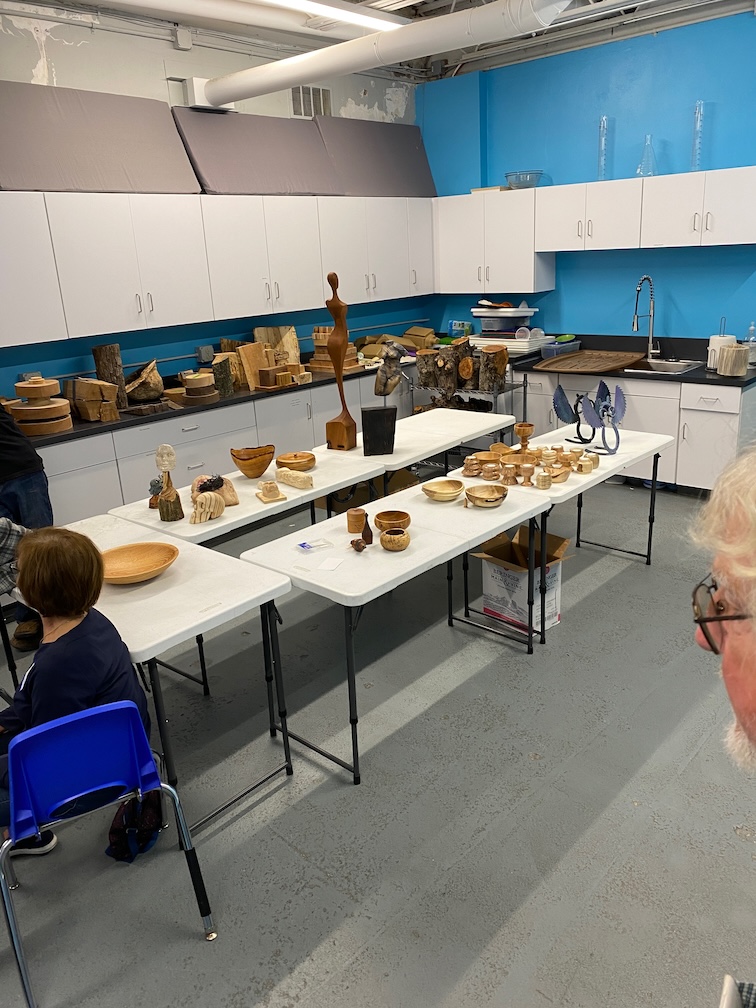
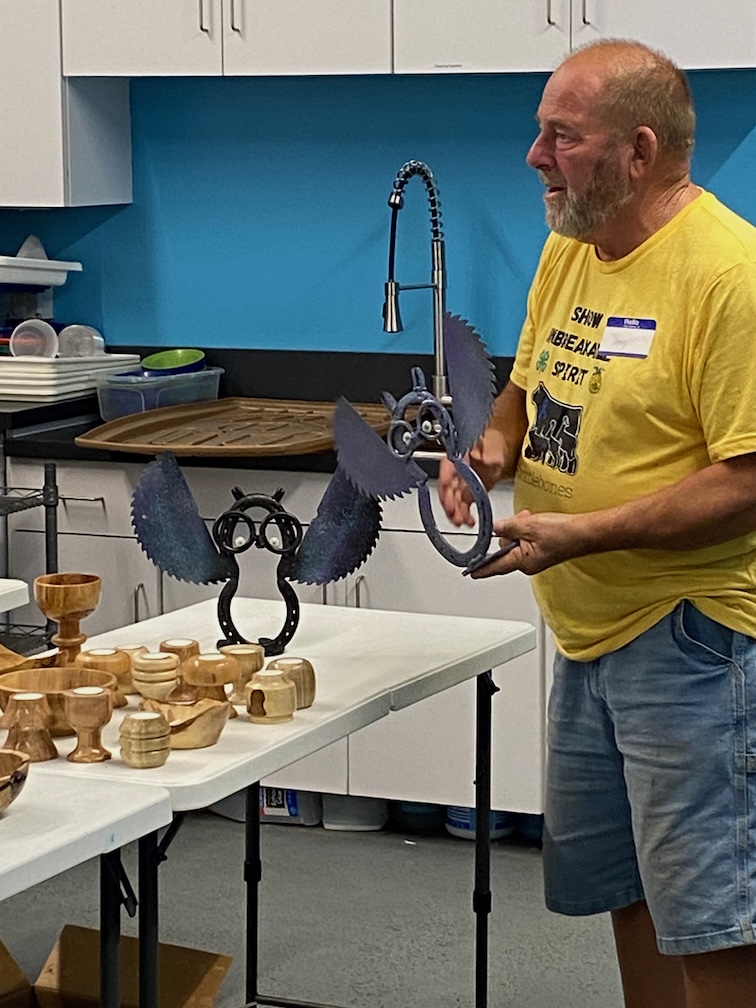
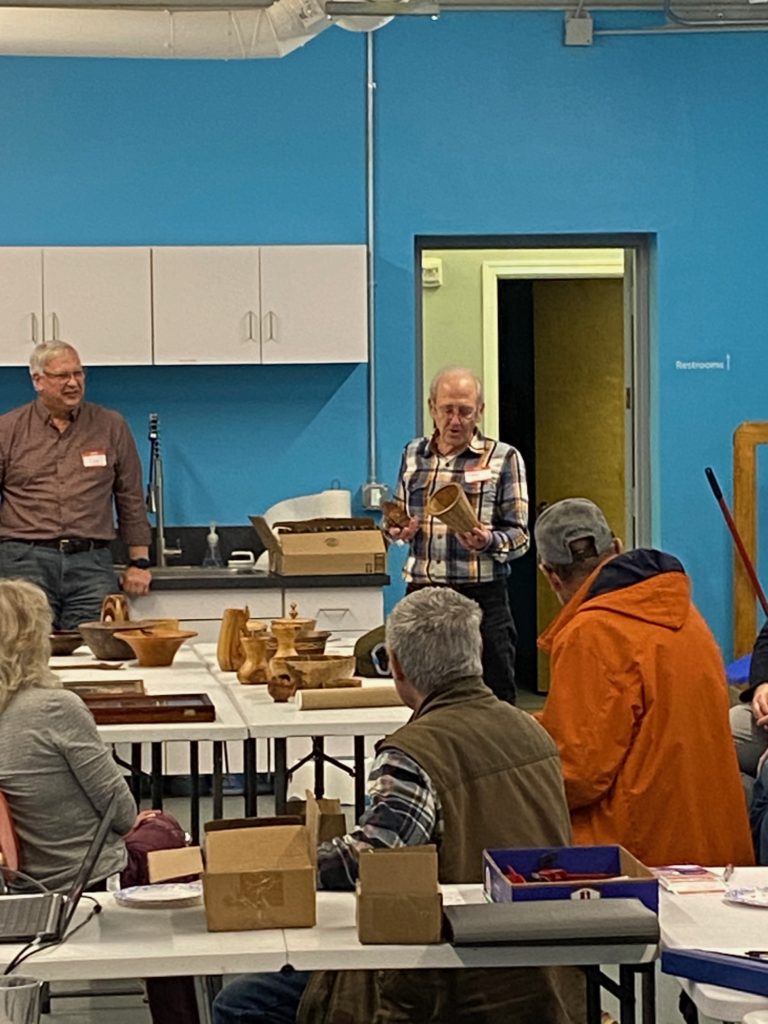
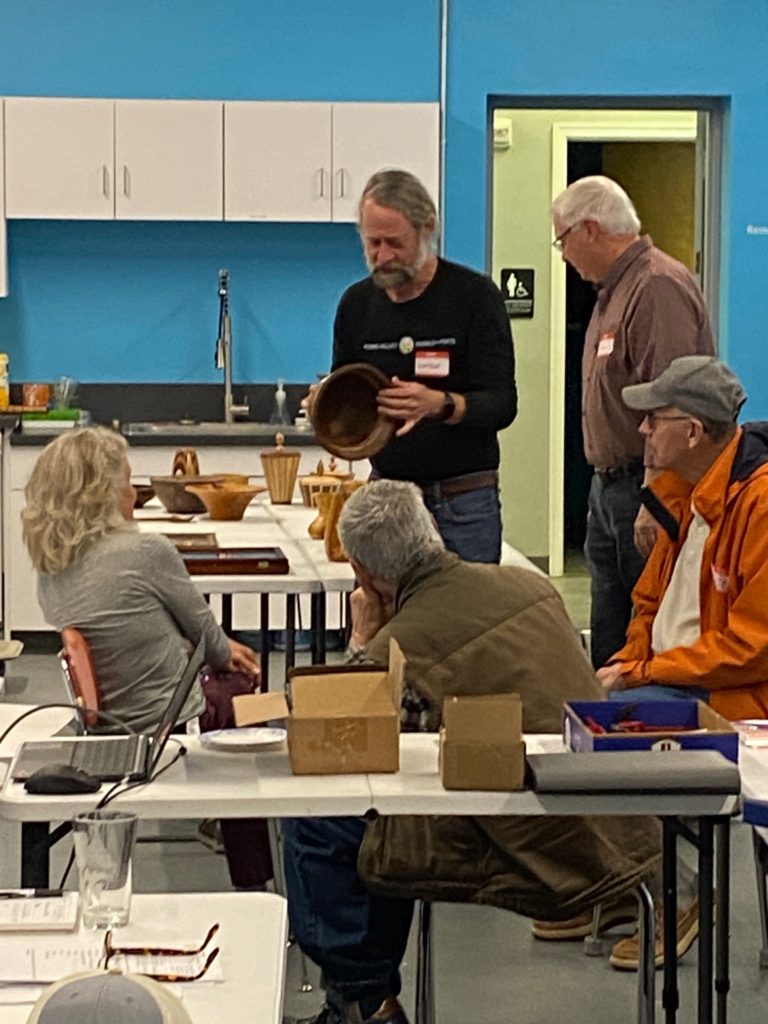
Show & Tell
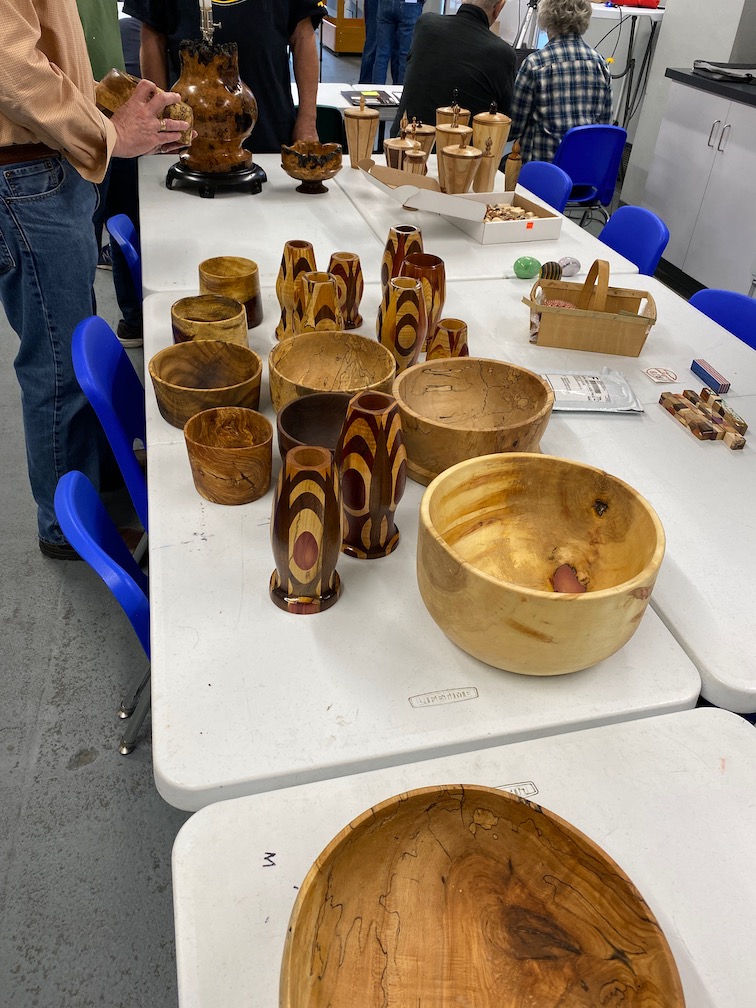
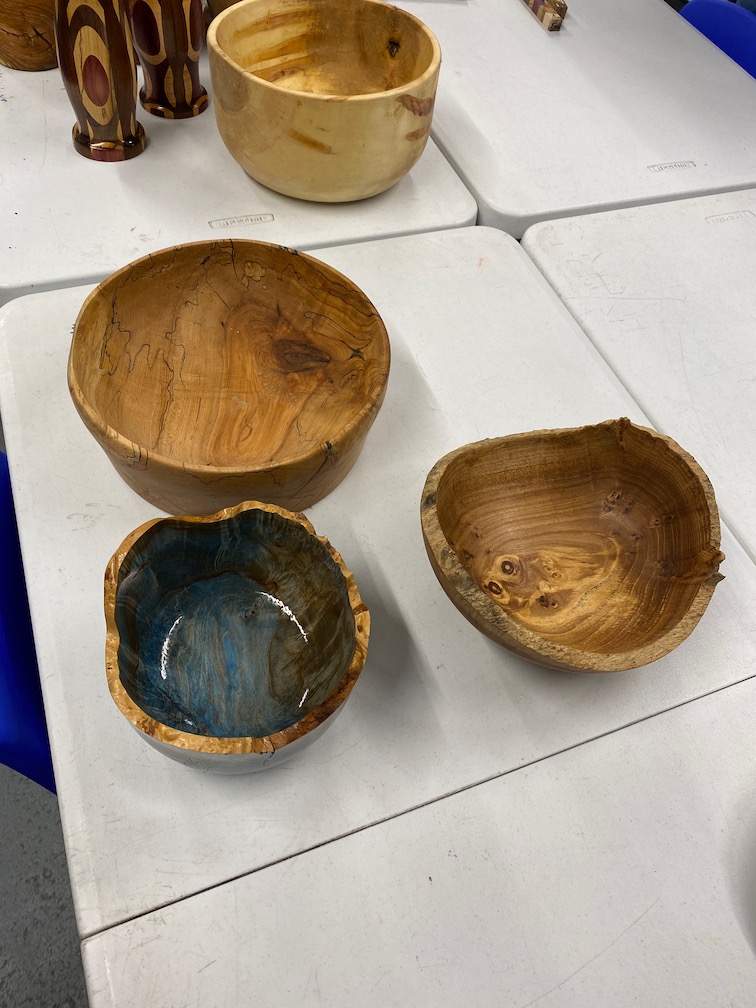
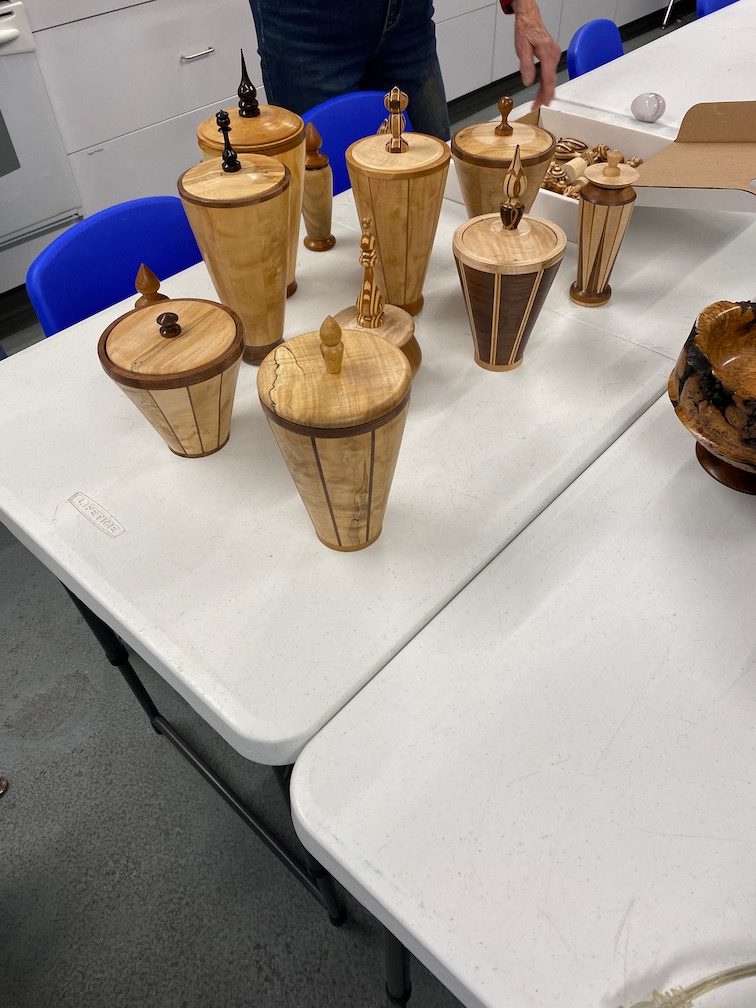
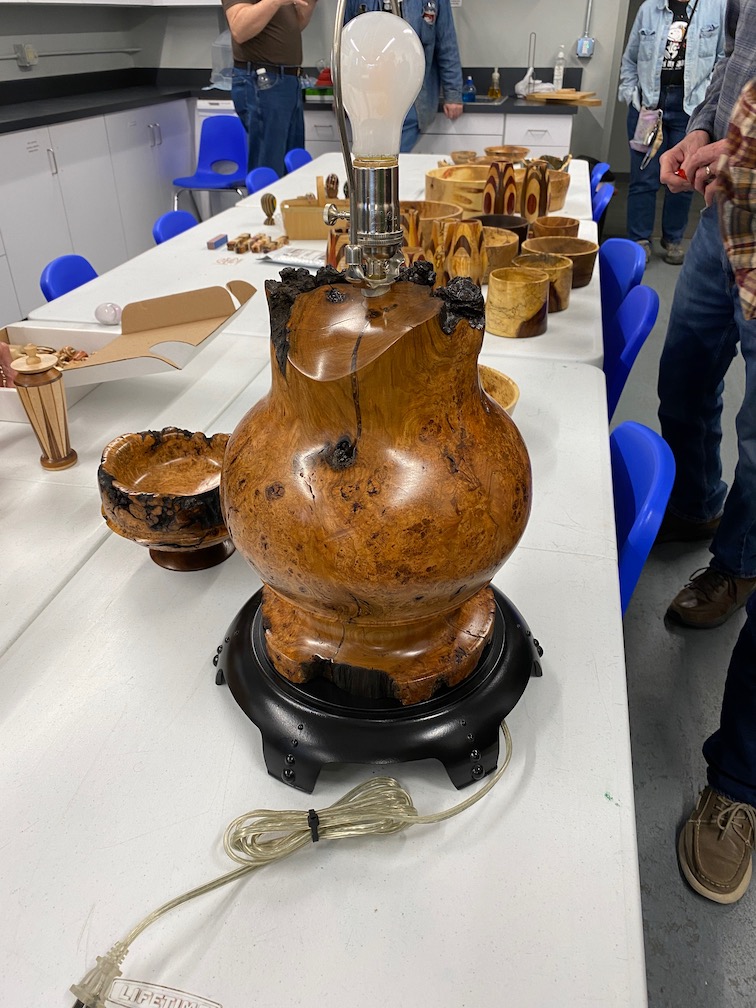
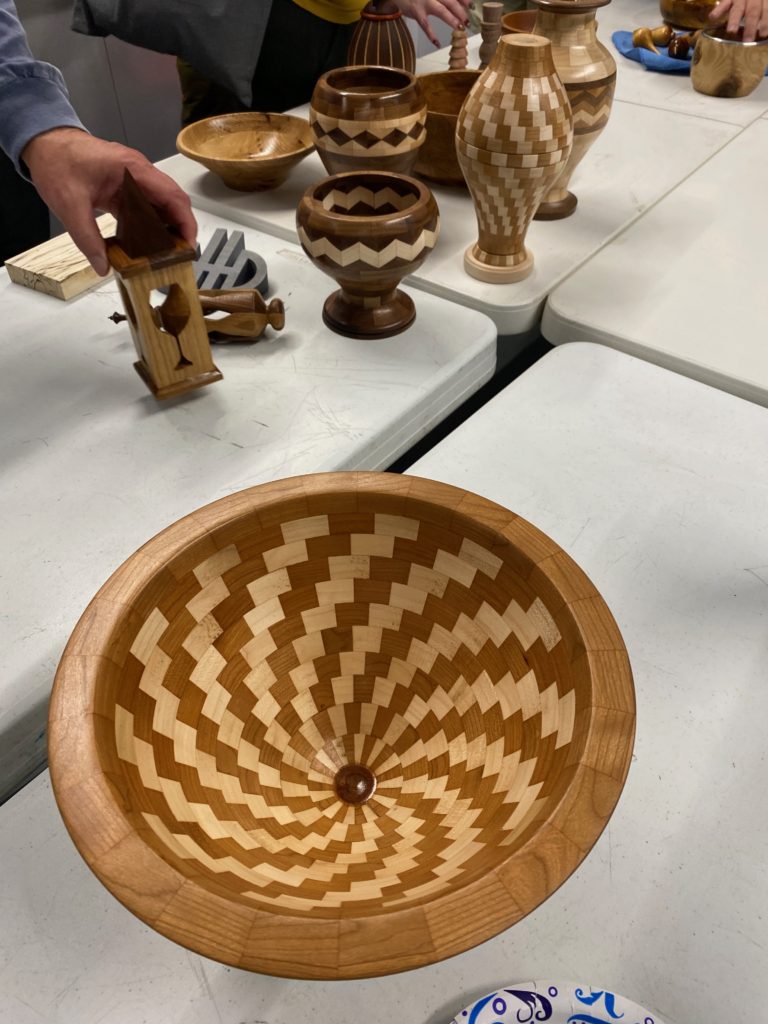
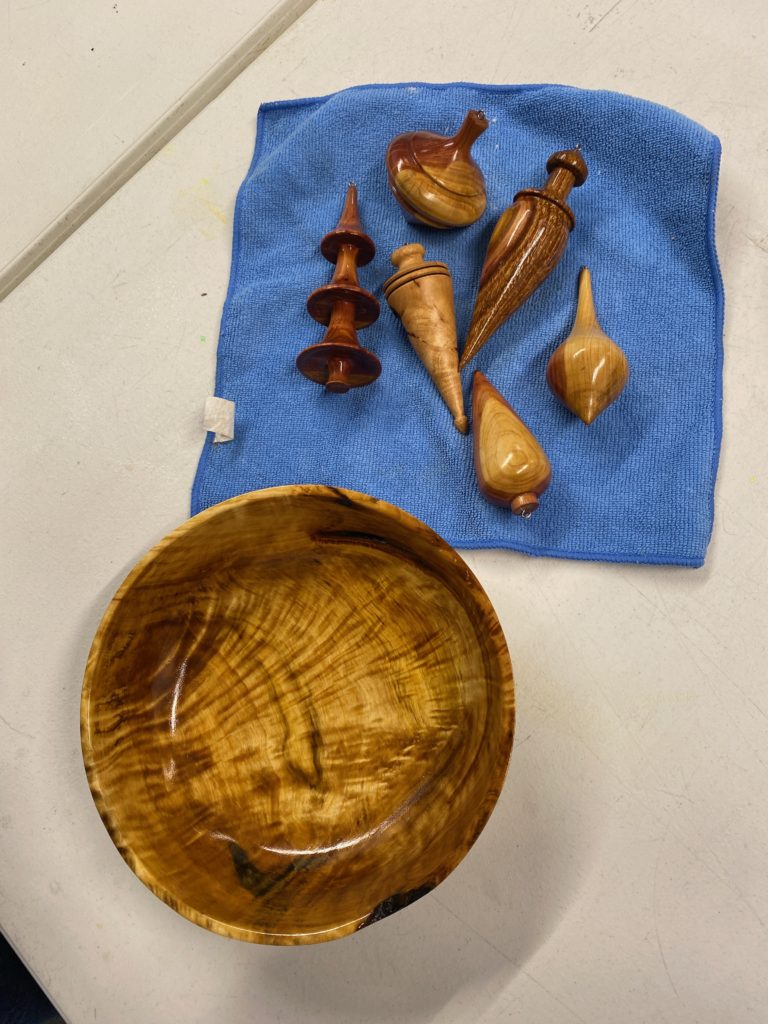
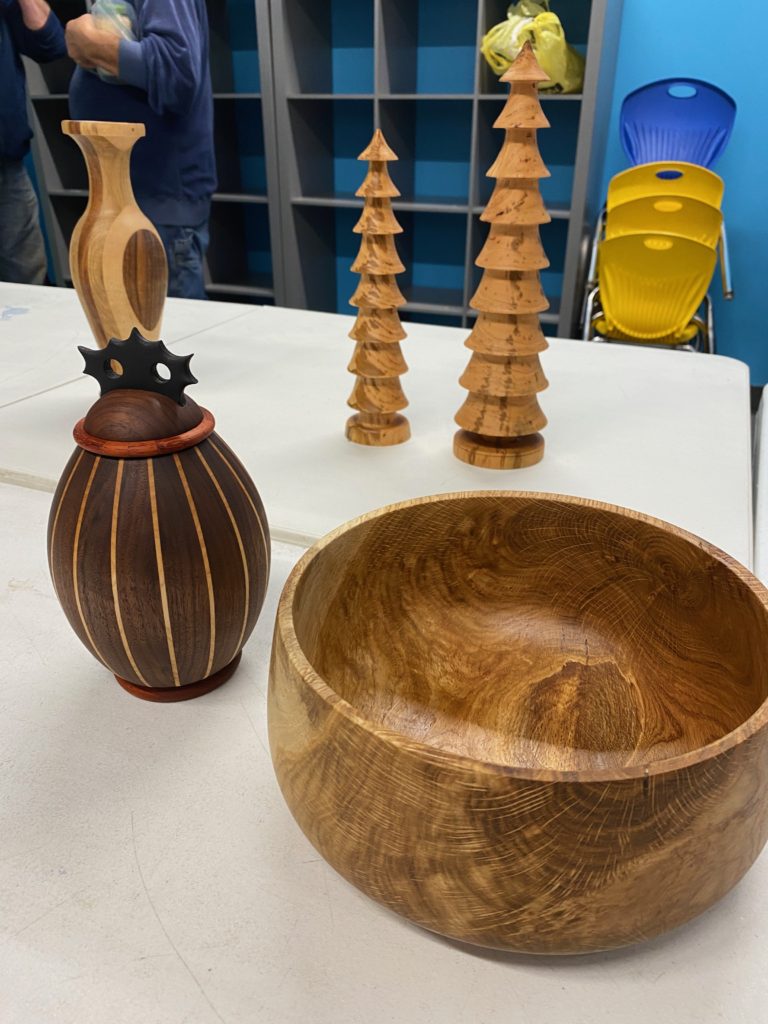
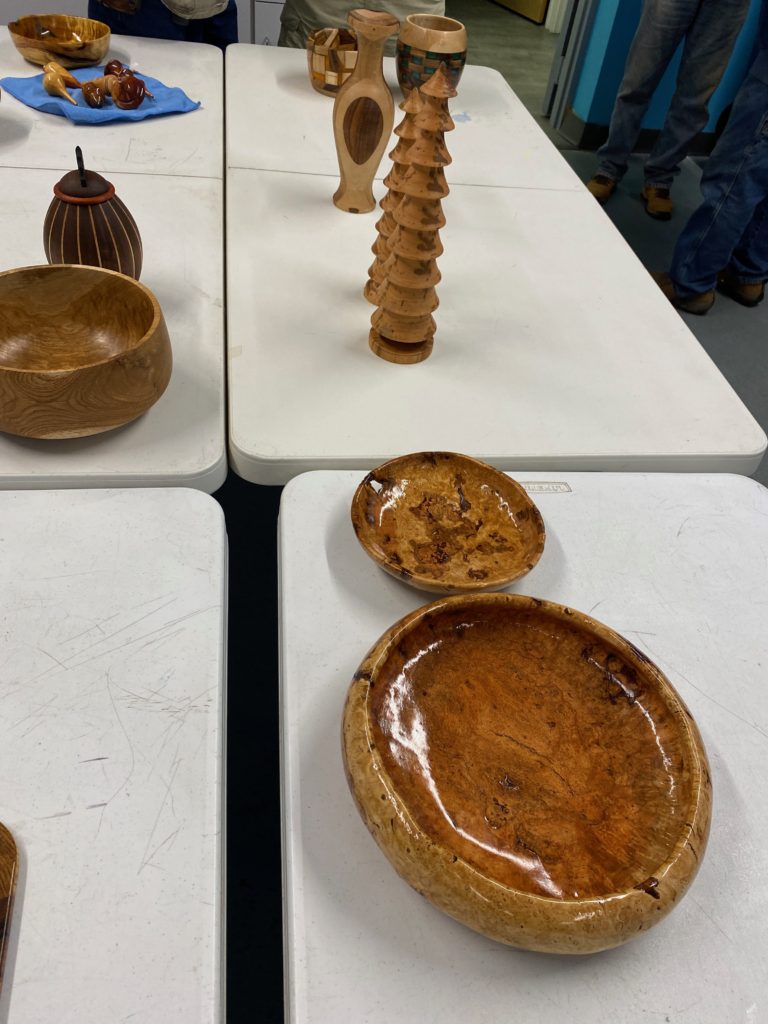
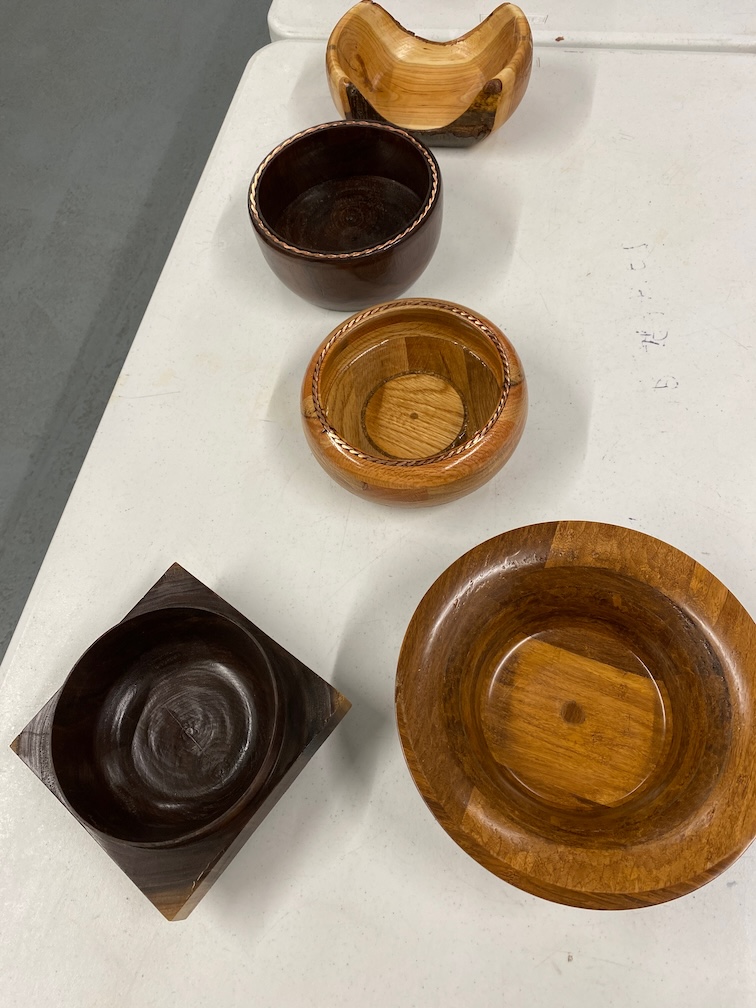
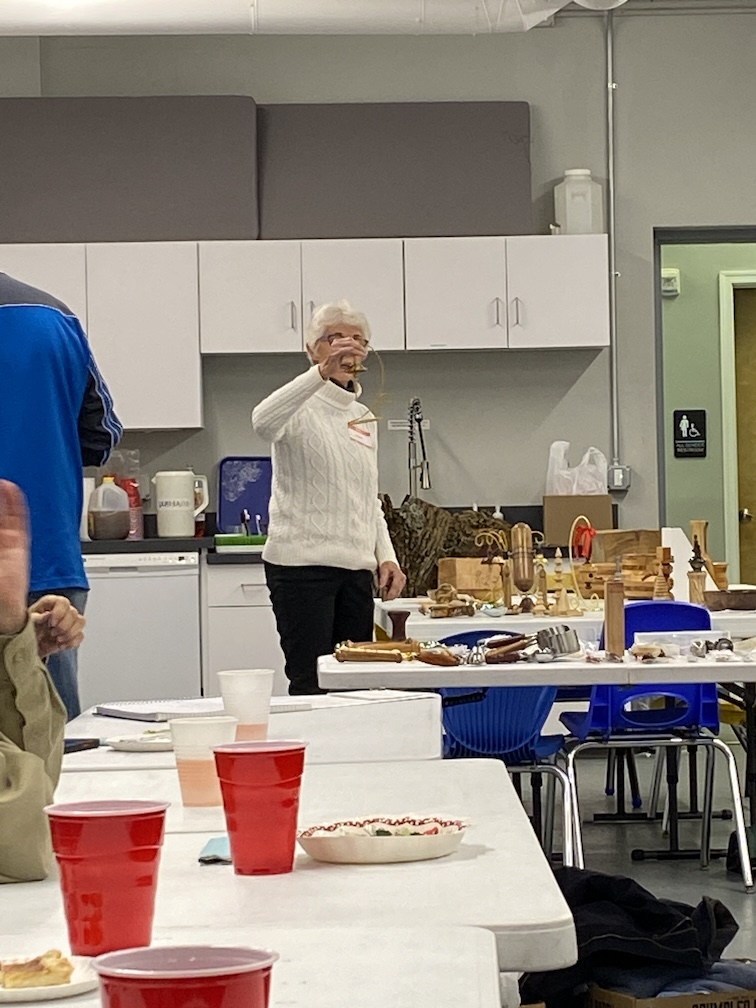
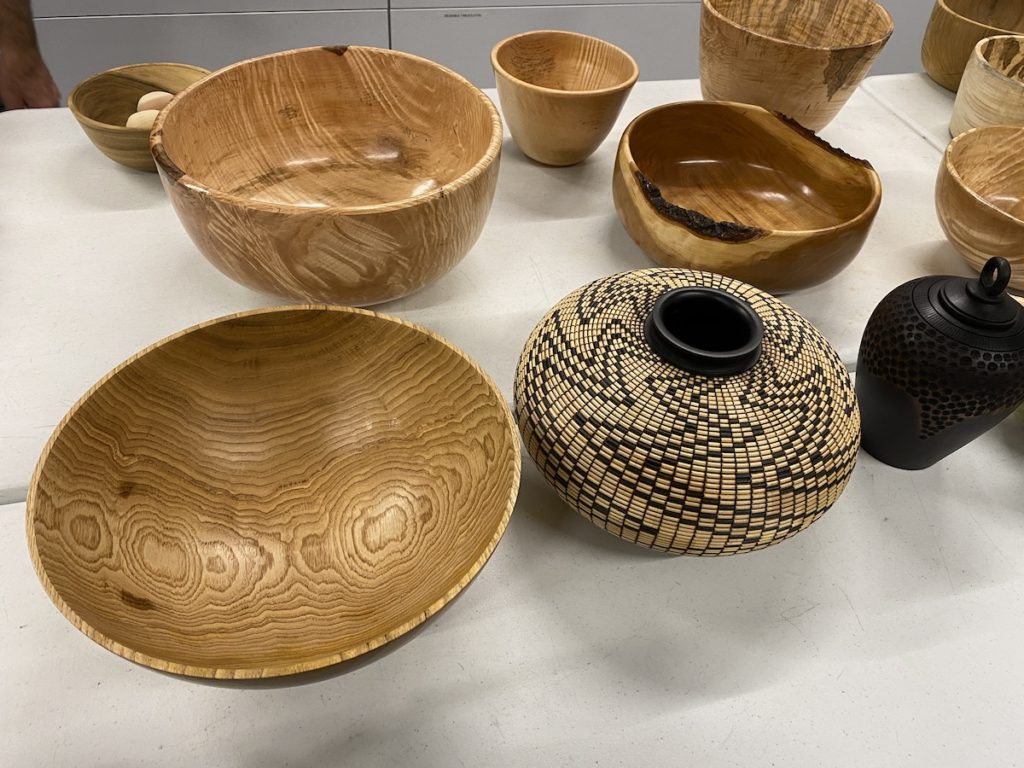
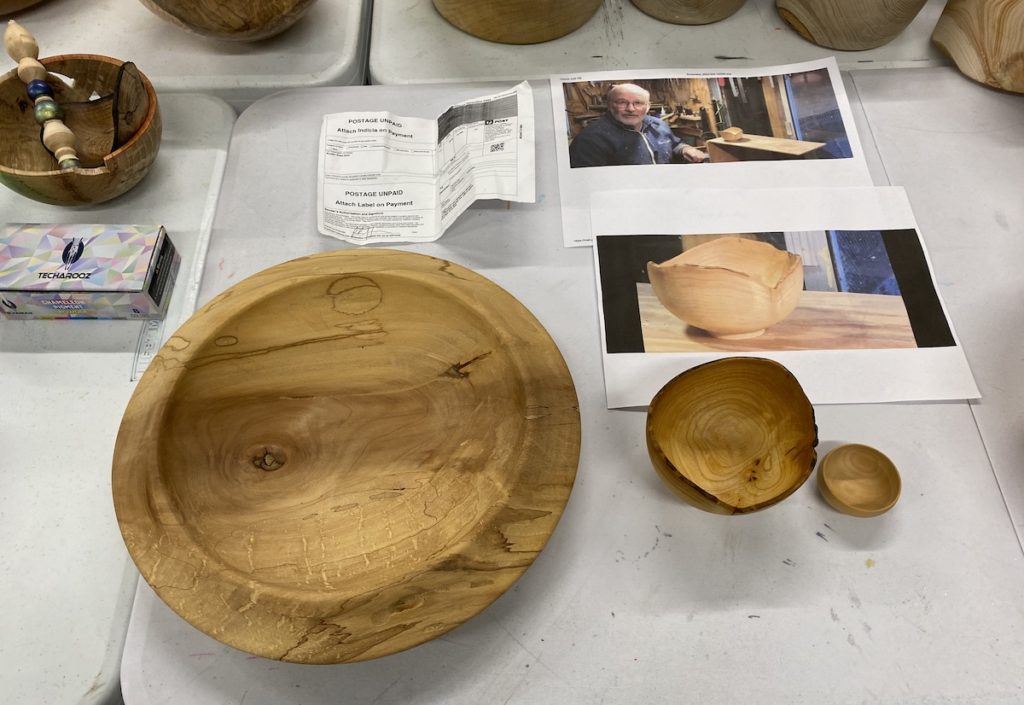
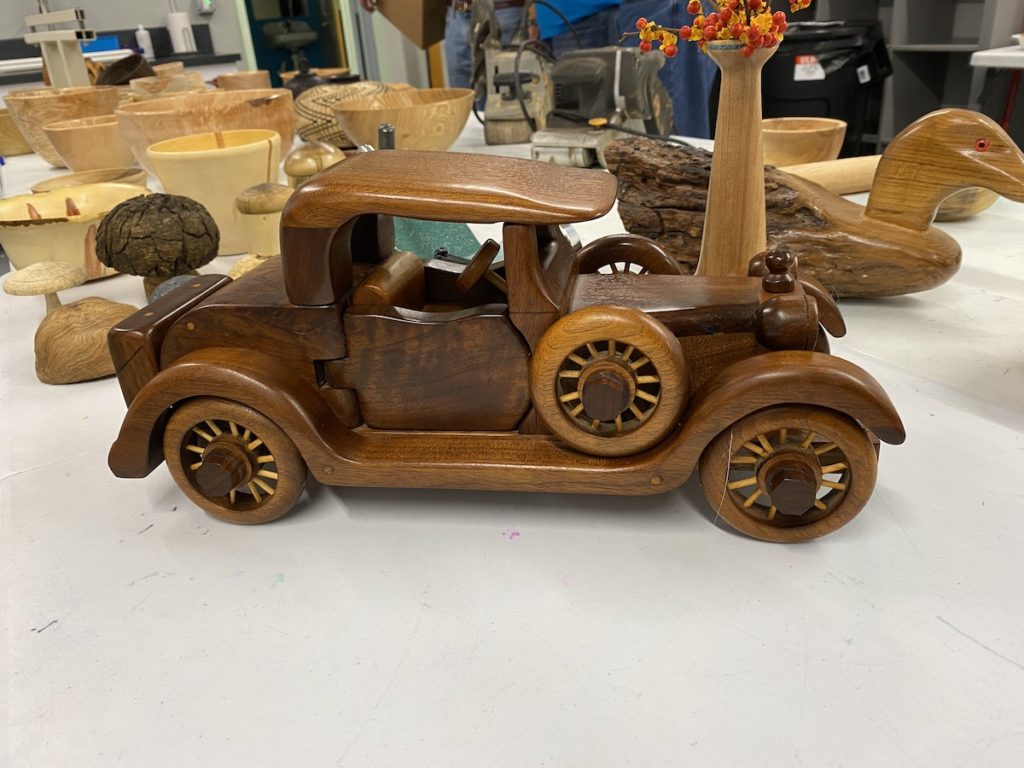
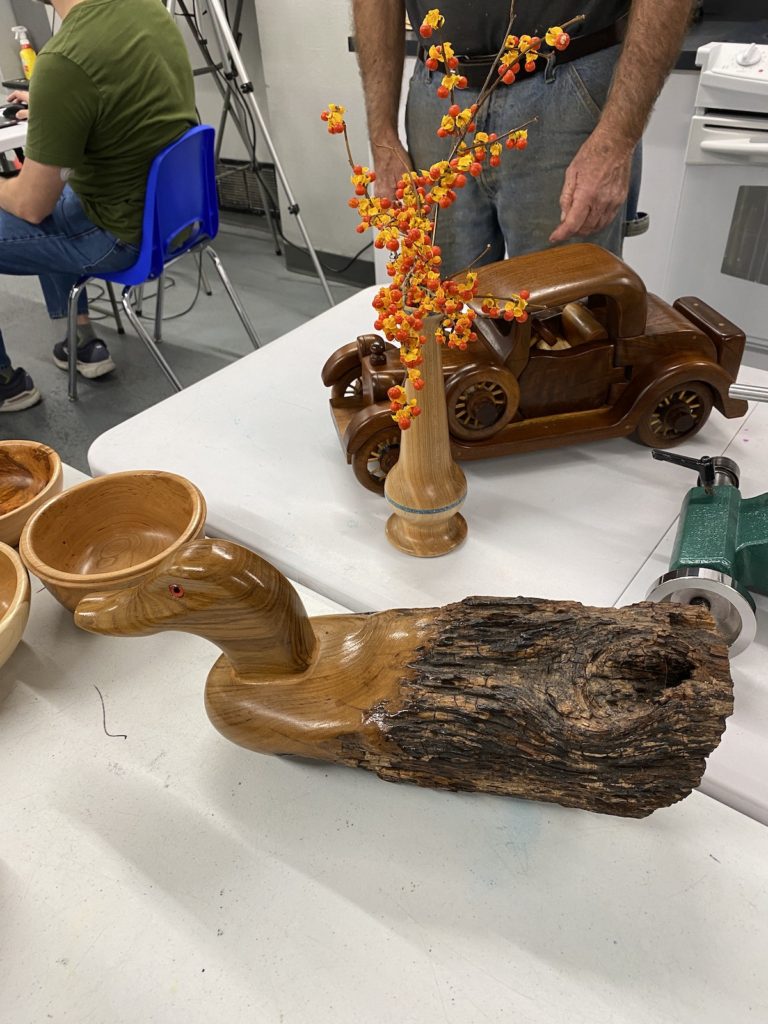
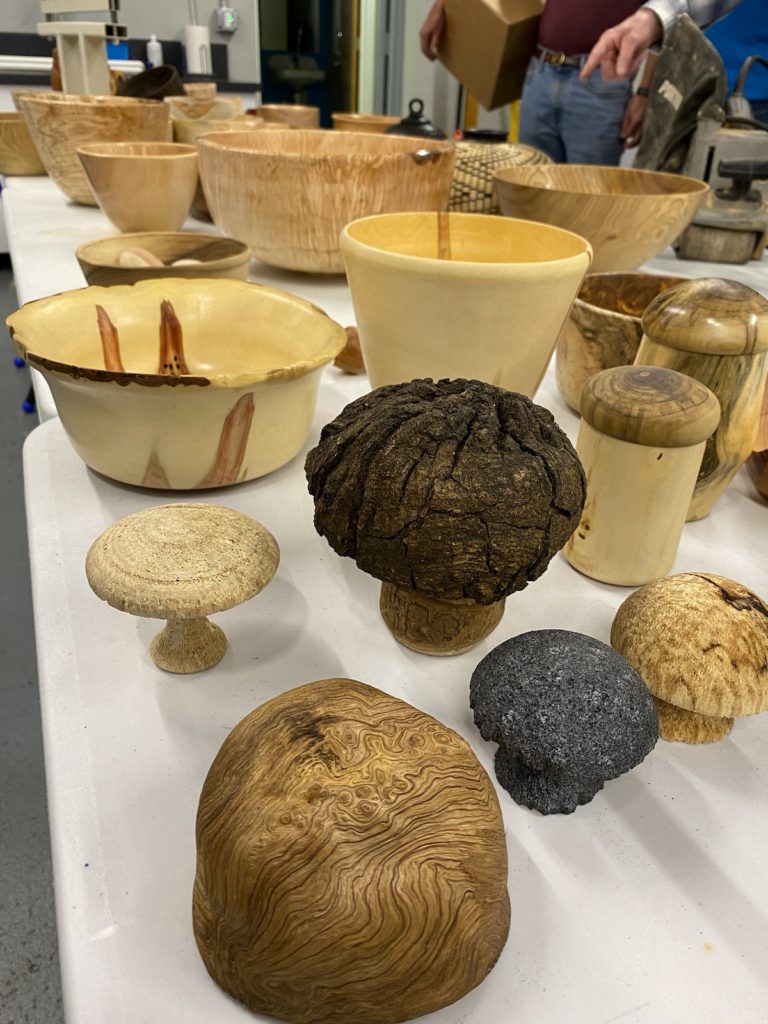
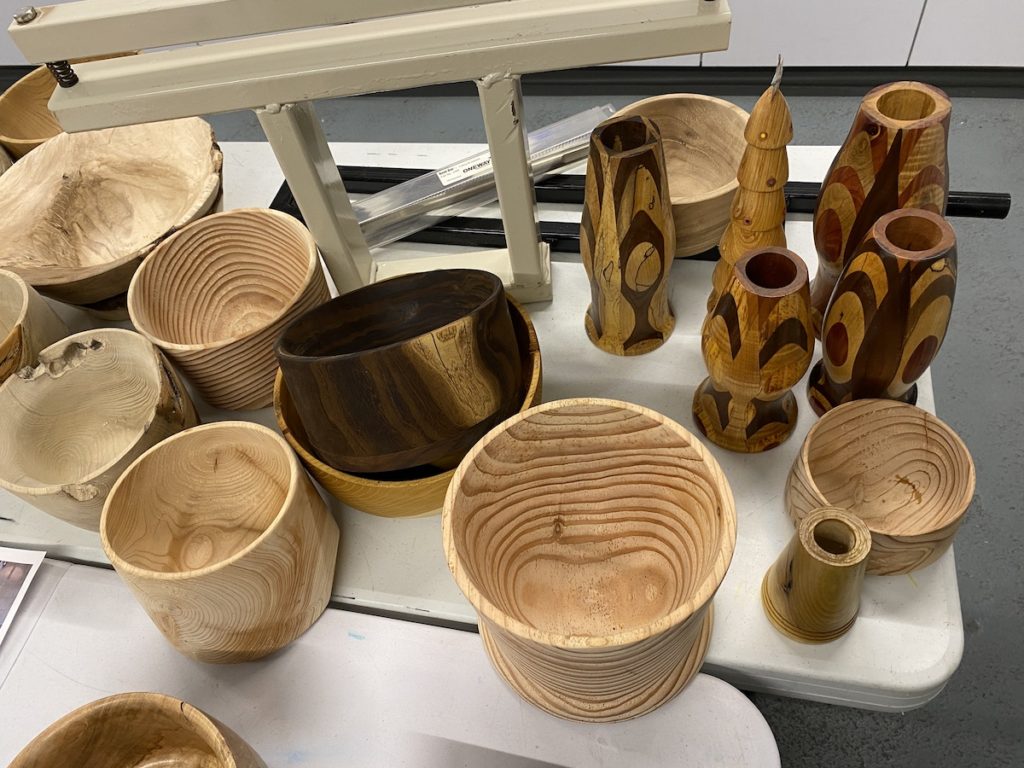
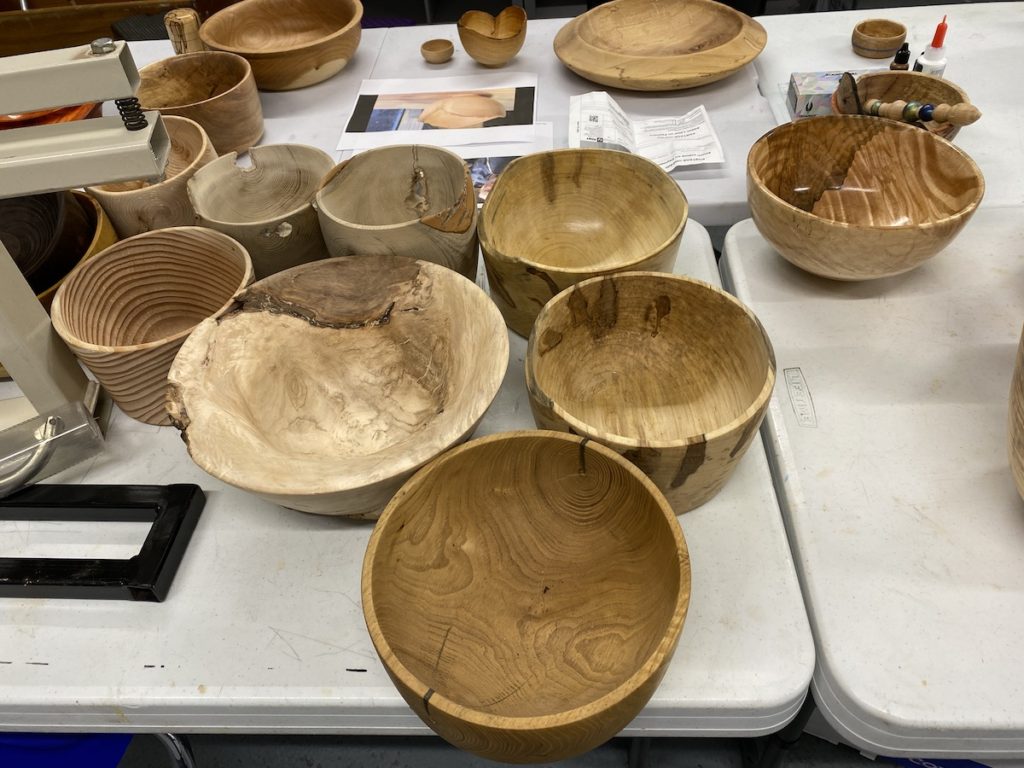
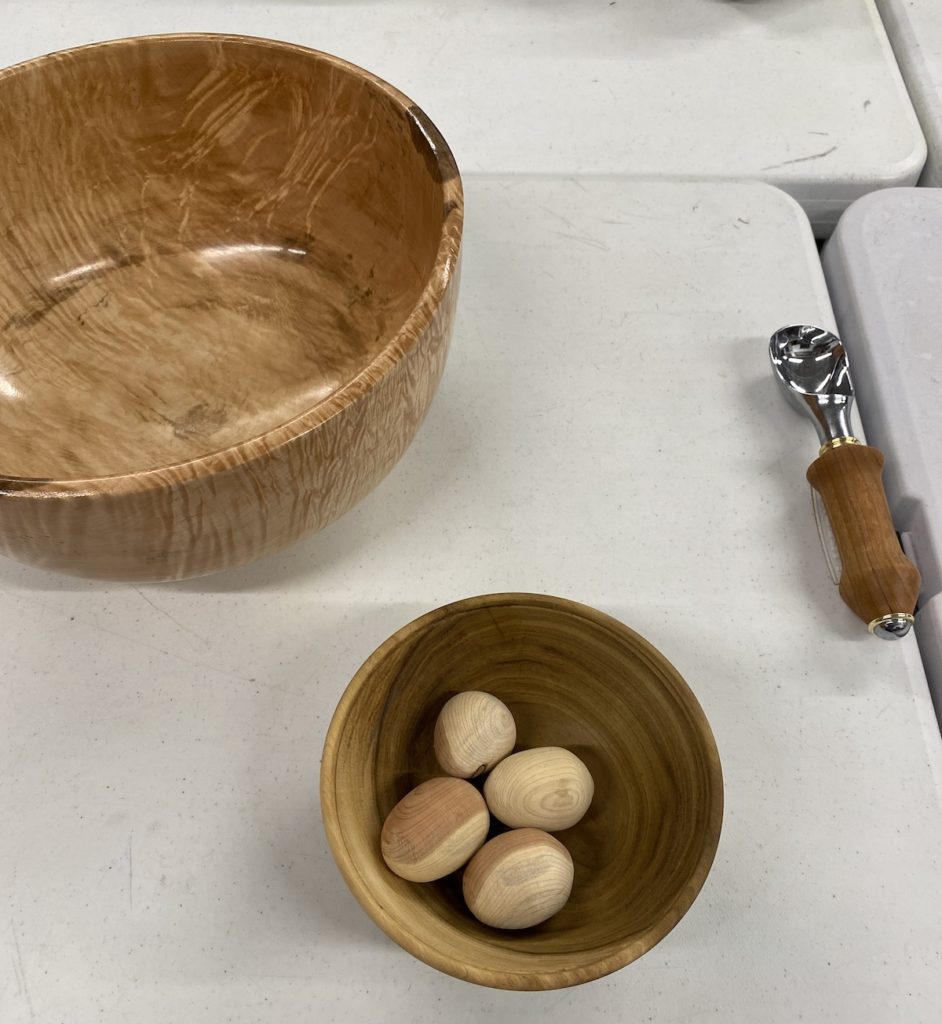
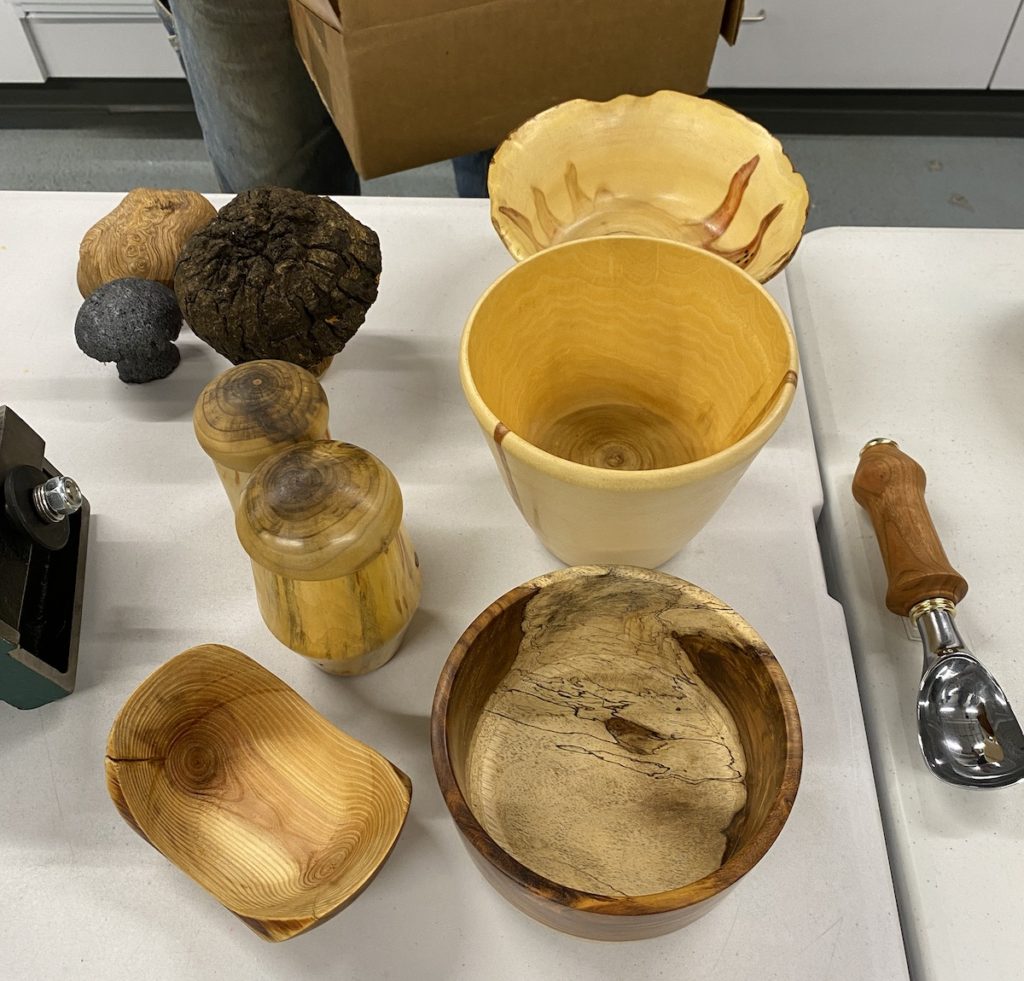
We had a normal show and tell where we saw members amazing work
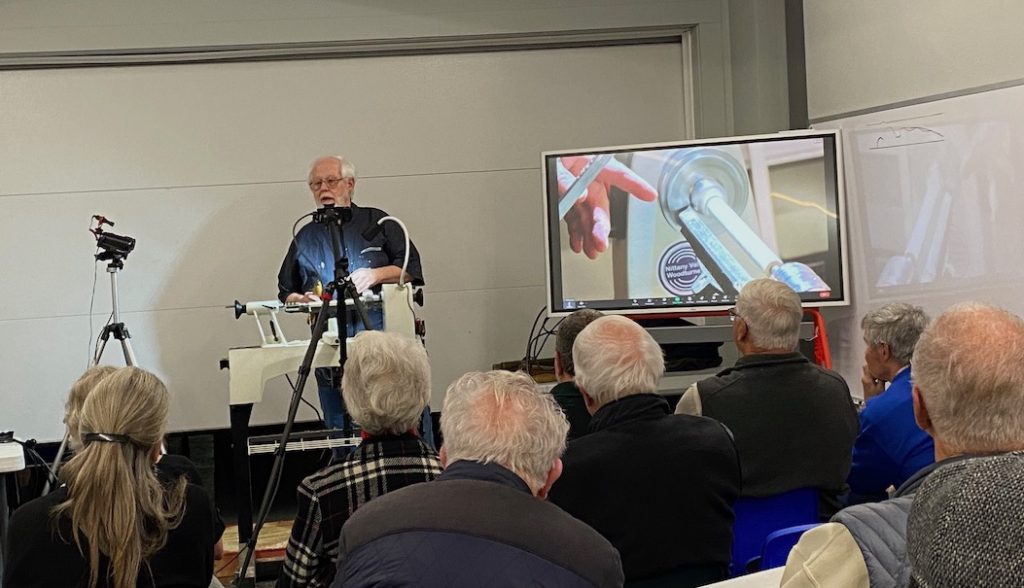
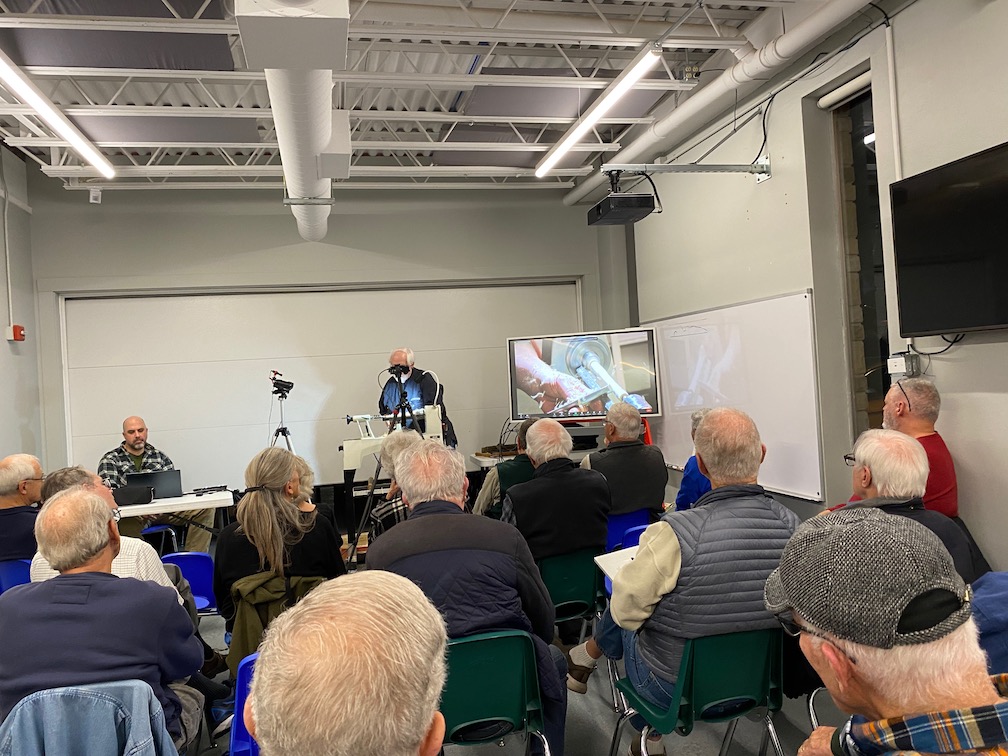
Wood turners club in State College, PA
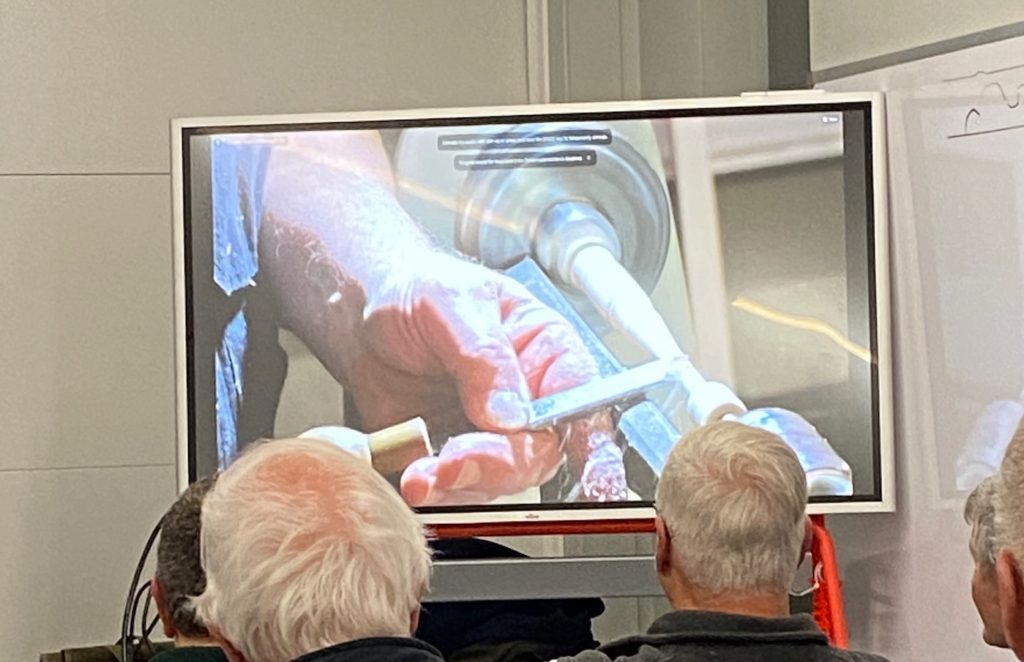
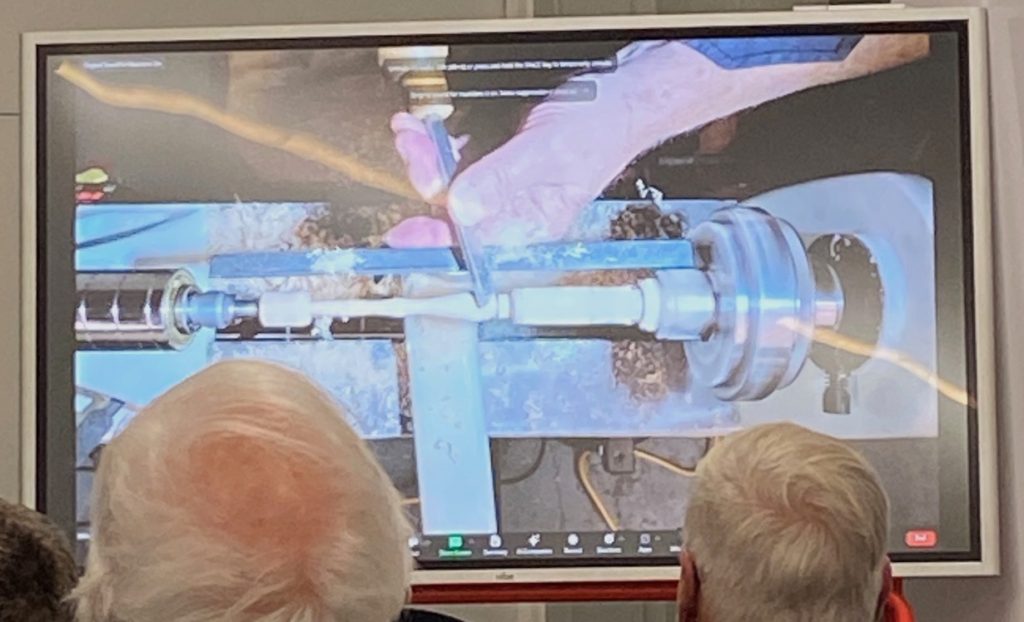
Demonstration
Dan demonstrated how to make Gnomes.
Dan provided notes so anyone can make a gnome like he does:
Show & Tell
We had a normal show and tell where we saw members amazing work
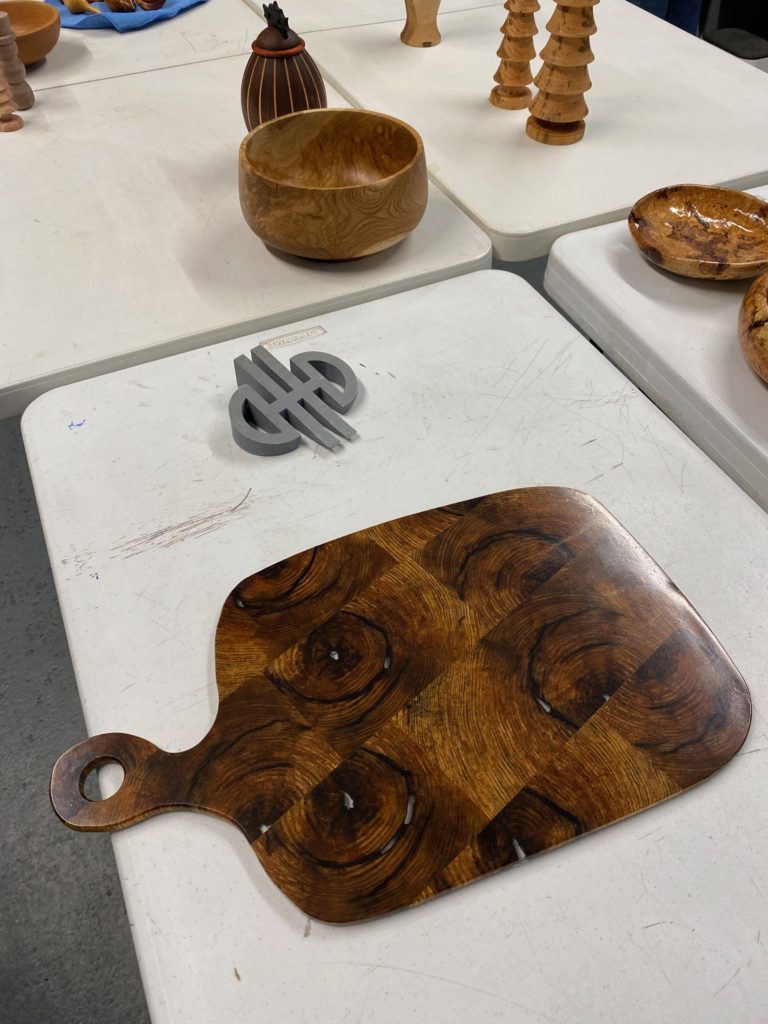
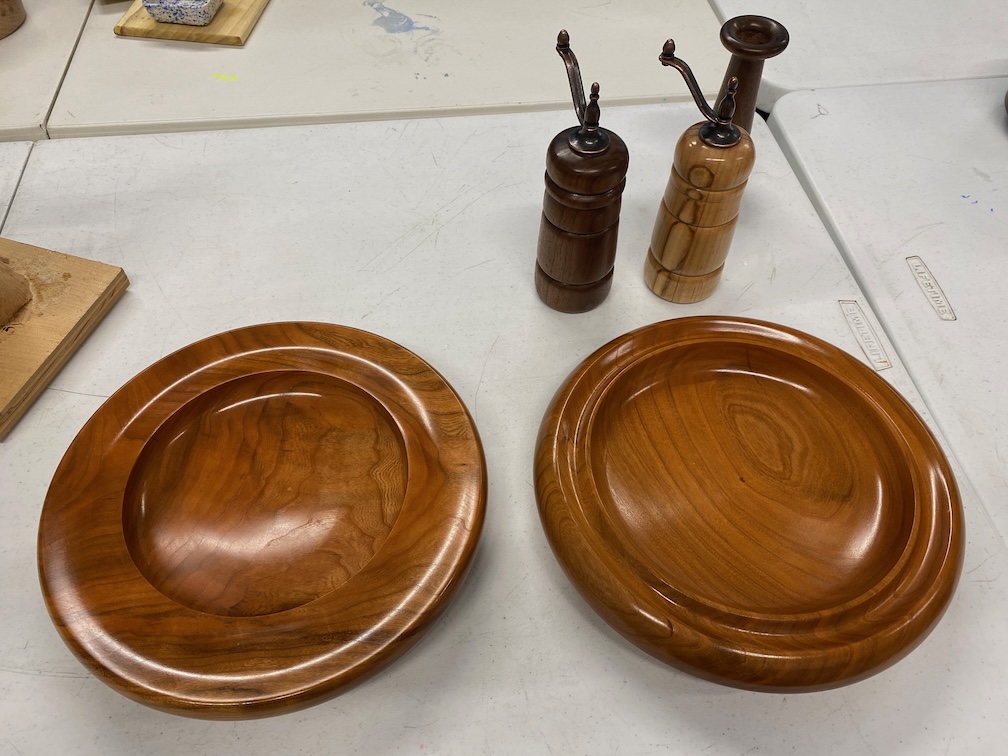
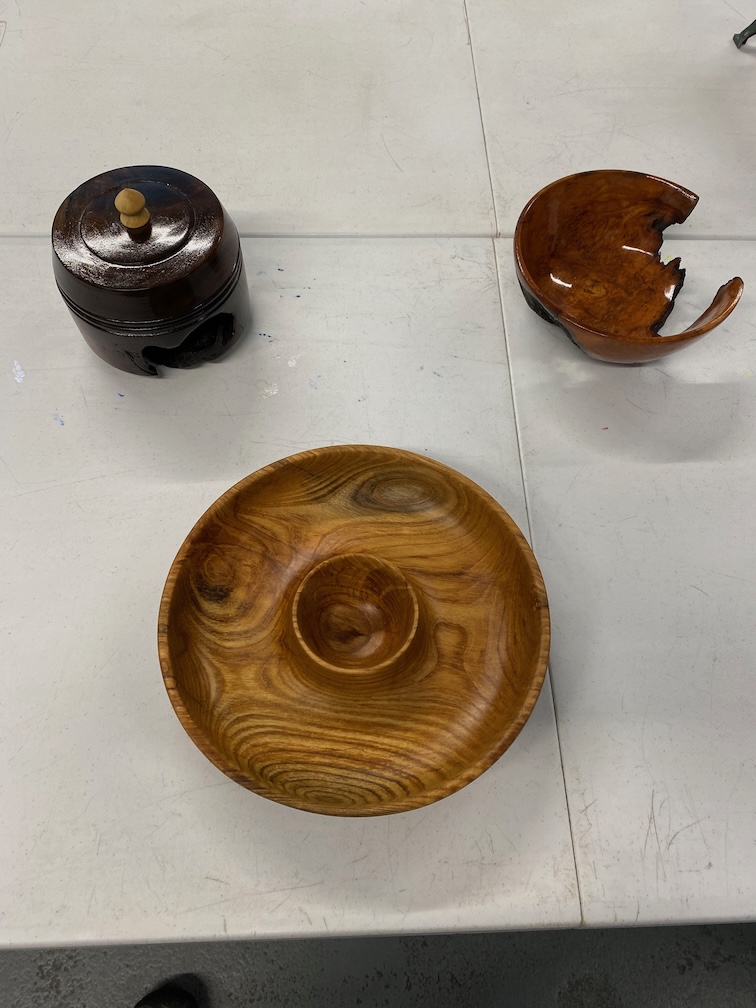
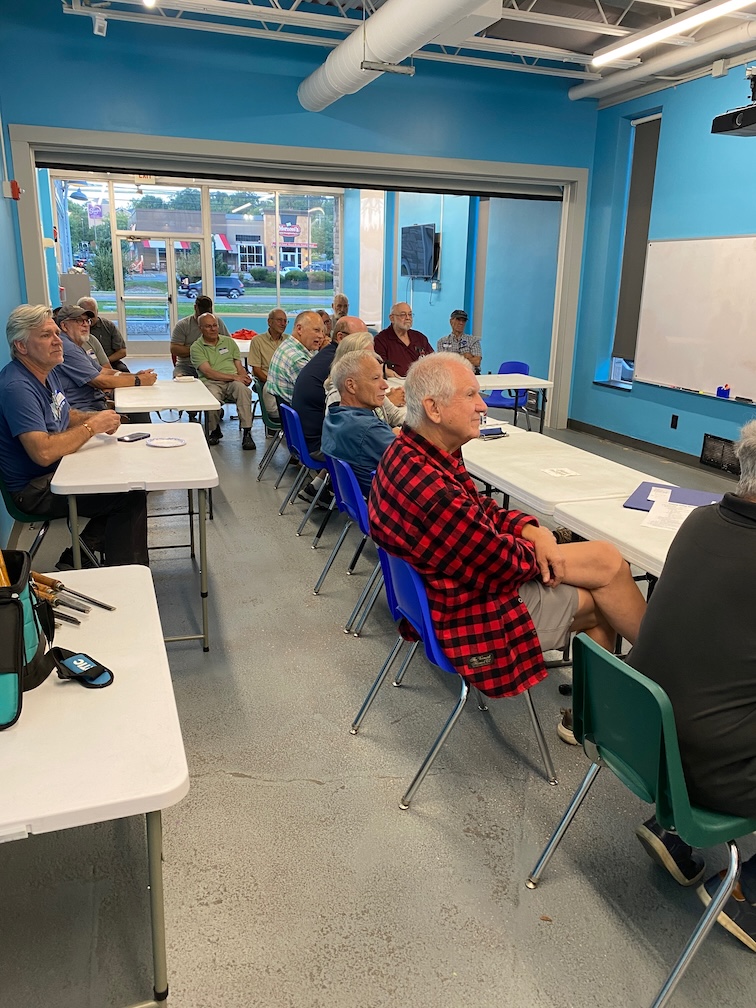
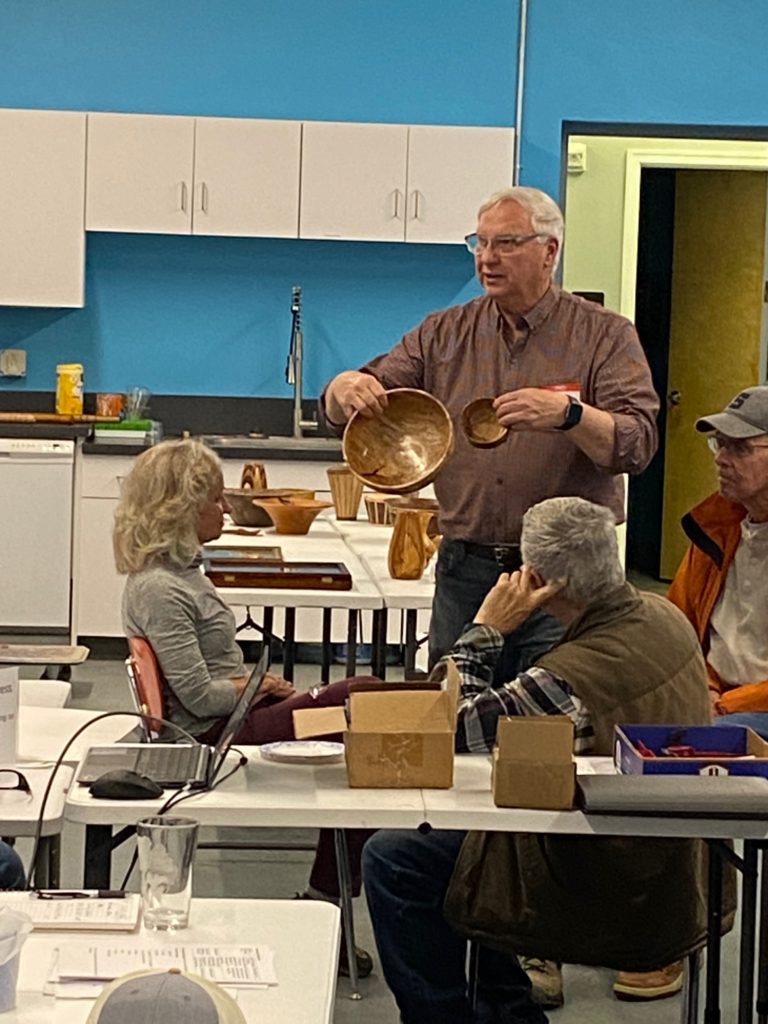
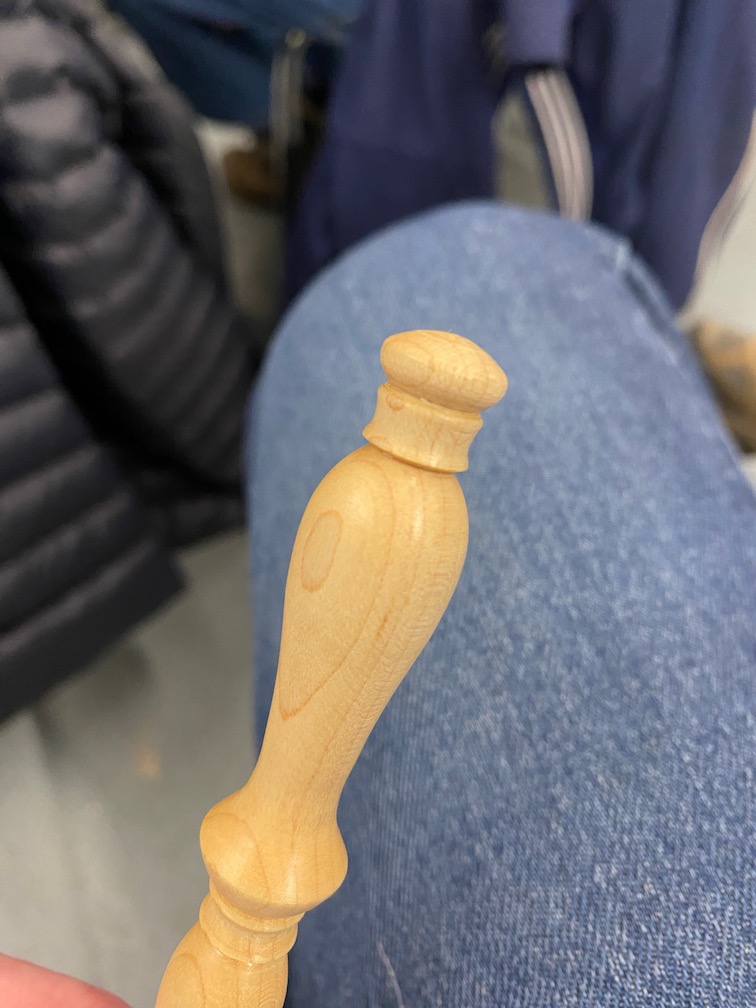
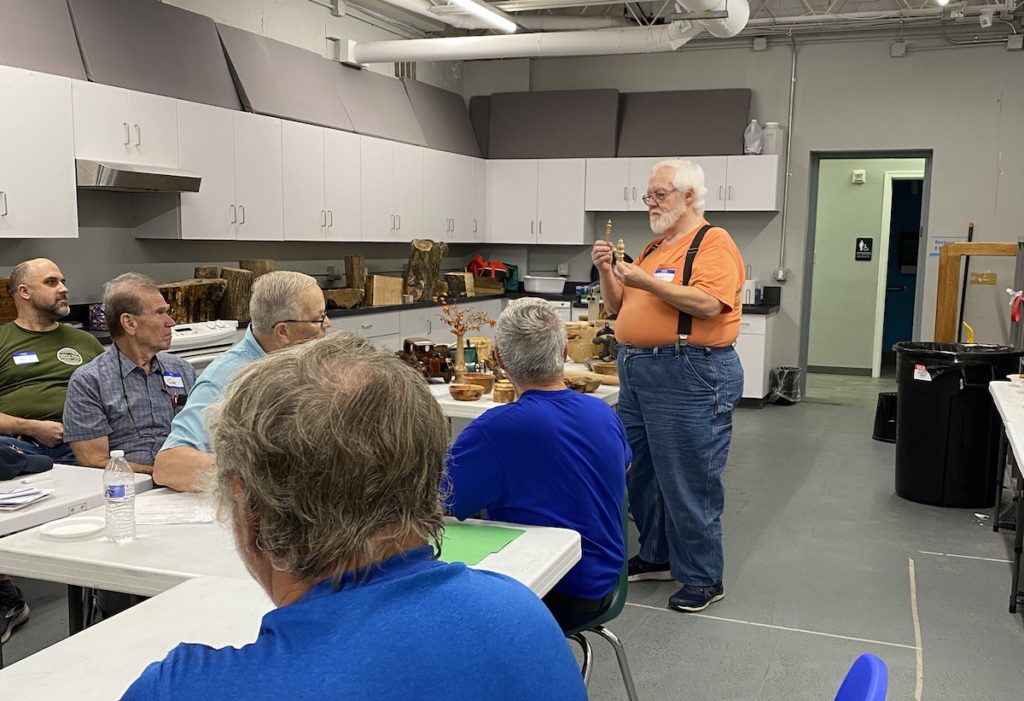
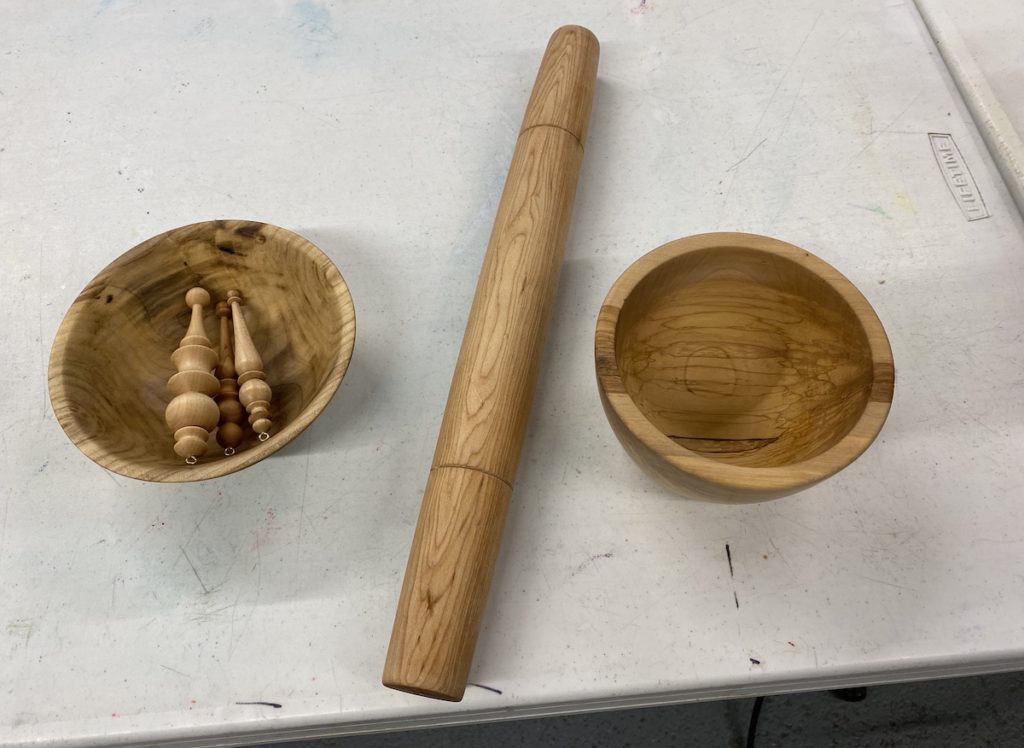
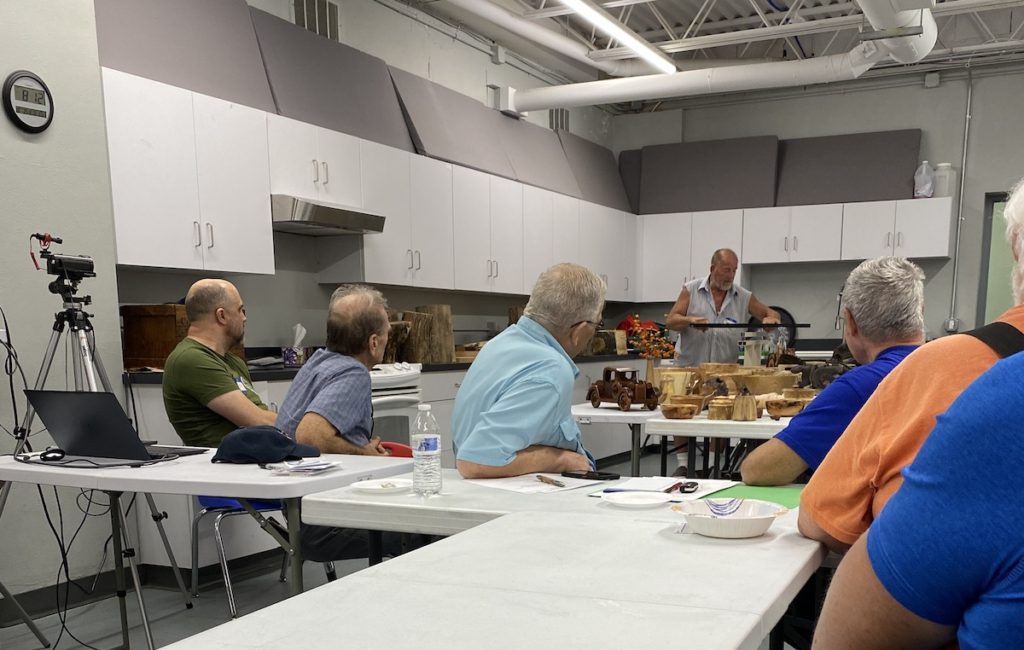
Paul Demmert shared how to make a Celtic Knot rolling pin. A Celtic knot is an infinite loop type pattern which makes an impressive decoration on a rolling pin. But first we had our regular show and tell where several people showed us what they’ve been making lately, from sculptures to grinders to chips and dip bowl.
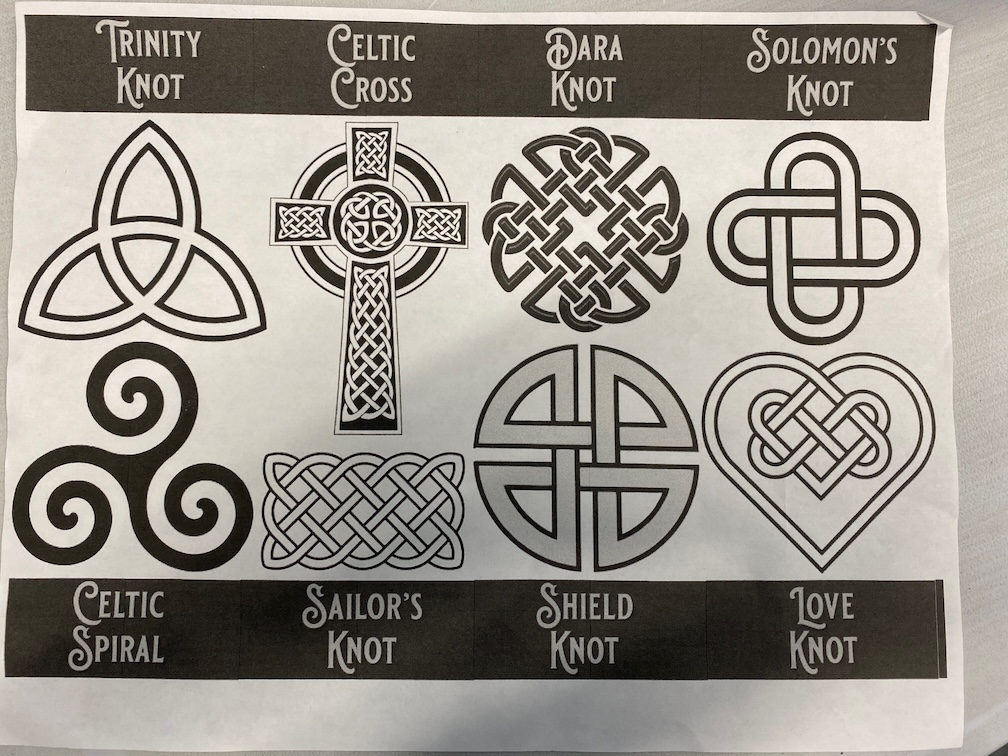
Below are examples of various Celtic knots.
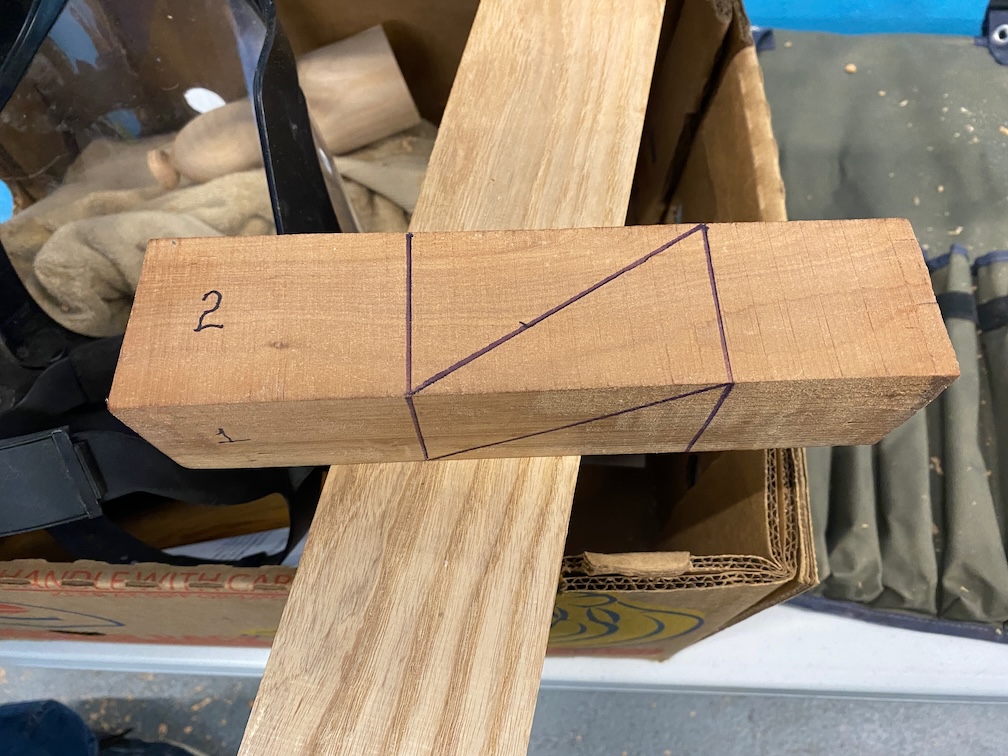
Below is an example of how to layout the cuts made in the blank before turning. You must make deep cuts just 1/8″ short of going through to hold it together until glued. Place a different colored 1/8″ thick wood blank in each slot, cut and glue one at a time.
Some other tips he shared:
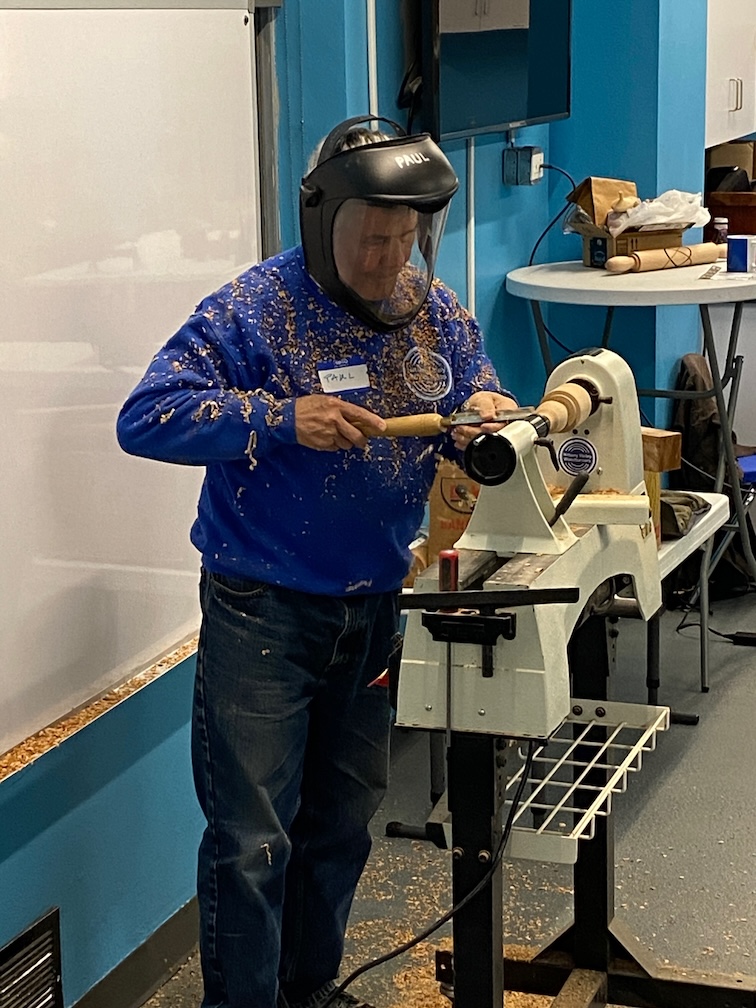
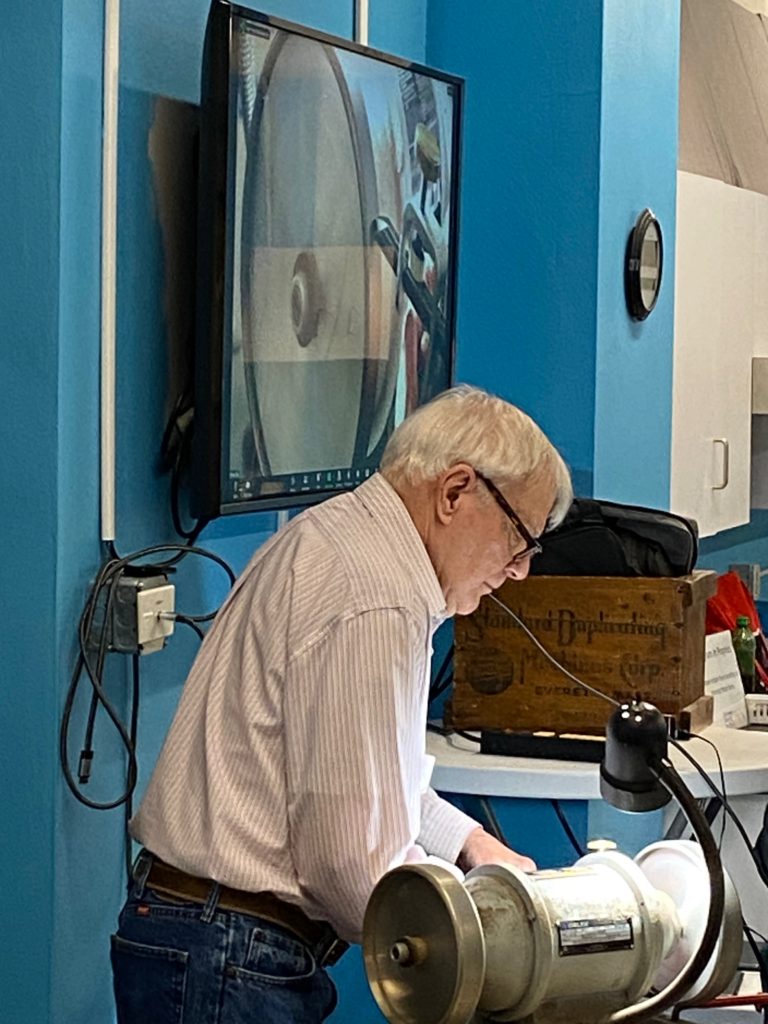
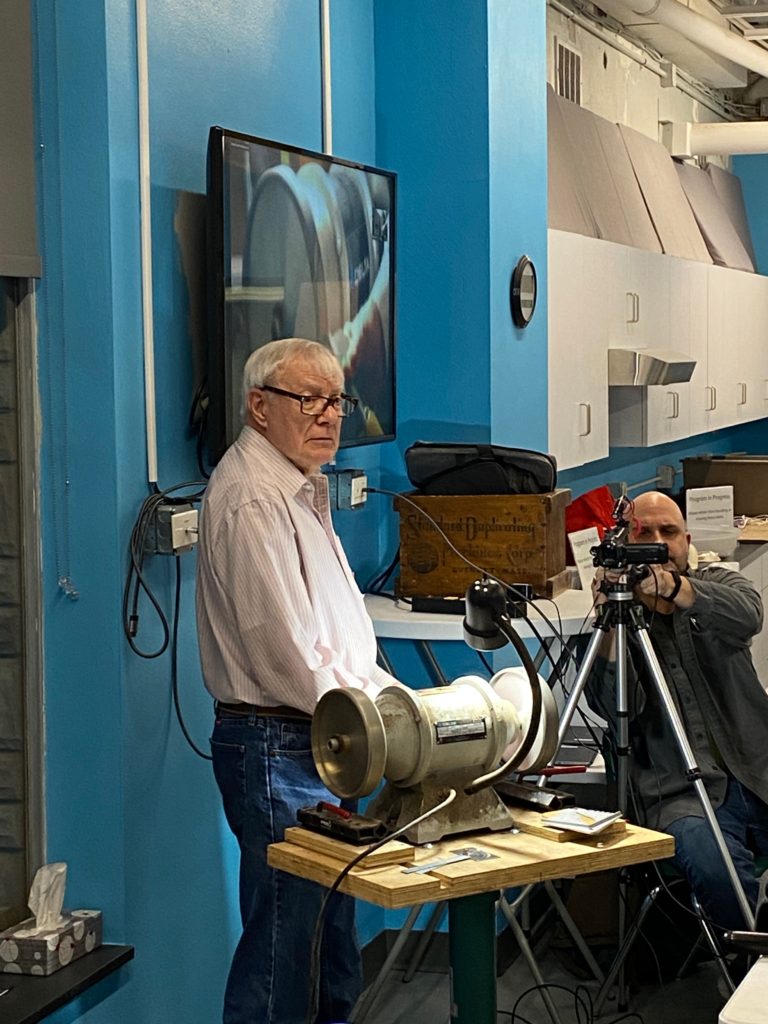
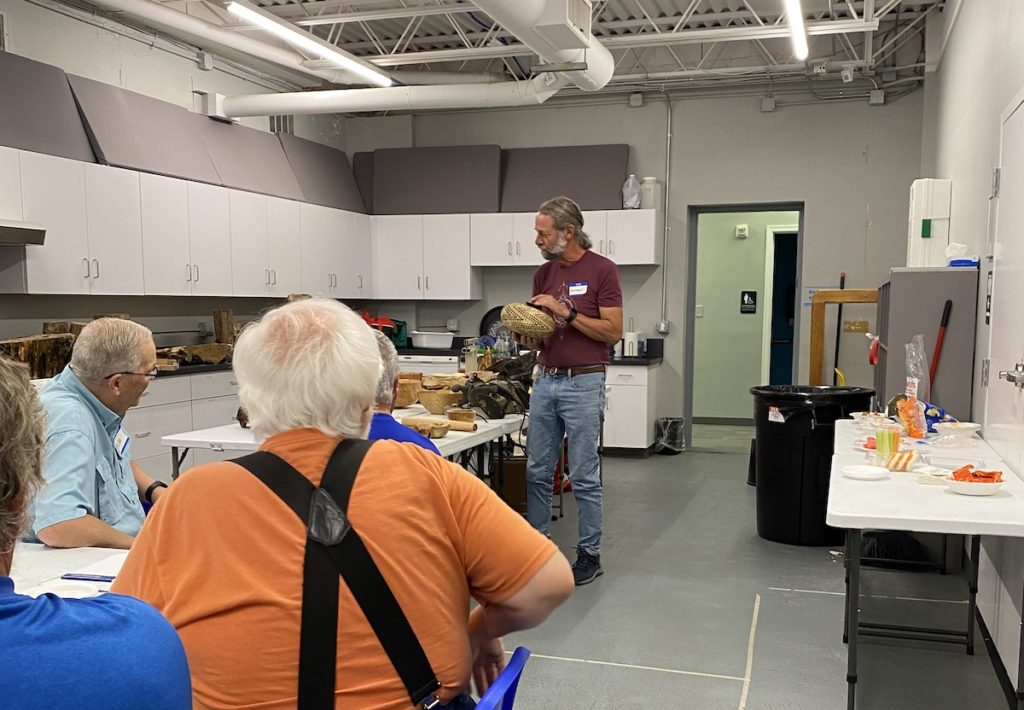
Due to the demo lathe’s size limits Paul used smaller pieces to show how it’s done.

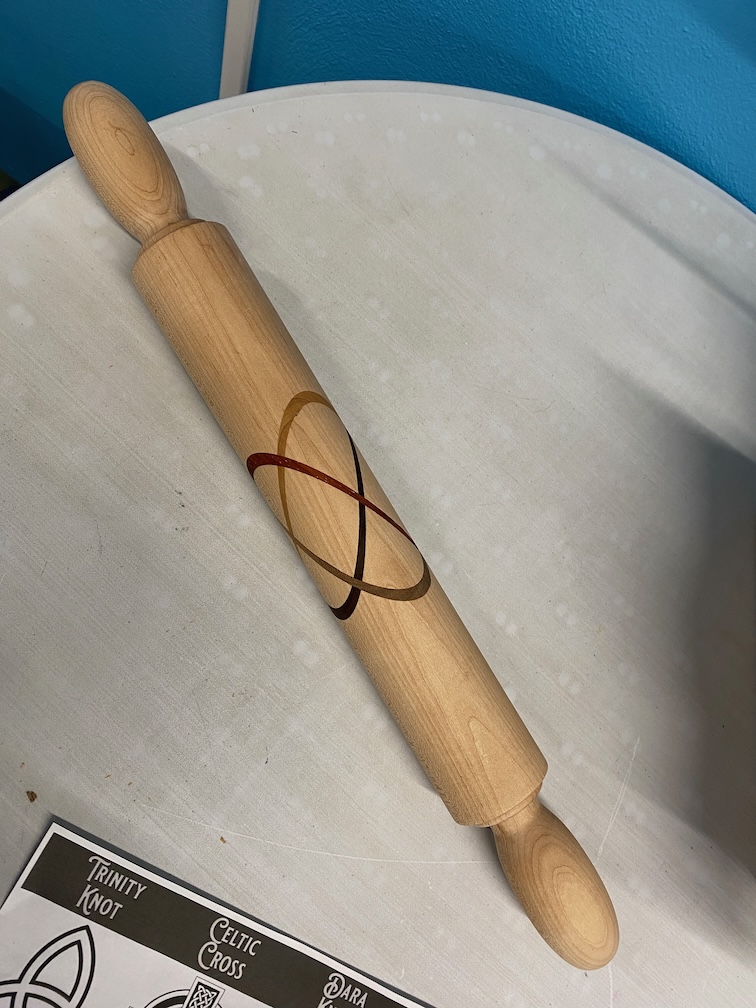
Look at this beautiful final product, when done on a full sized lathe.
Our first meeting after the summer break was a time to reconnect and learn what everyone made over the summer, so we had a larger than normal show and tell session as well as a great wood auction.
We had a normal meeting at the Rivet including a business discussions, show and tell and an in-depth presentation and sharpening demonstration by our very own Larry Lukens.
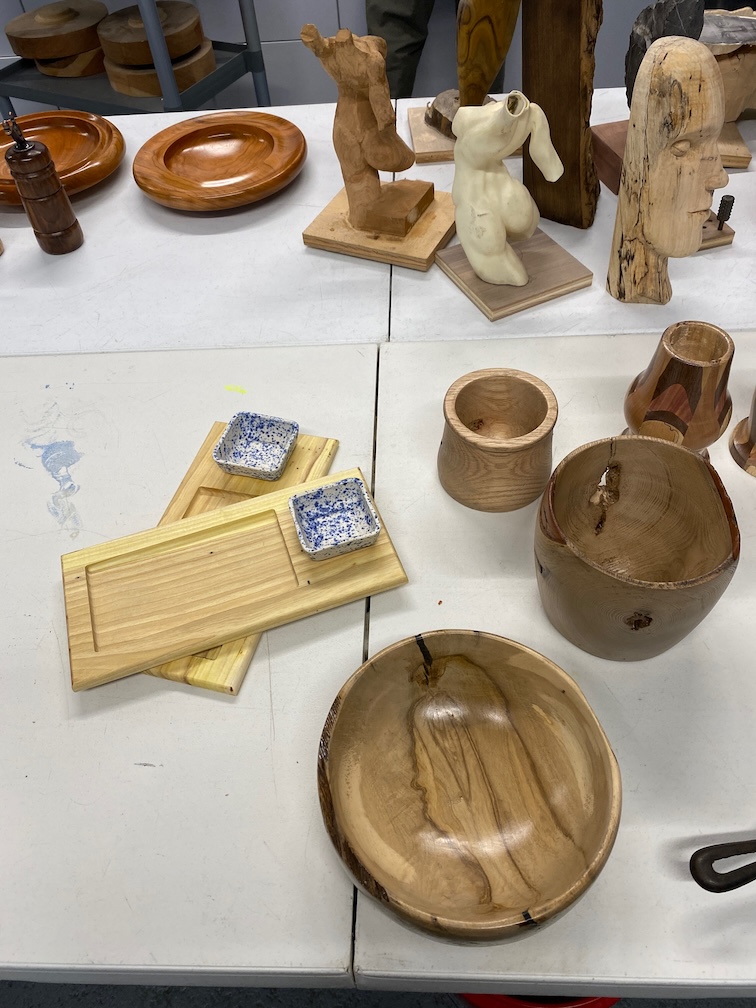
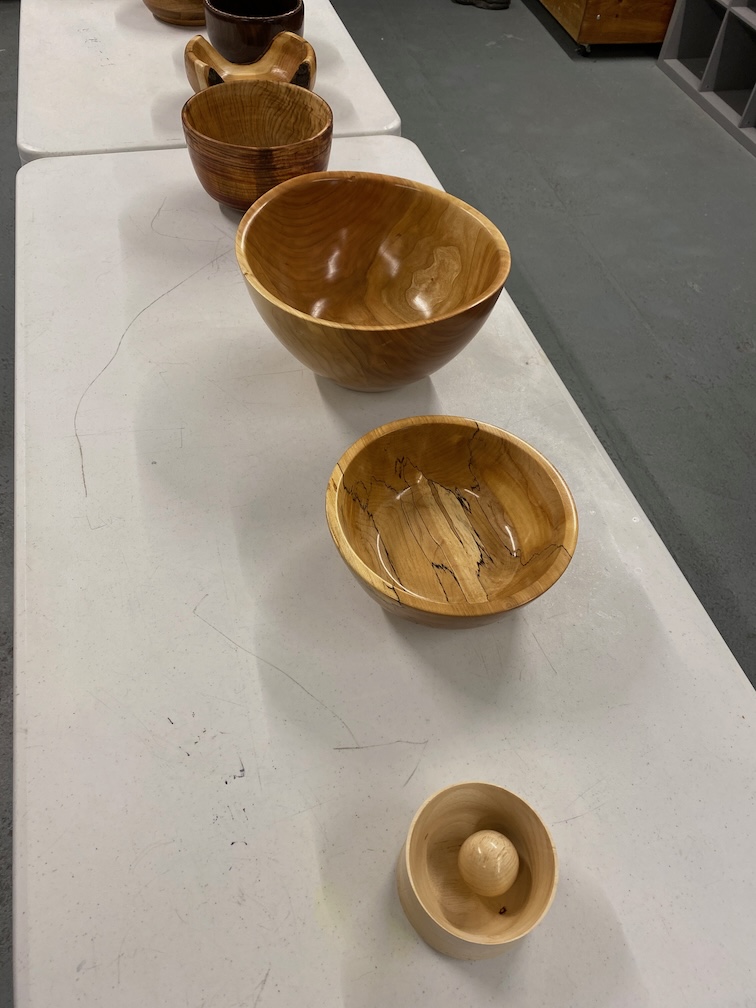
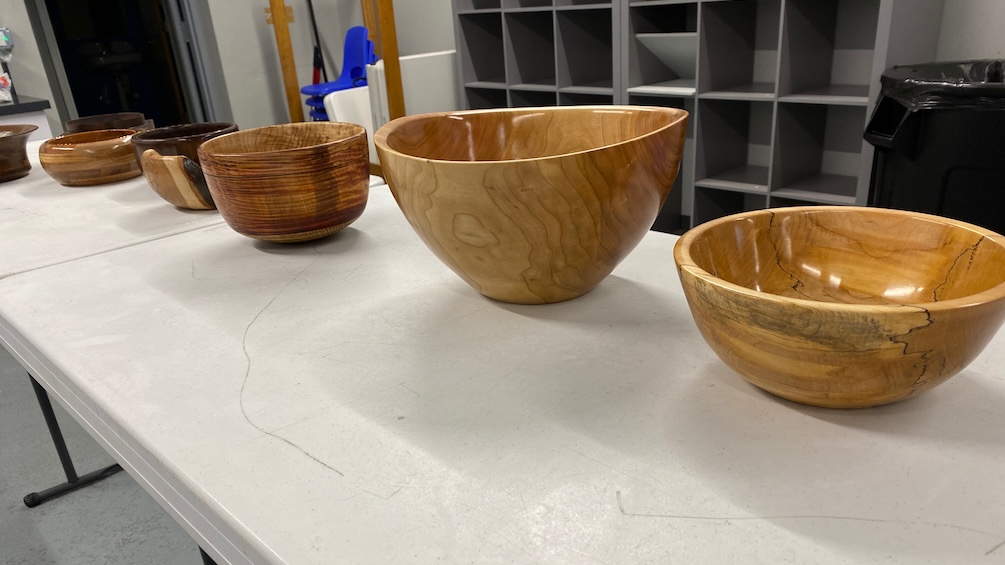
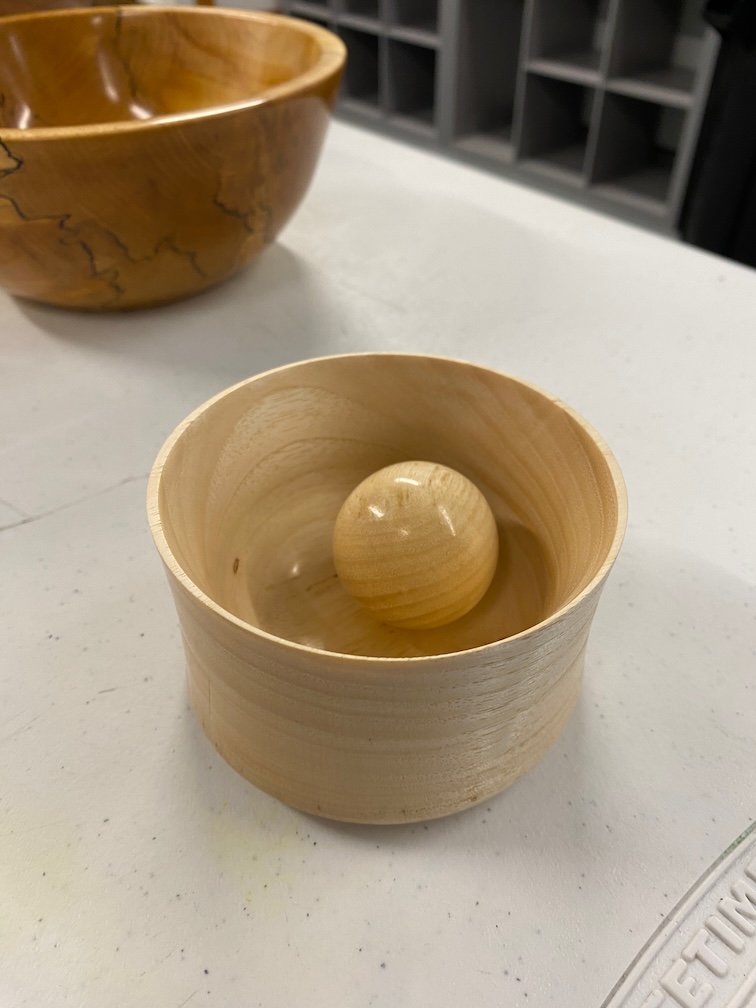
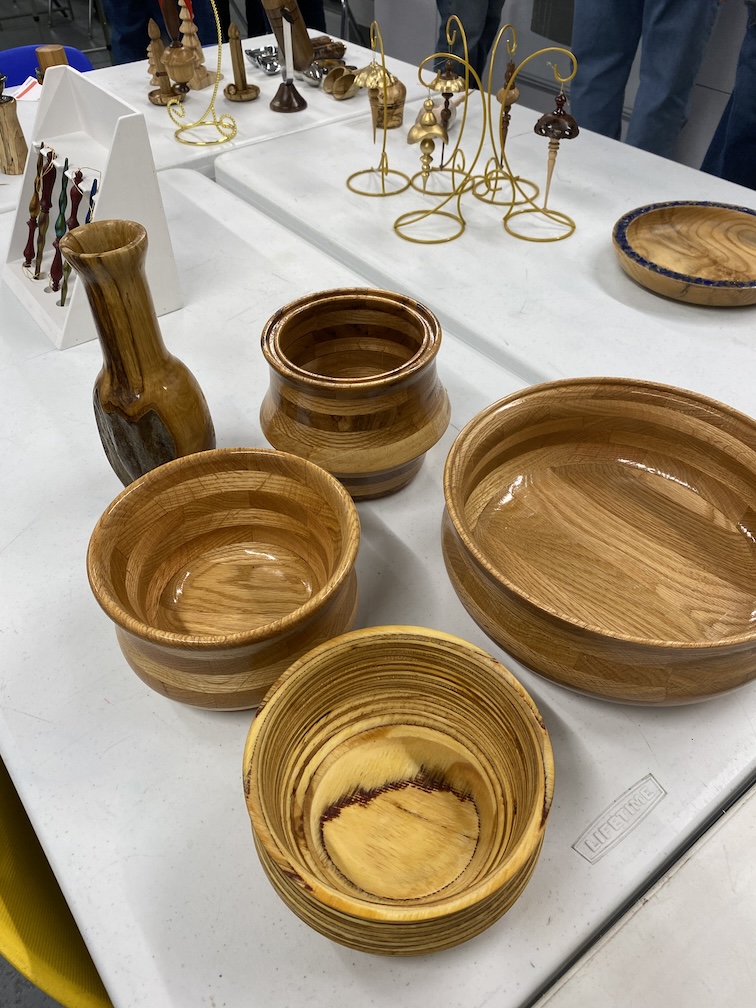
Several people showed the nice pieces they had created
Larry showed us how to sharpen our tools
We had a normal meeting in January which featured the business meeting, wood auction, show & tell as well as a discussion and walk through from Gib Corl on how he creates bowl blanks using left over hardwood flooring as well as how he recycles home wiring into a nice rim decoration.
The steps involved include:
This was our Holiday celebration meeting where everyone brought in something to eat and we had extra time to hang out and chat. We held a truncated business meeting, short wood auction and show & tell.
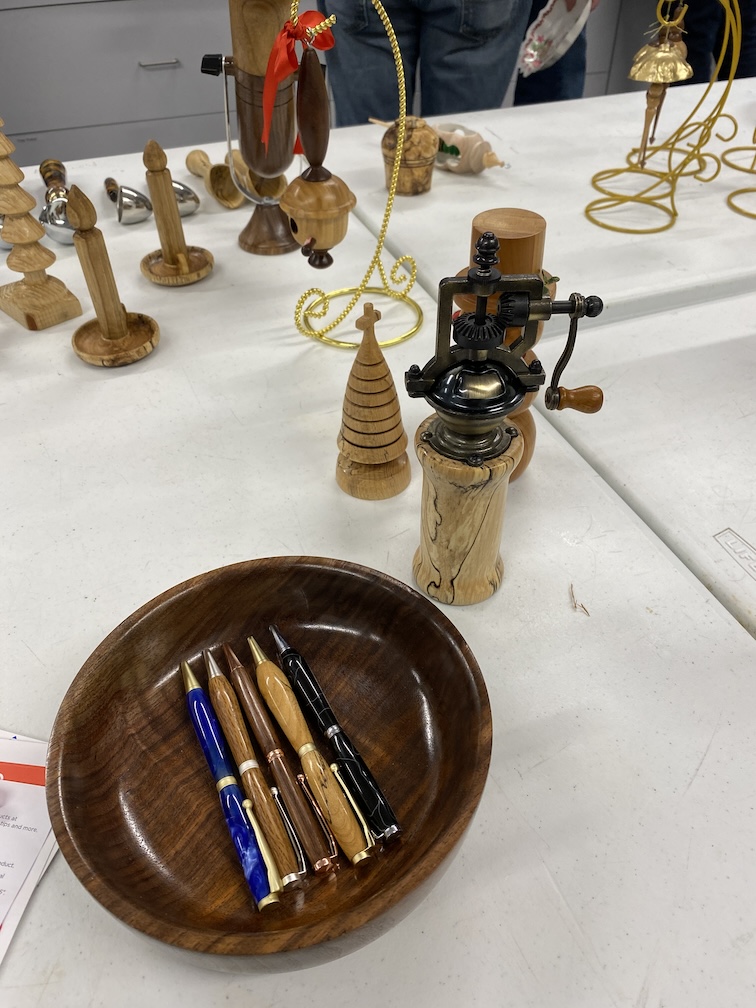
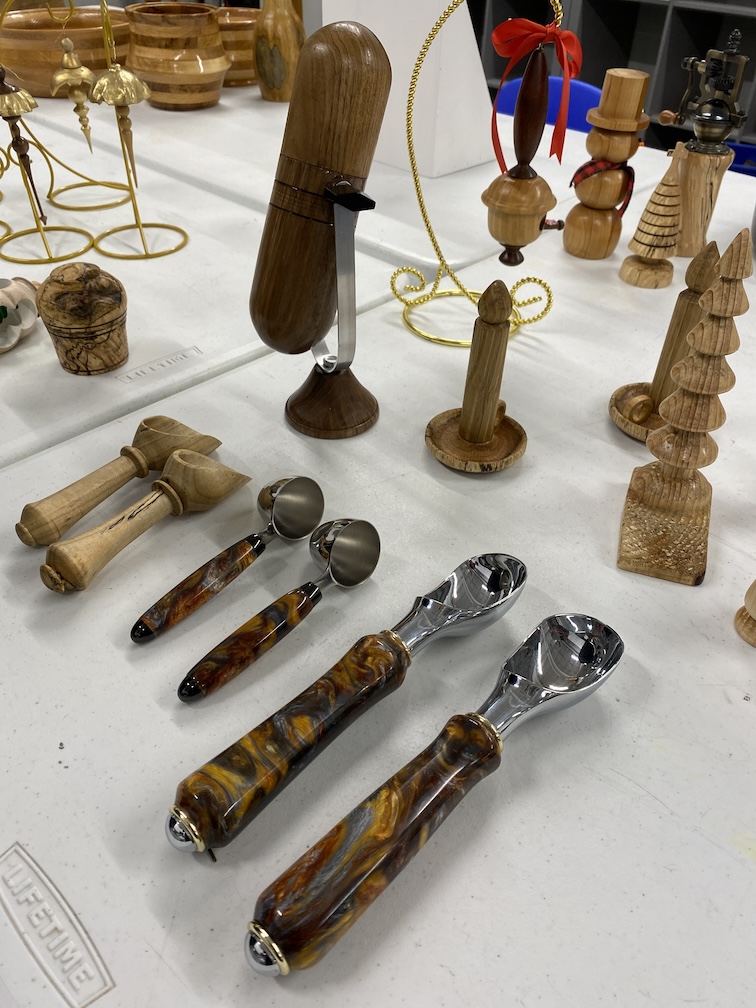
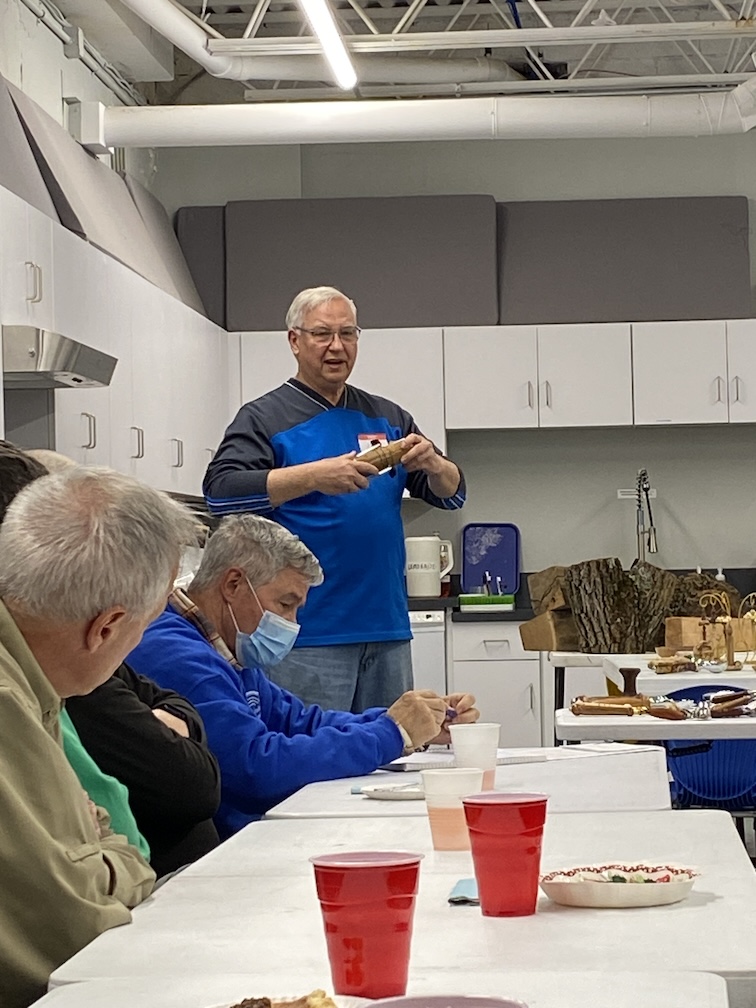
Paul Demmert discussed many different options of things you can make from skills gained after making pens. There are many things like coffee scoops, ice cream scoops, pizza cutters, measuring cups and spoons, and seam rippers which go together much like pens by tuning handles. You can find kits for such projects at places like Penn State Industries.
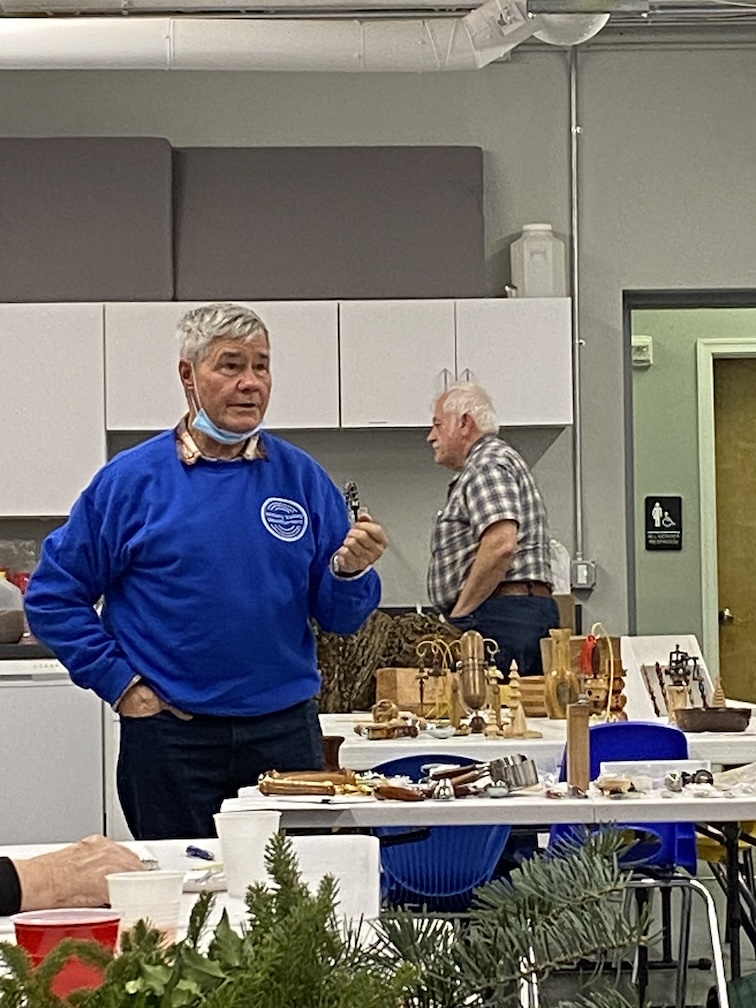
Some tips Paul shared from the classes he’s taught included:
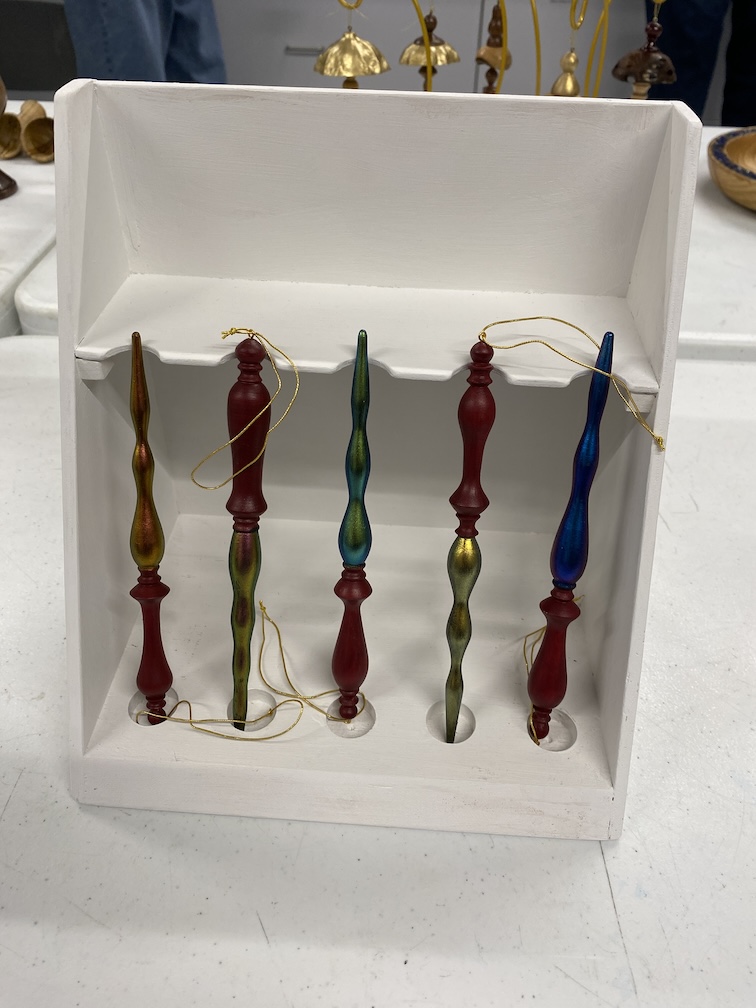
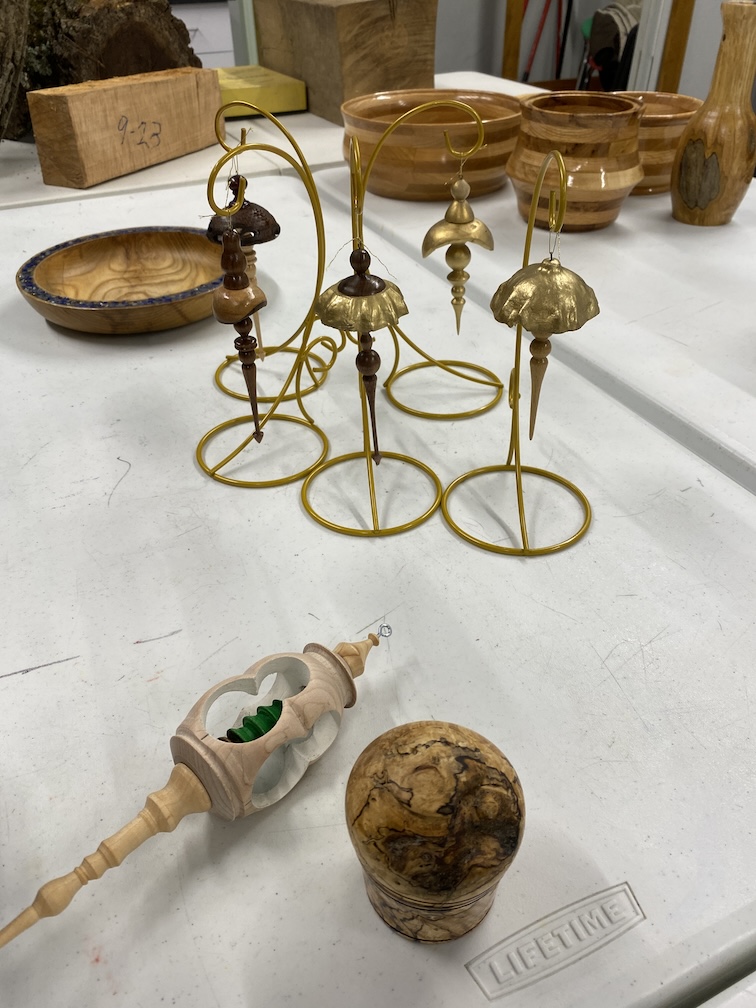
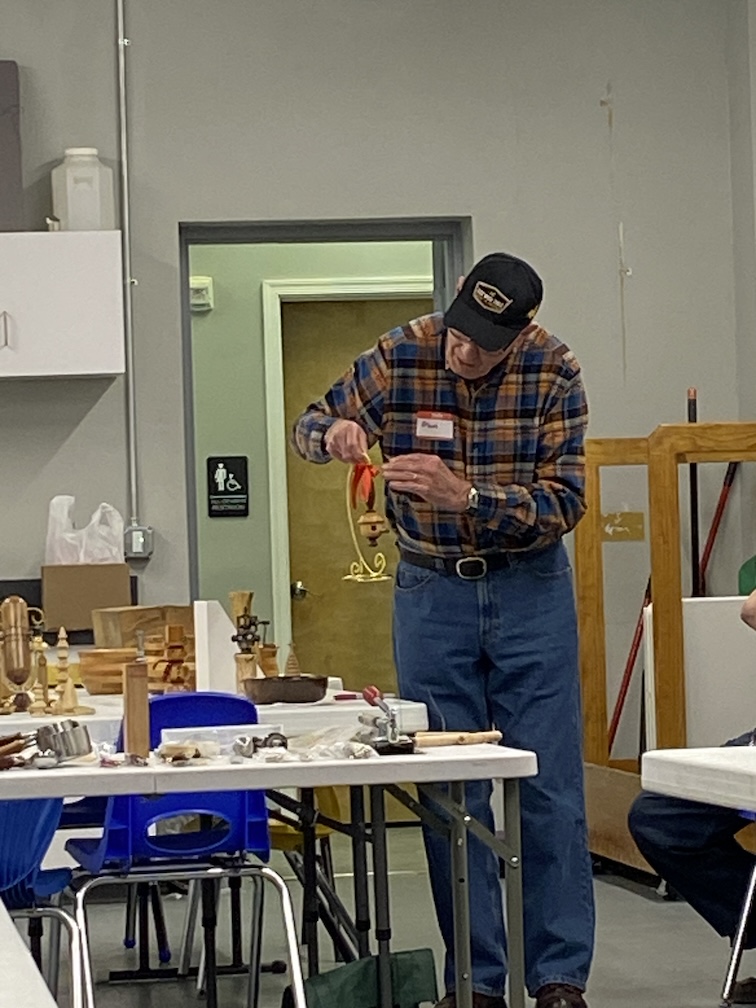
Dan Kozar demonstrated how to make a mini wizard wand ornament and a freeform finial style ornament highlighting his skills with a skew.
Some of the tips he shared included:

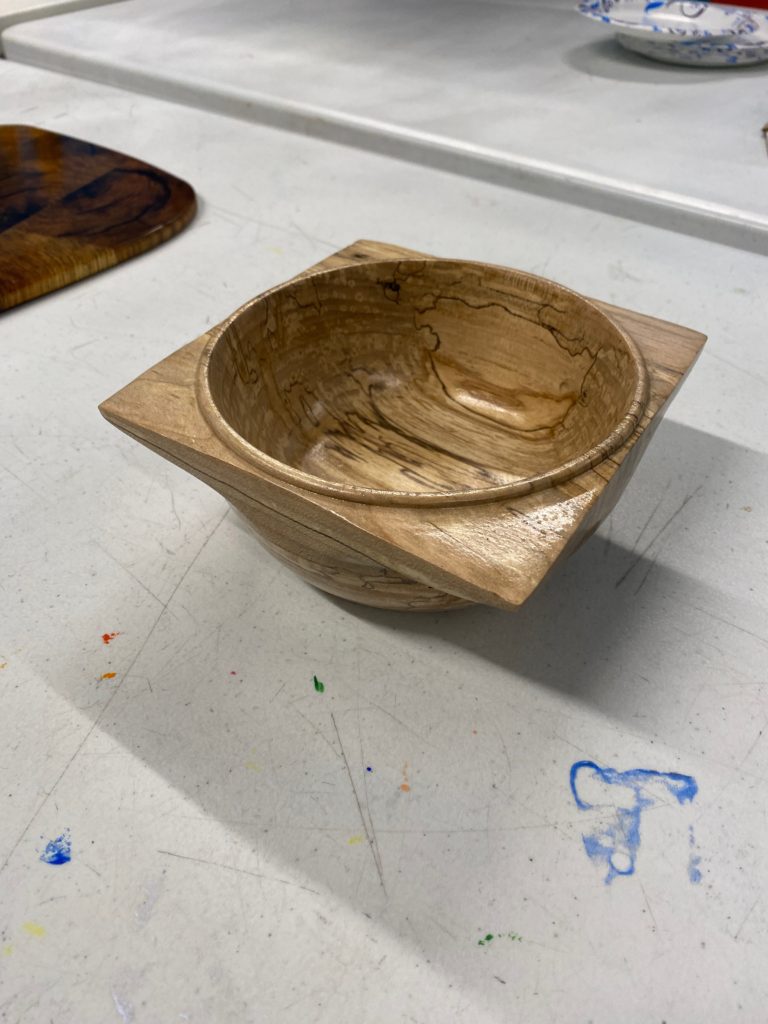
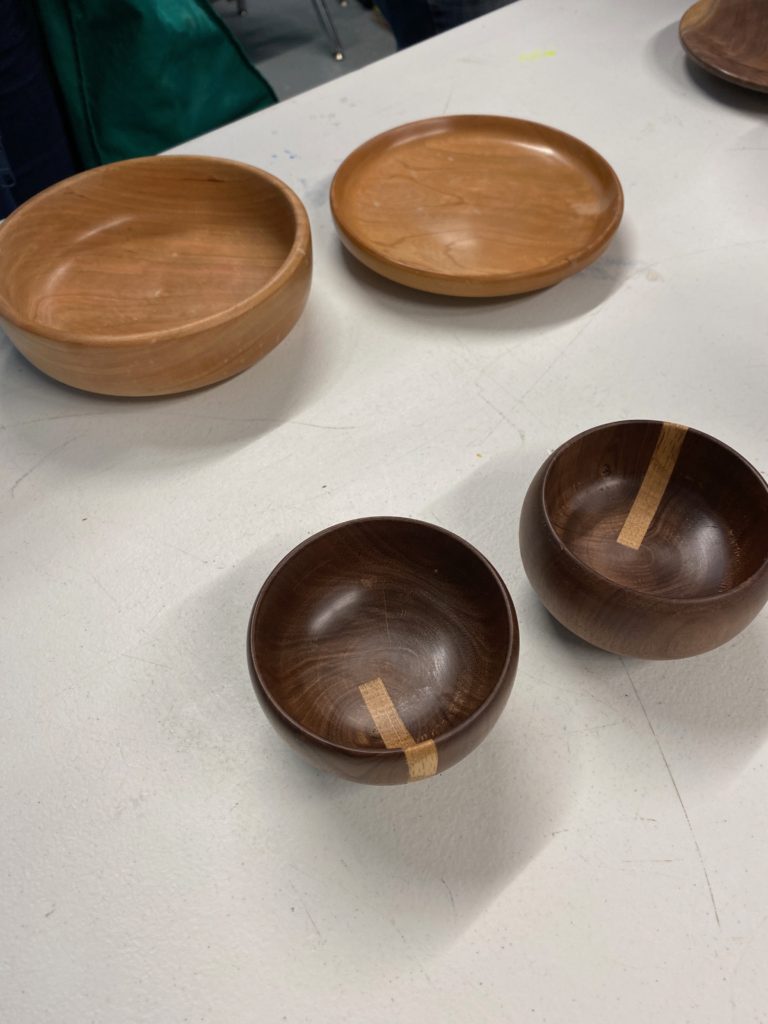
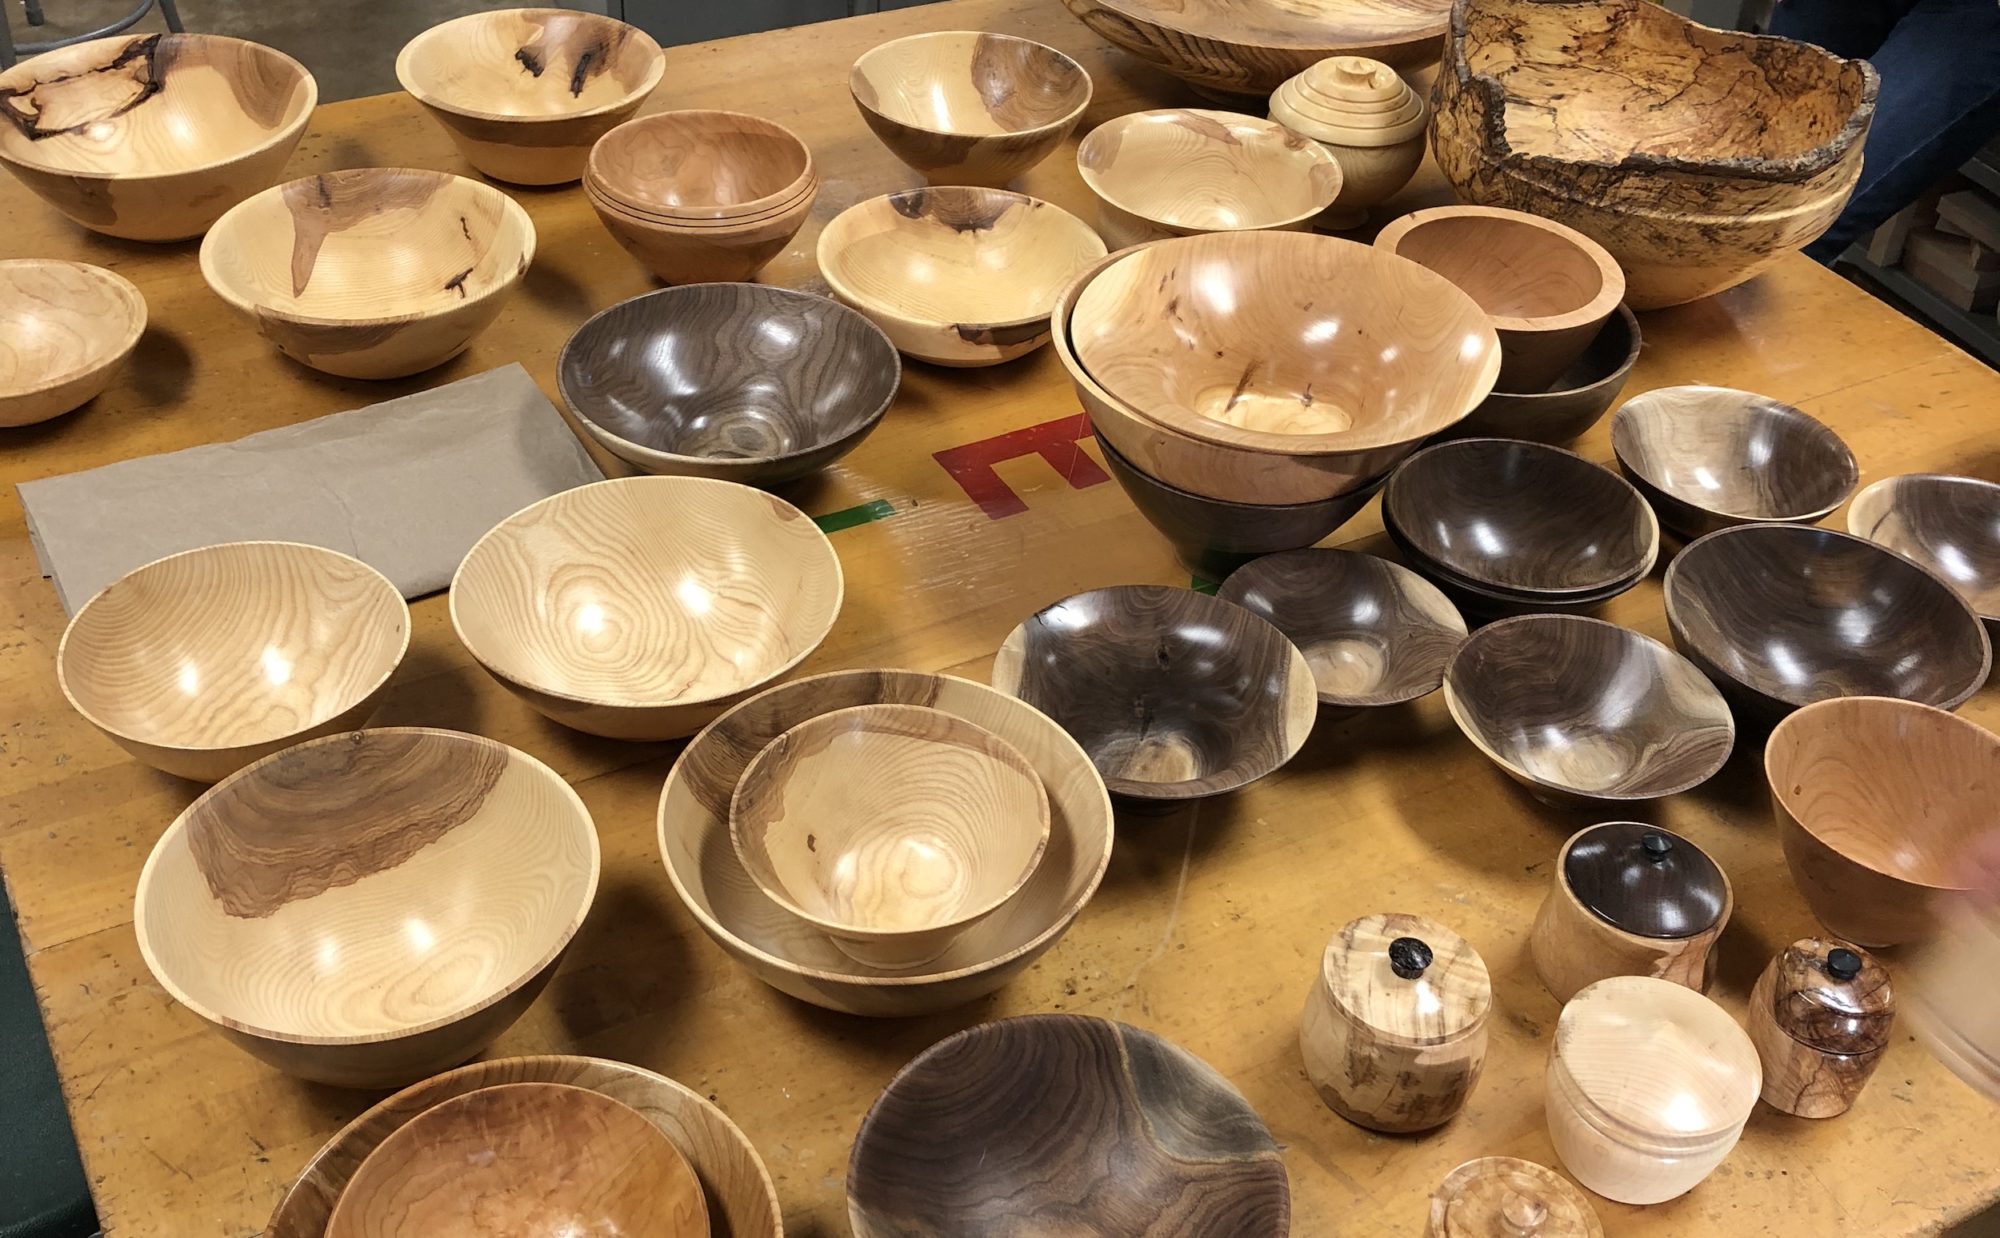
It was a show & tell bonanza…everyone brought things they made since the May meeting, so there was a lot to share. So many amazing pieces from the talented turners in our club.
During our first meeting after the summer break, Lee Stover gave his “Using Wood Intelligently” presentation which covered how and why and all the details about wood movement. Lee shared his expertise from his experience kiln drying and manufacturing of innovative hardwood flooring , including how to identify a tree by the microscopic cellular makeup.

Paul Demmert walked through the various ways to attach and secure a wood blank to the lathe to make a bowl using a chuck, faceplate and even the drive spur.
We also had a great turnout for the show & tell at our meeting. Look at all the amazing work our members made recently.