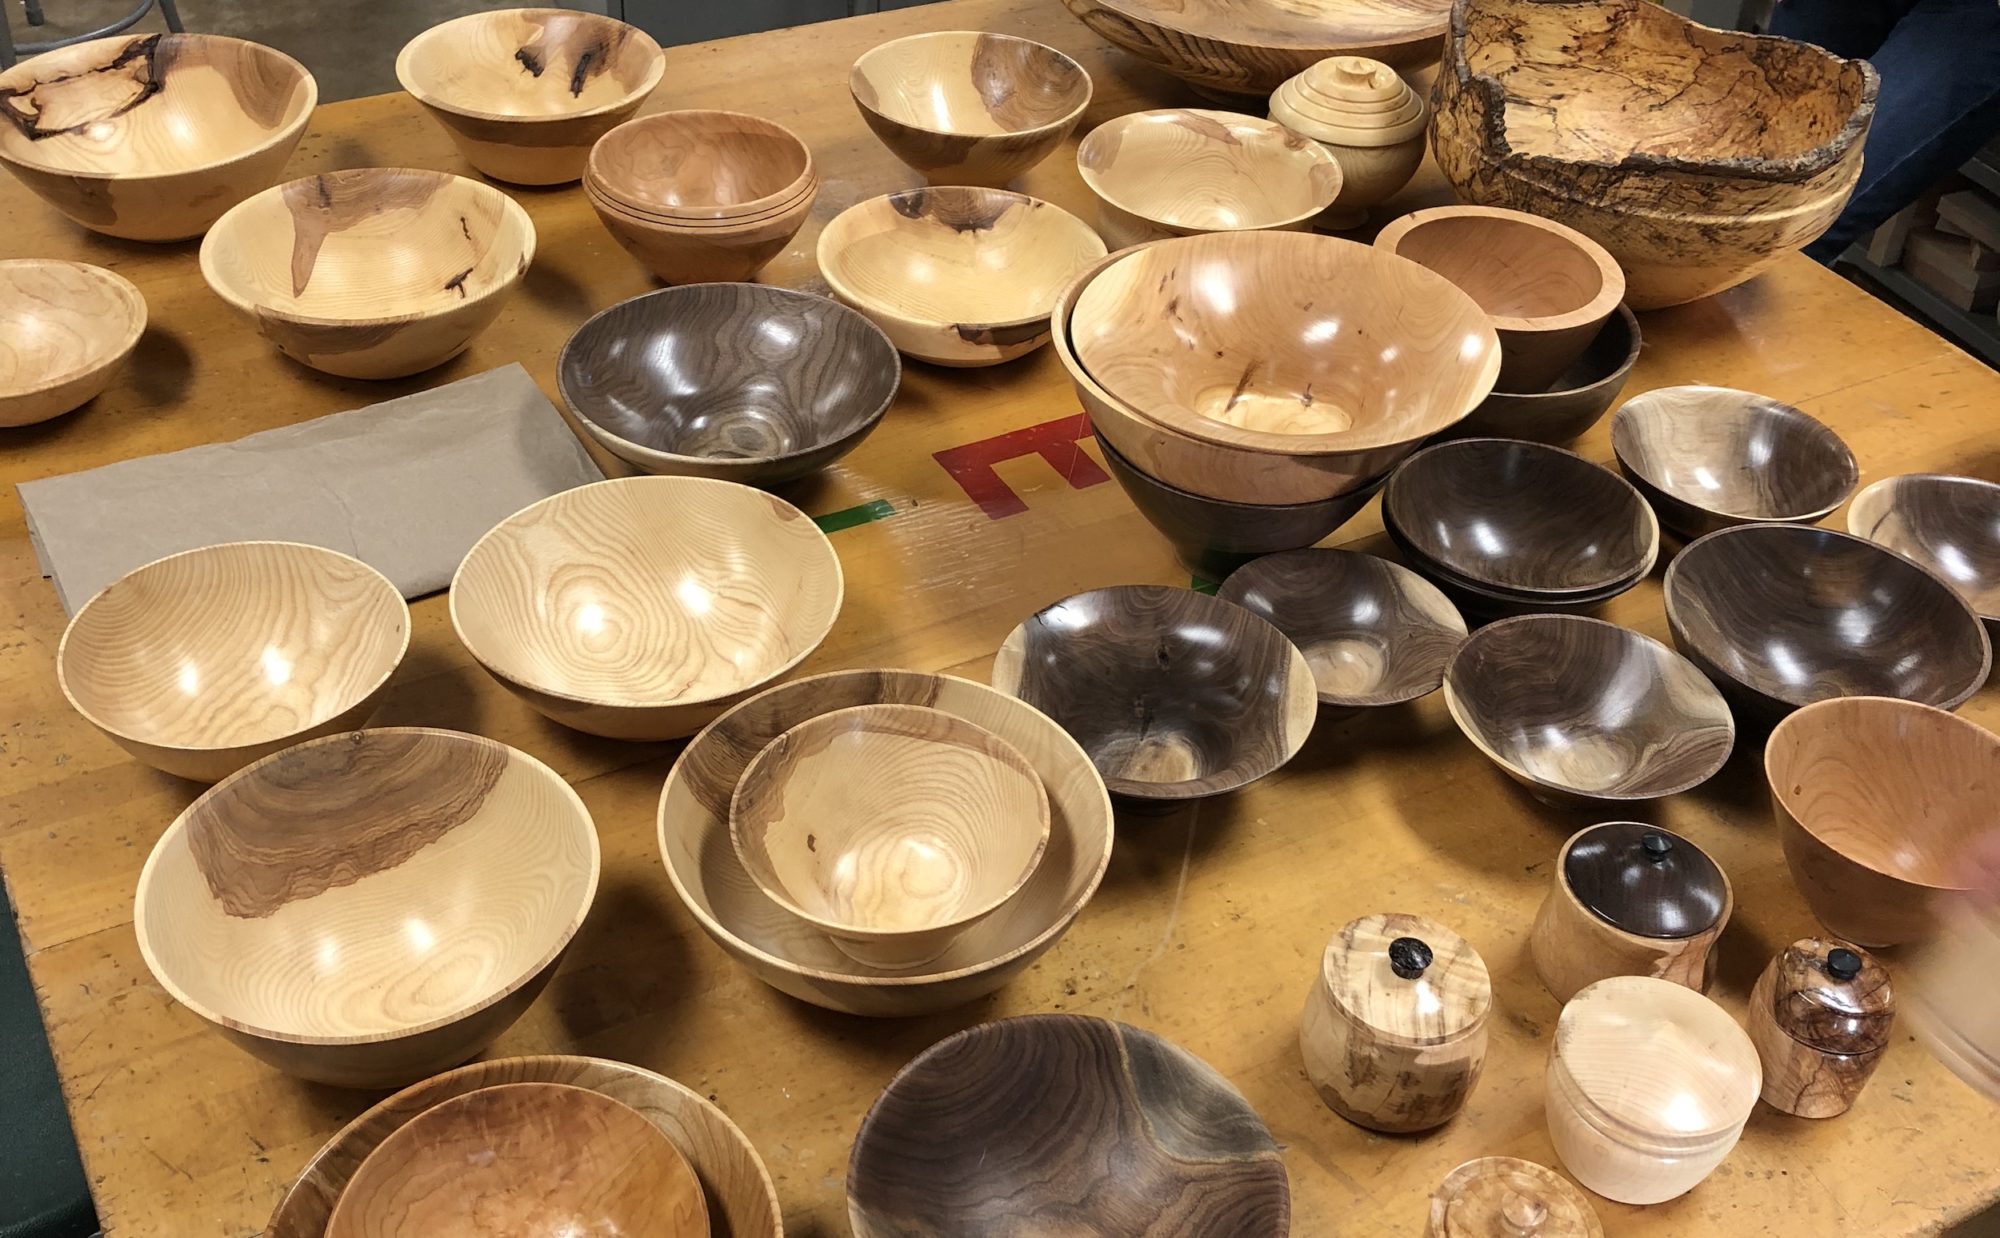
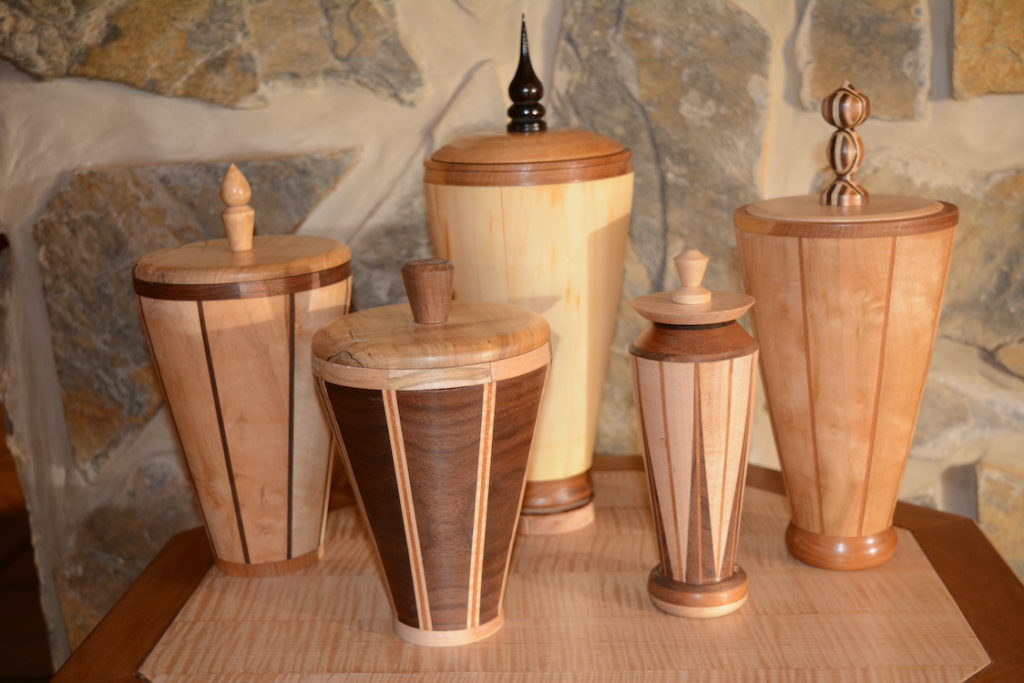
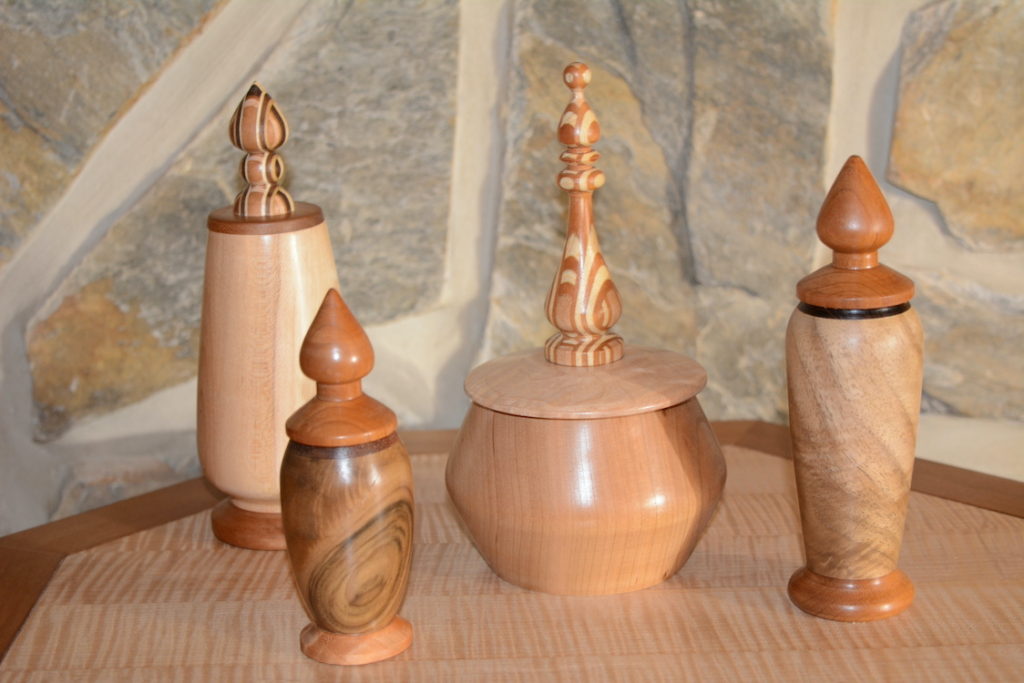
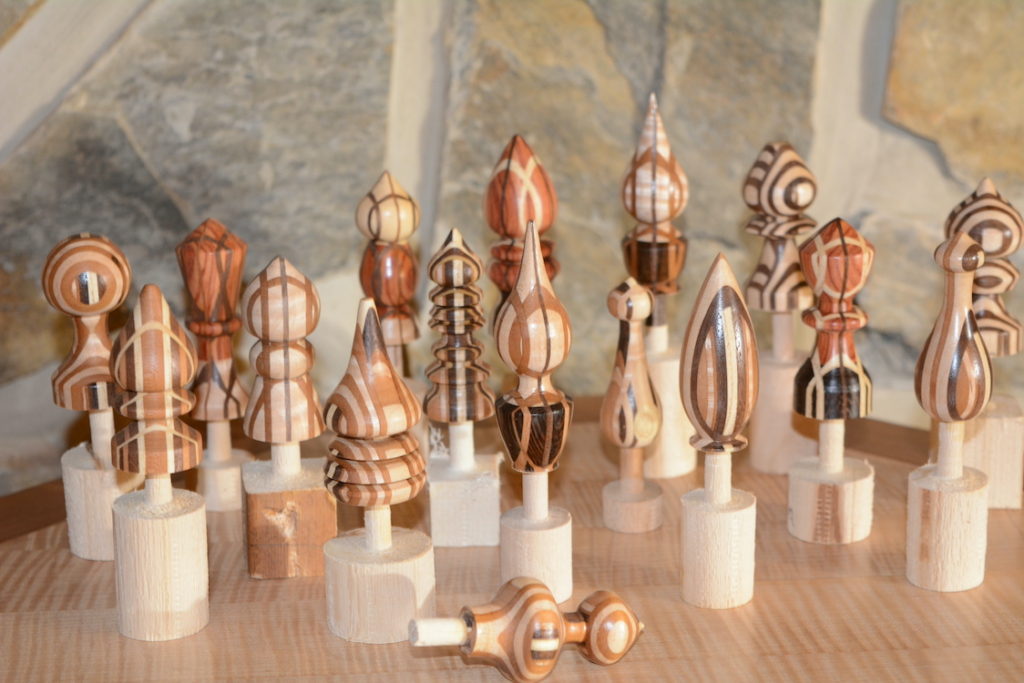
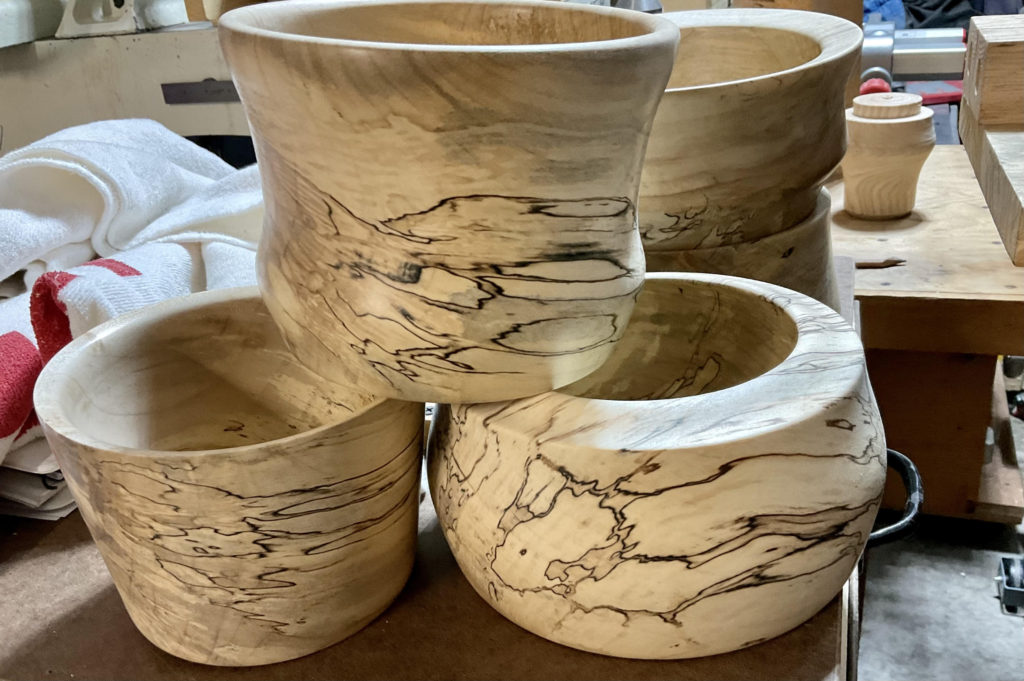
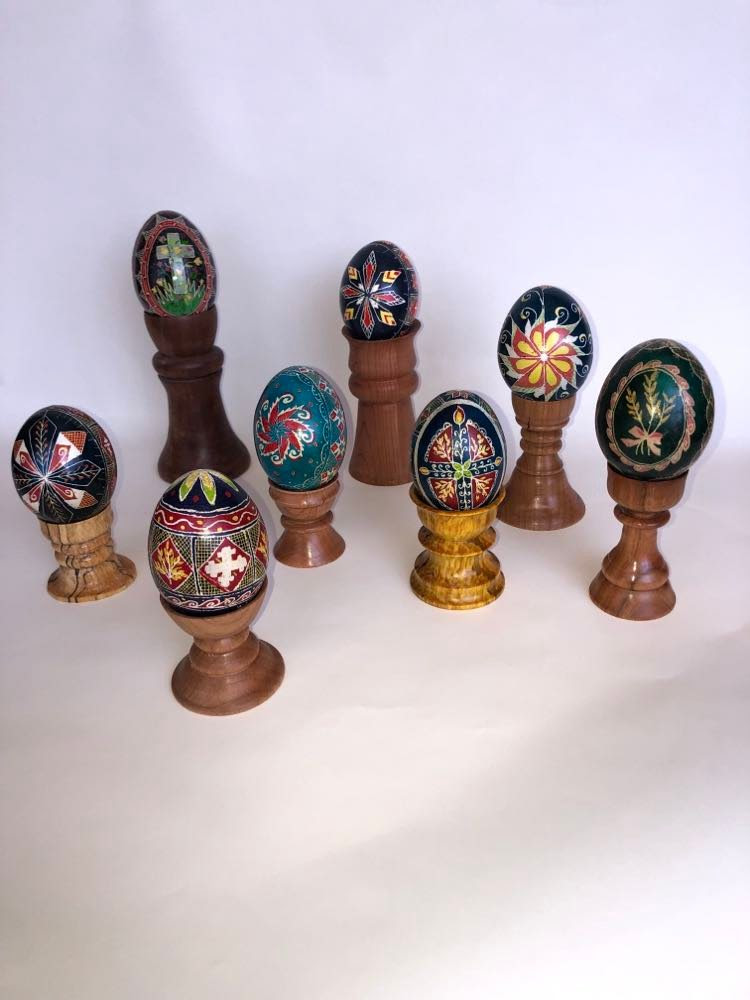
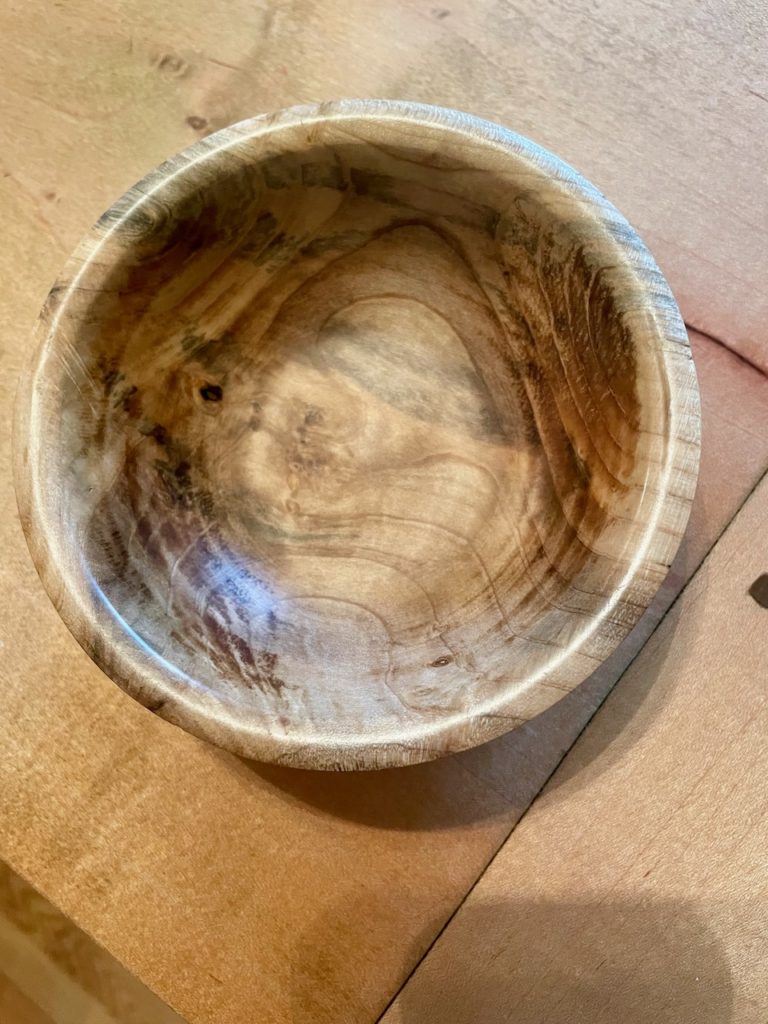
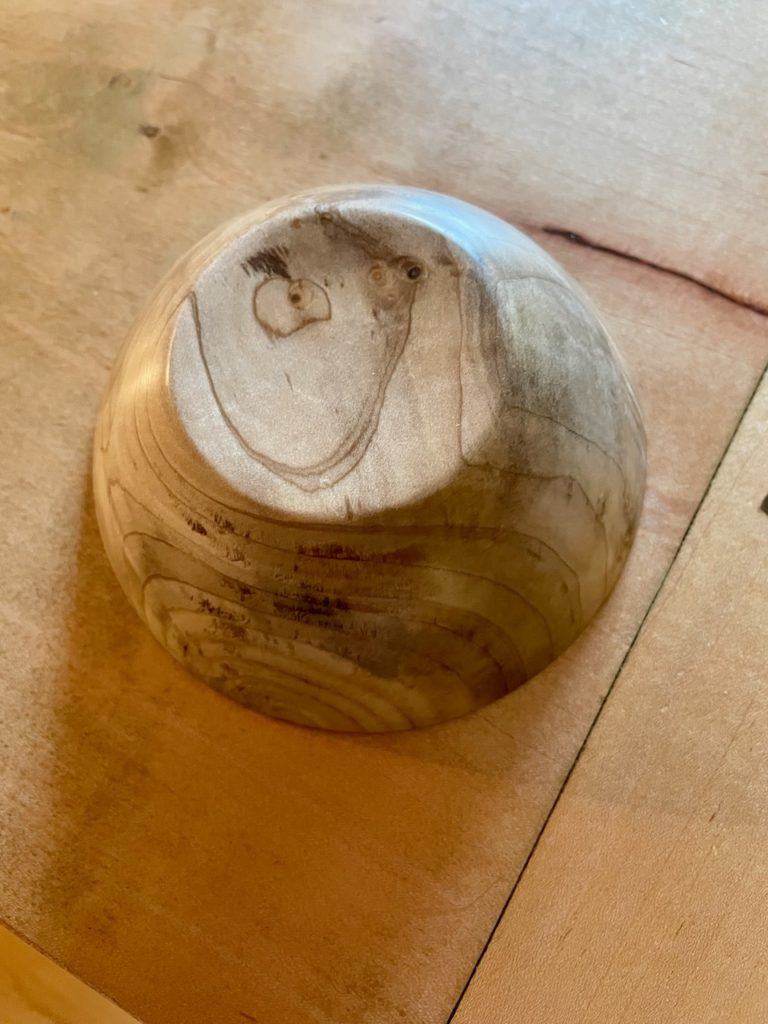
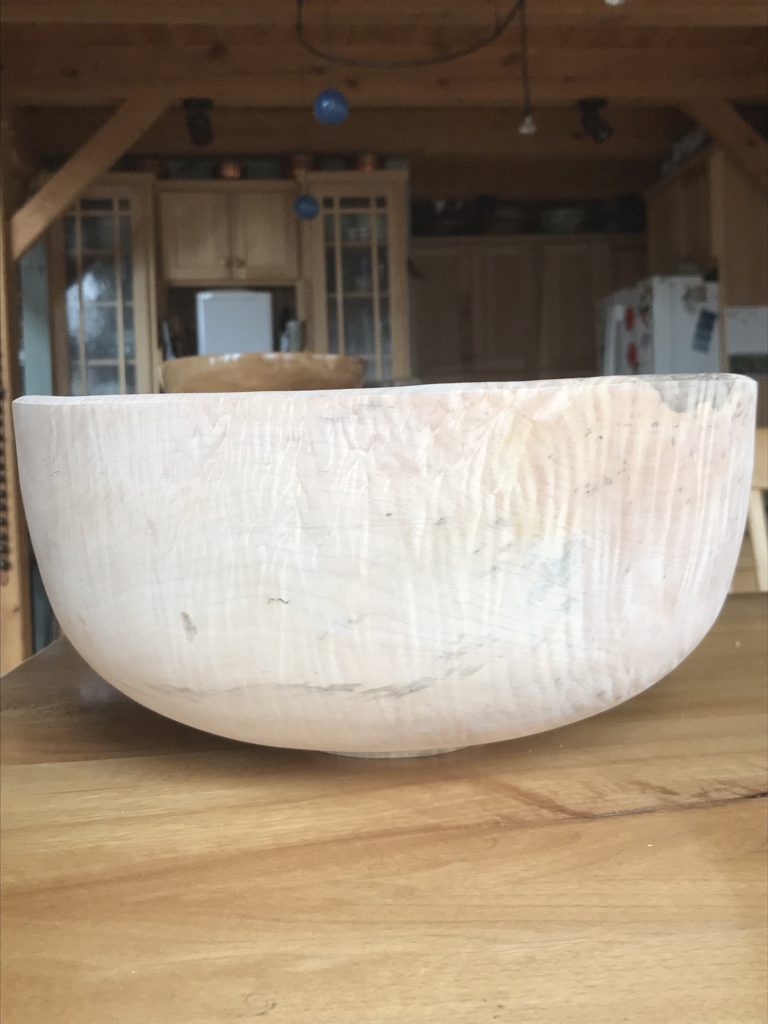
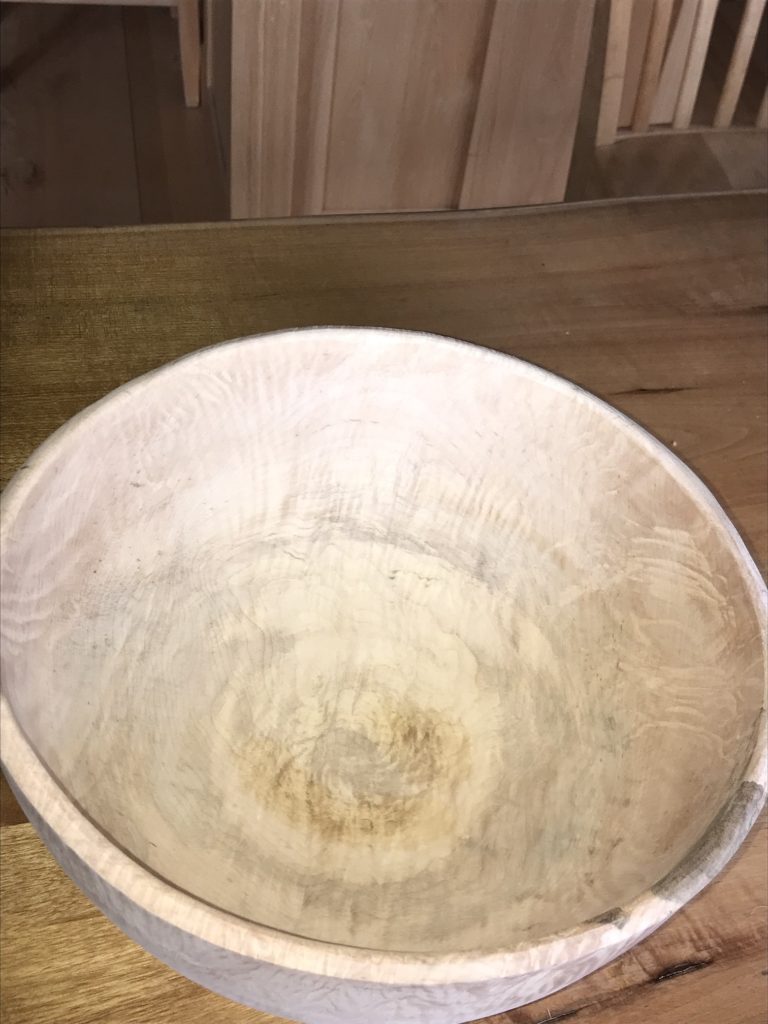
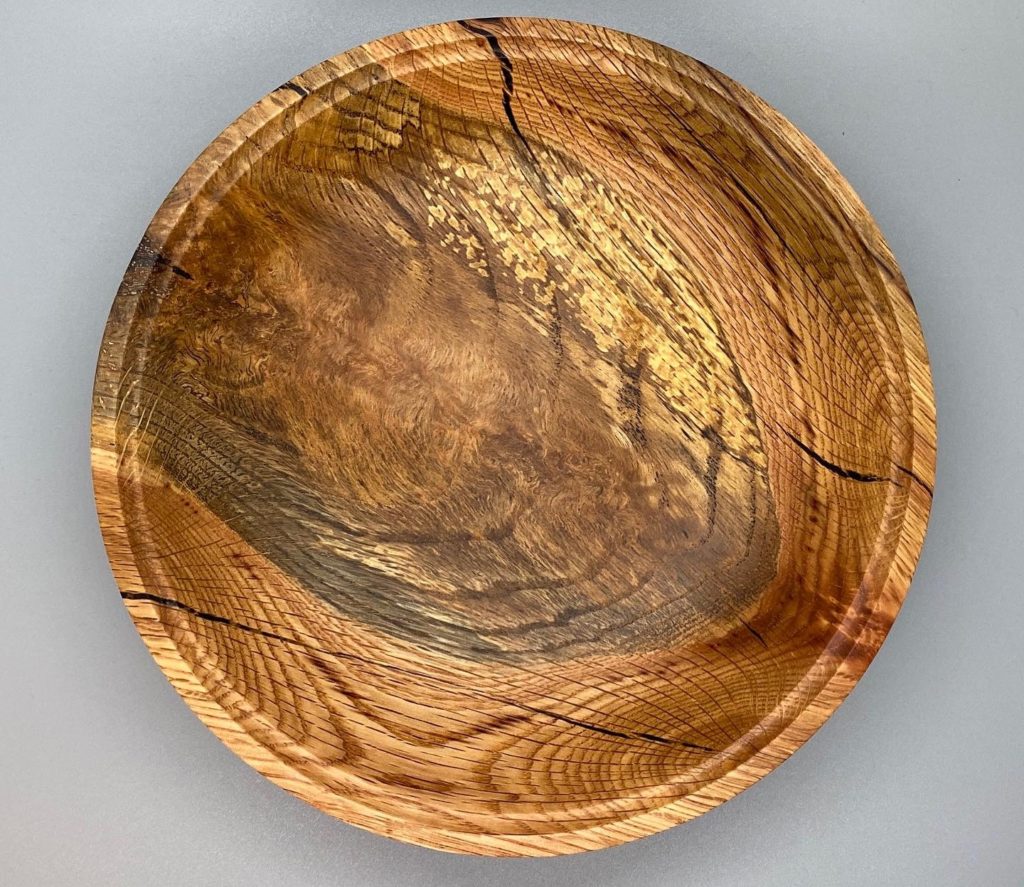
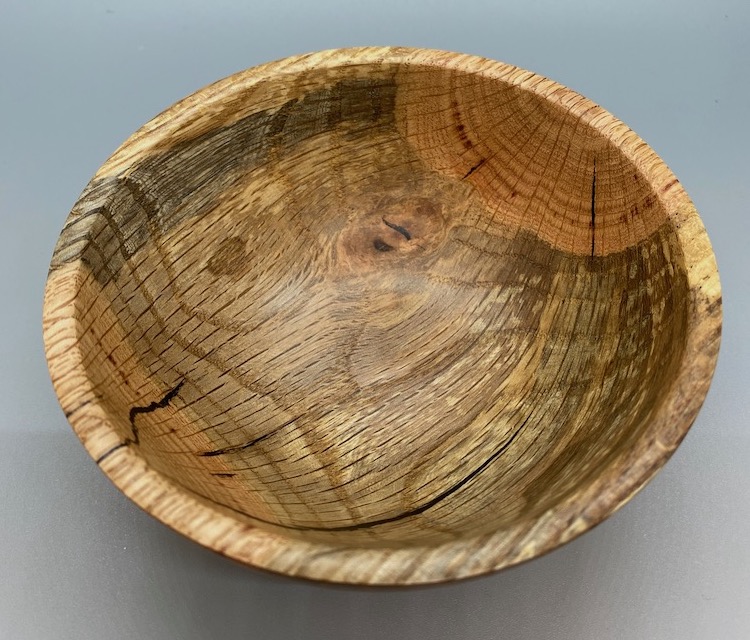
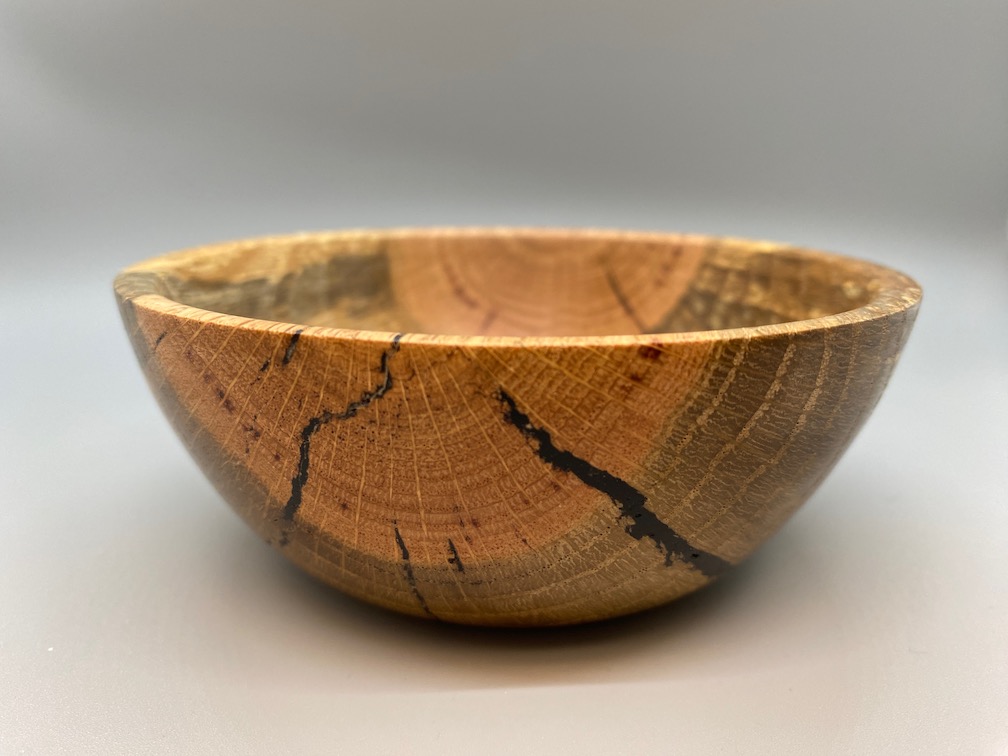
Unfortunately we could not meet in March as planned due to a COVID outbreak at our normal meeting place, but our members had kept busy turning and below are some of the items we likely would have seen at the show & tell time. Enjoy the craftsmanship and hopefully it sparks some new ideas for you as well.

Stephen Tuttle not only sent a picture of what he’s been working on, he also explained how it was done, the plan and tools he used and how to get your own. We nearly got a virtual demonstration for this one.
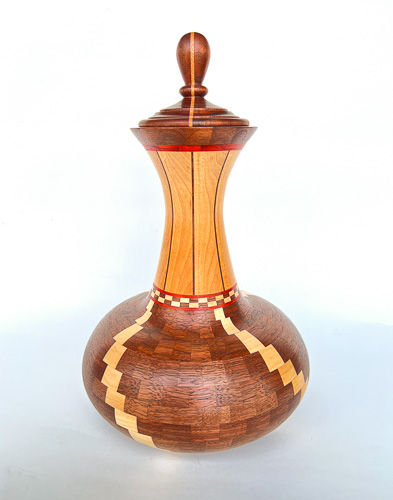
Segmented Ornamental Carafe – Walnut, maple, padauk, 7 1/2″ x 14″h
After seeing a lot of fantastic work in the “segmented turning” realm I was inspired to try it myself.
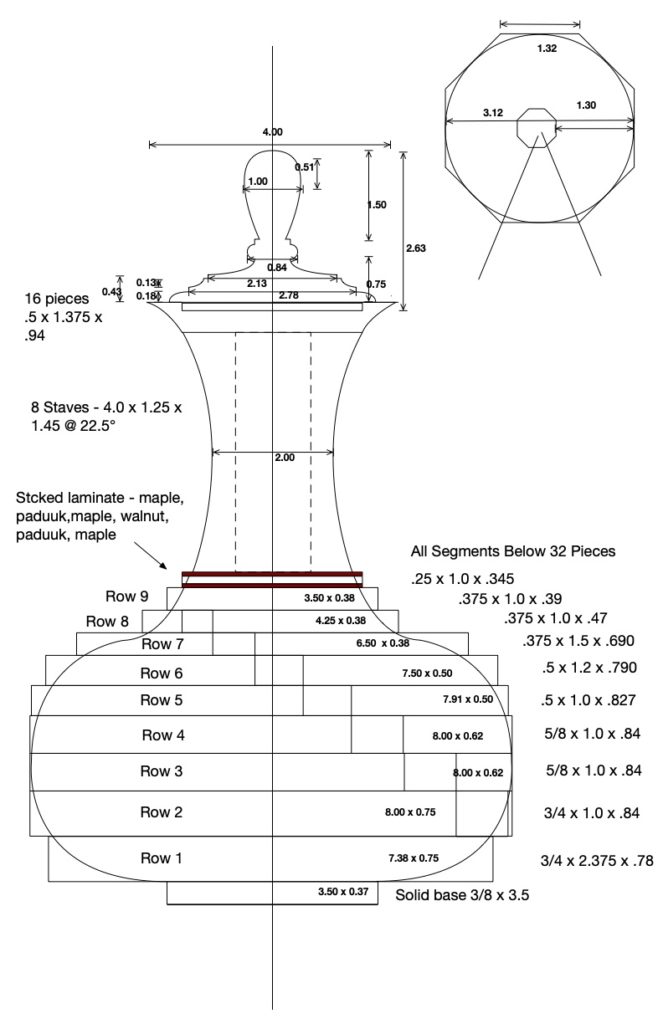
These turnings have to start with a plan. You could do it on graph paper but I use inexpensive MAC software called iDraw.
Once you know the circumference of your piece this online segment calculator is very helpful to figure out the size of each segment.
http://www.woodturnersresource.com/extras/projects/segmentcalc/index.html
This jig greatly simplifies cutting accurate segments that make up each ring.
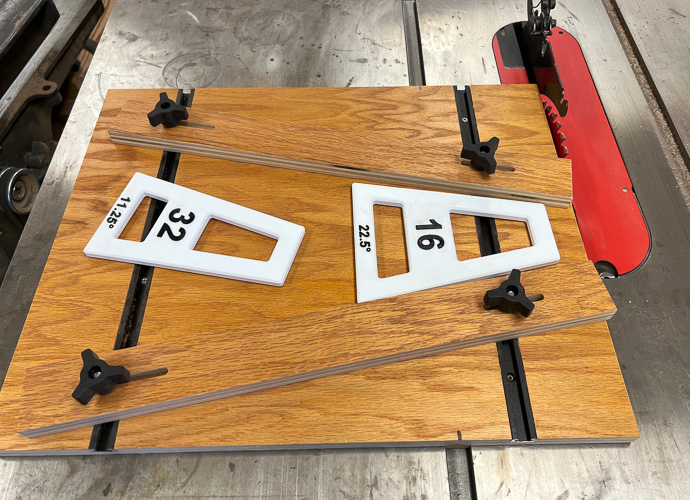
I made the “wedgie sled” following this YouTube video:
And I purchased “wedgies”, computer generated shapes for any angle or number of segments/ring, to set up the jig.
https://www.etsy.com/listing/850428444/segmented-bowl-wedgies-wedges-for
These two items worked very well to create tight joints in the rings. Rings are glued up using hose clamps that can be gotten at any hardware store.
Once all the rings are made they are glued in a stack. I did this incrementally – the bottom half of bowl section was done first and notched to receive top half. The throat was a little different as the sections are staves and not cut with the sled. This was turned separately and glued to the completed bowl section.
This technique is definitely not for everyone as it is more figurin’, calculatin’, cuttin’ and gluin’ than turning. If I do more of it I think I will keep it simple. I don’t think a 10,000 piece masterwork you see online is in my future. It does have positives in that it can be done with many of the scraps that accumulate in a shop. There are no drying issues. There isn’t any end grain exposed in the circumference of the turning. You can make a large bowl with more manageable pieces of wood.
I know I have seen this shape before, but where?…

Perhaps our next president’s challenge should be making Genie bottles. Now you have all you need to make your own.