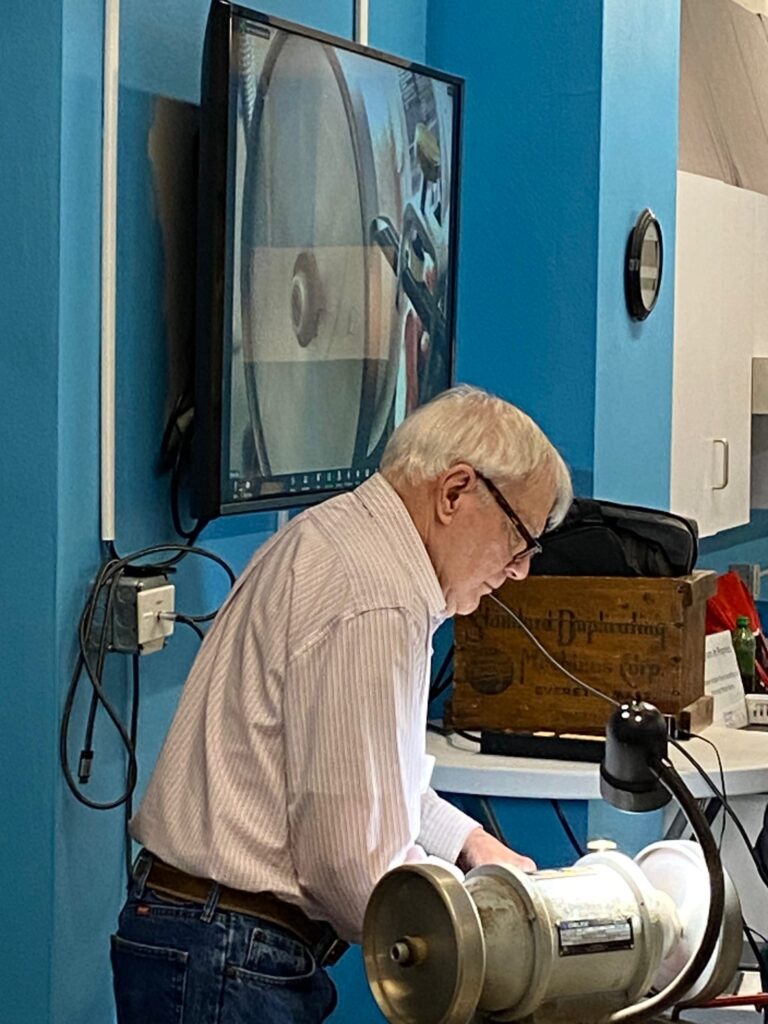
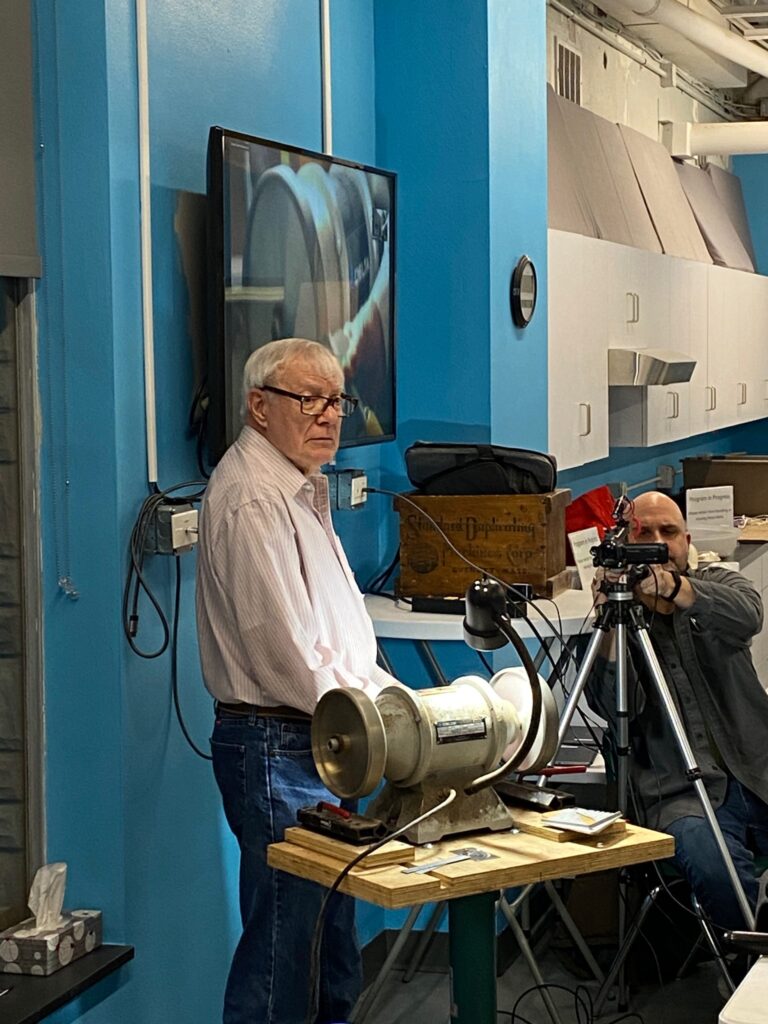
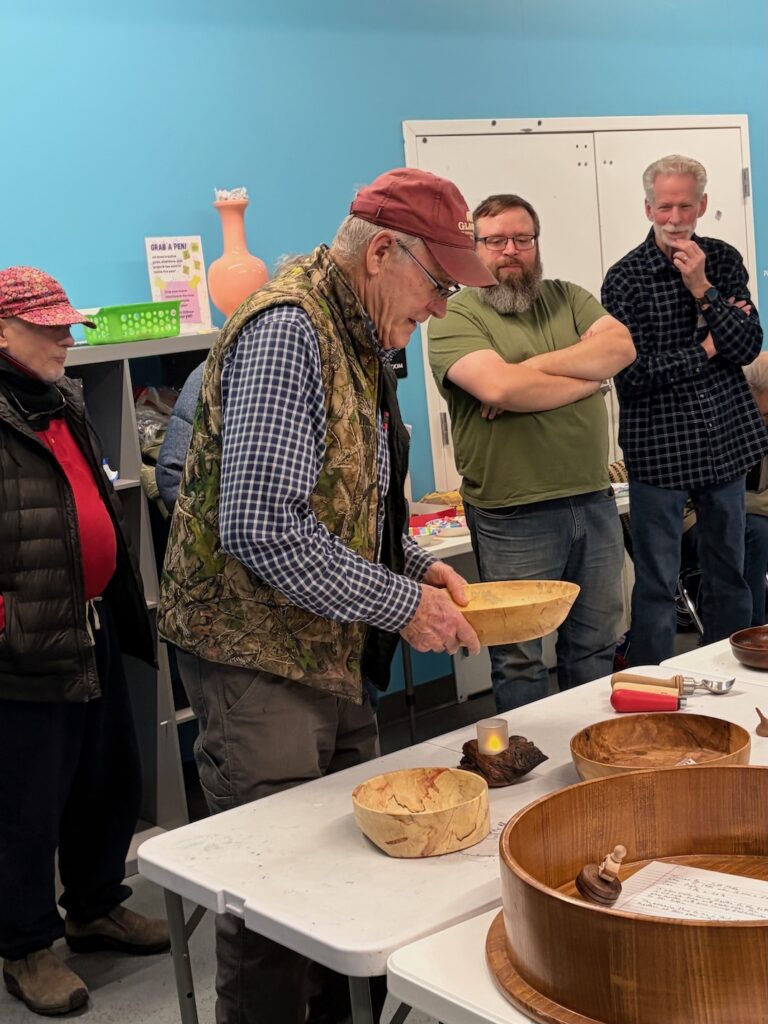
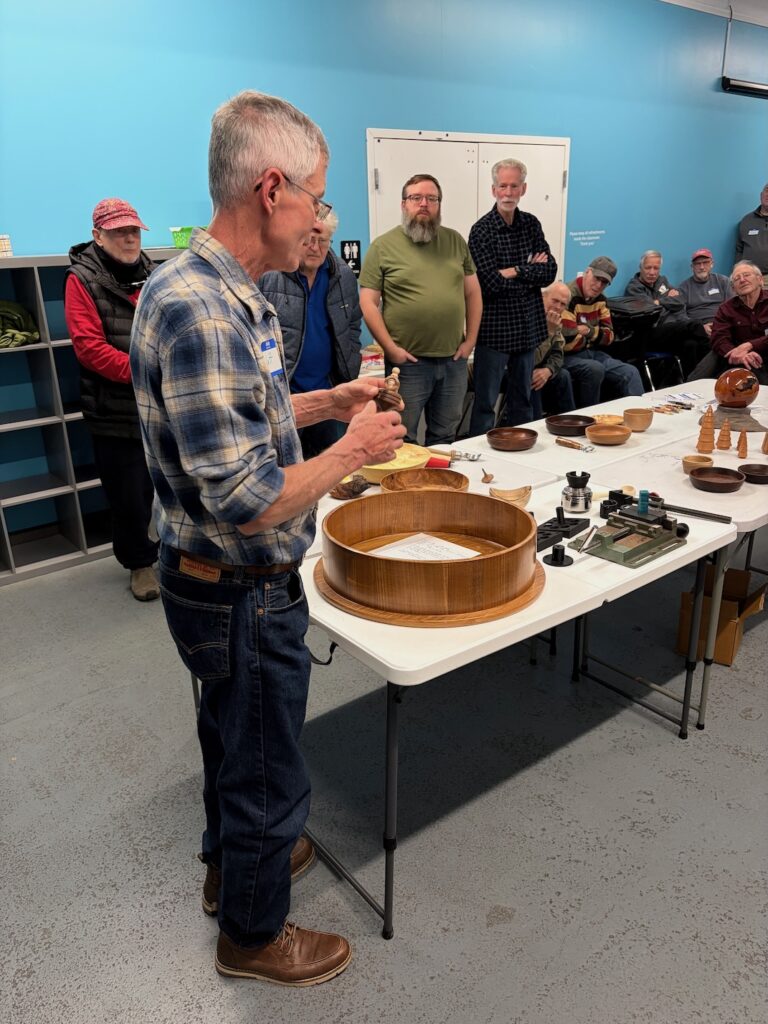
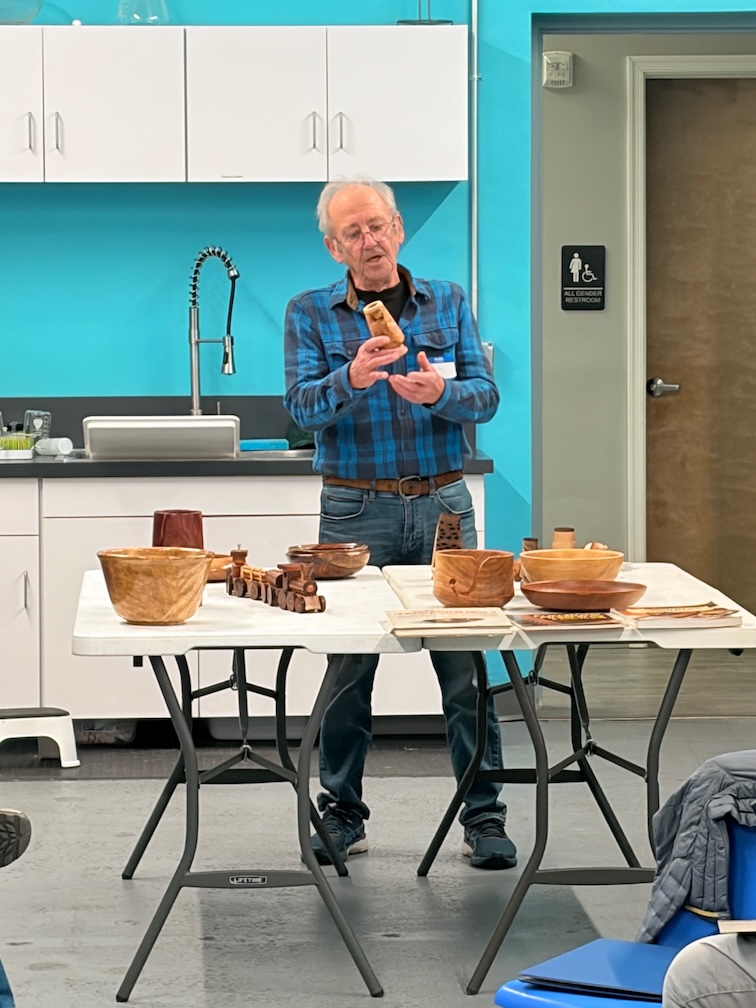
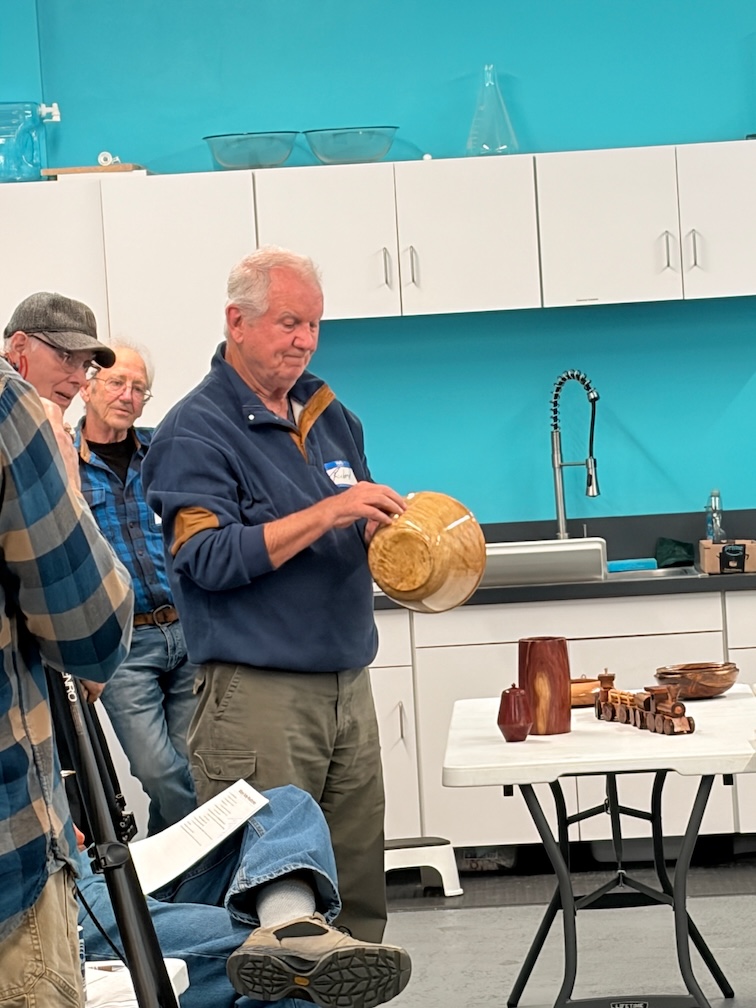
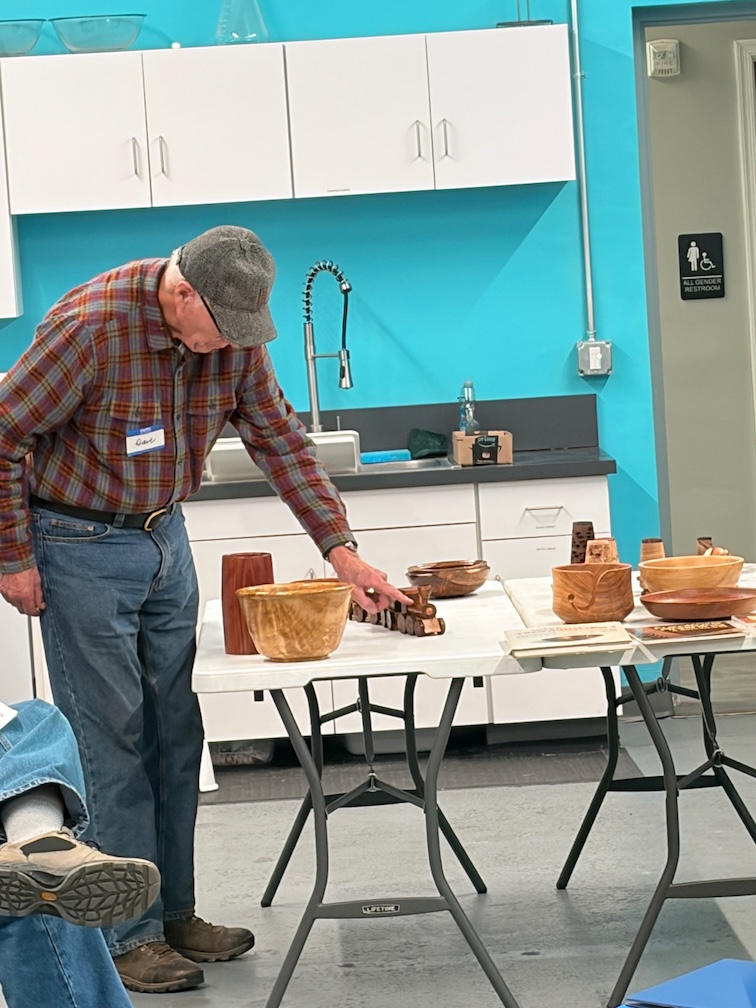
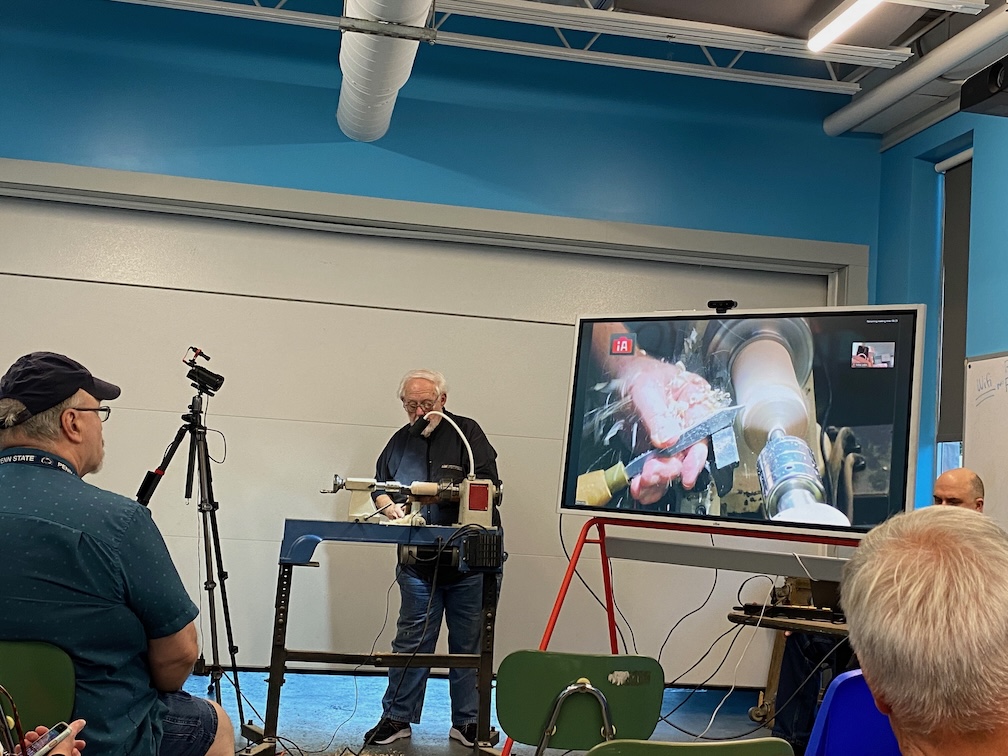
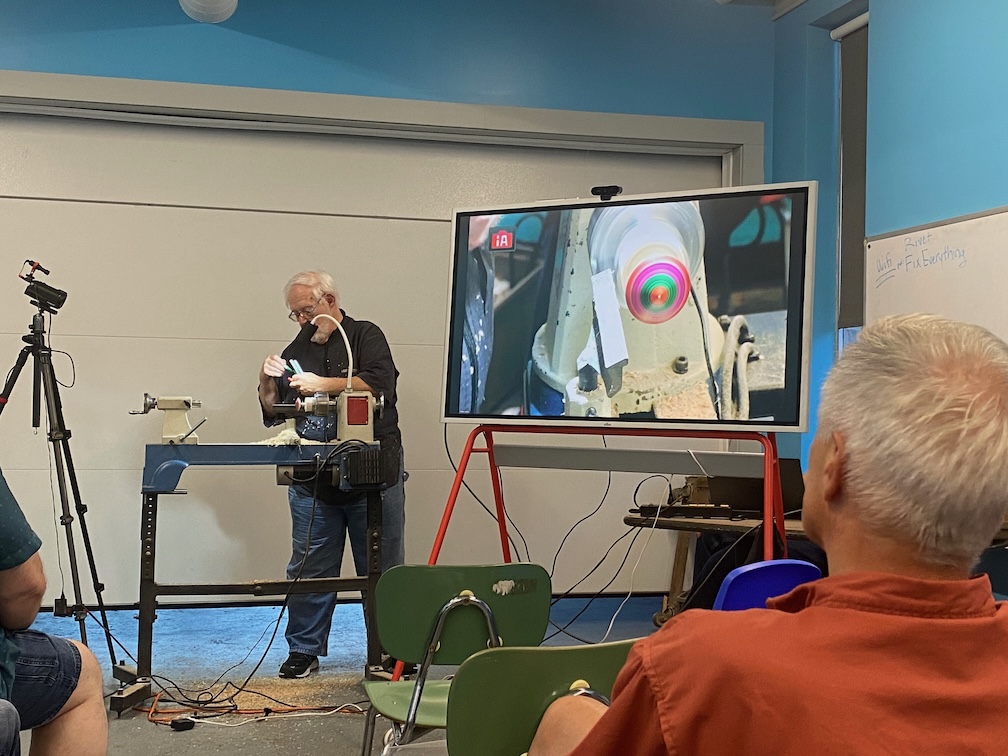
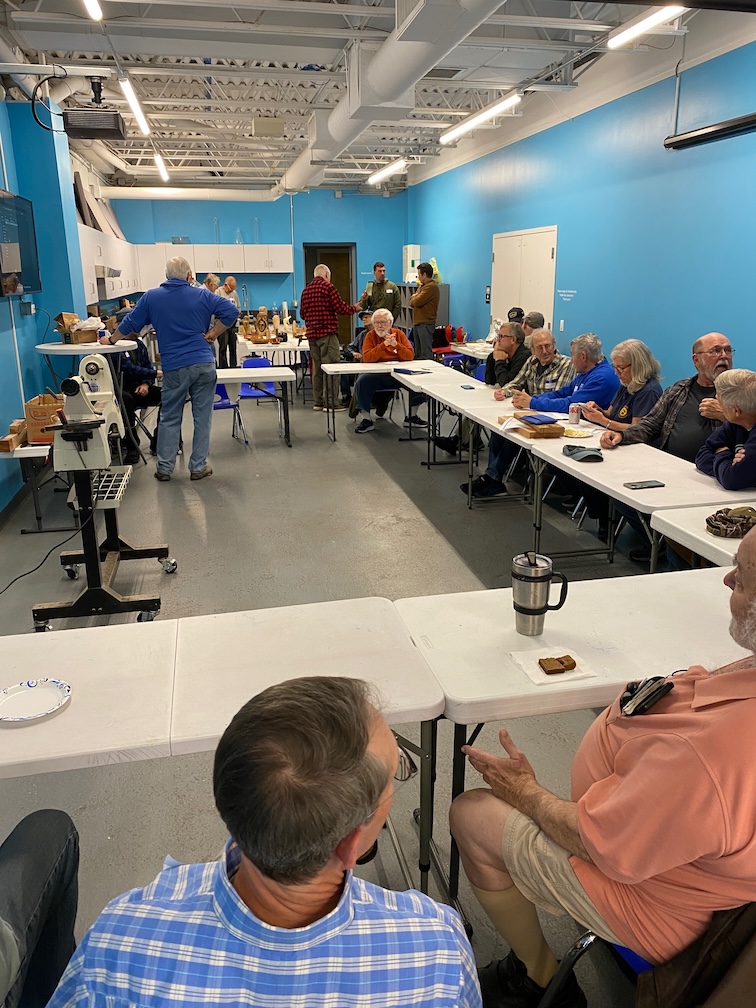
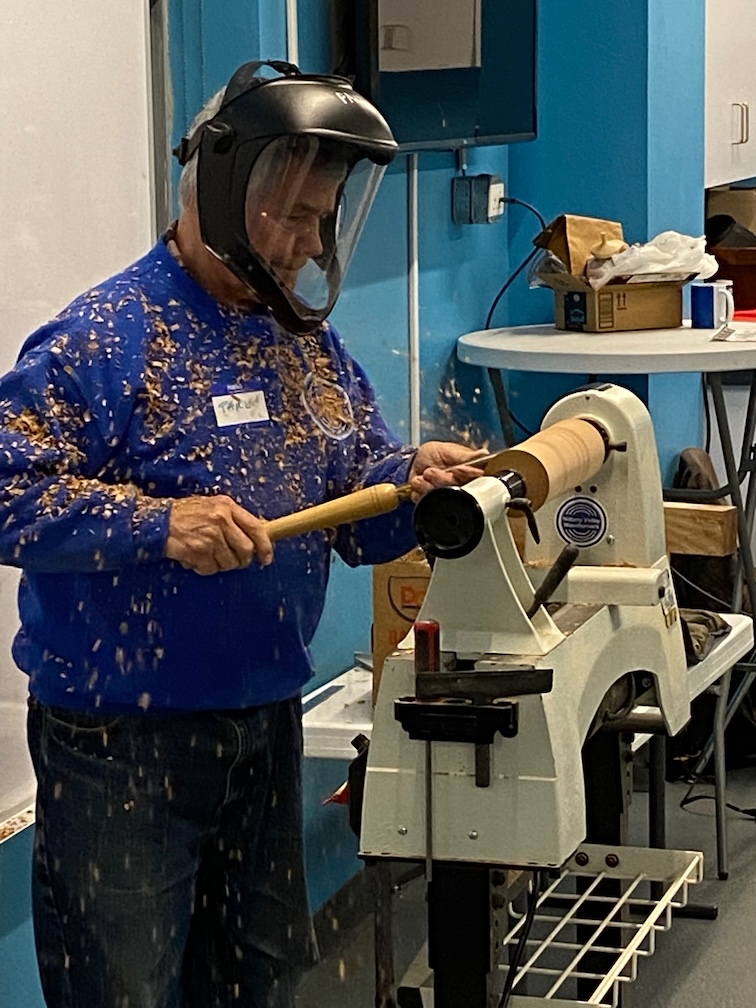
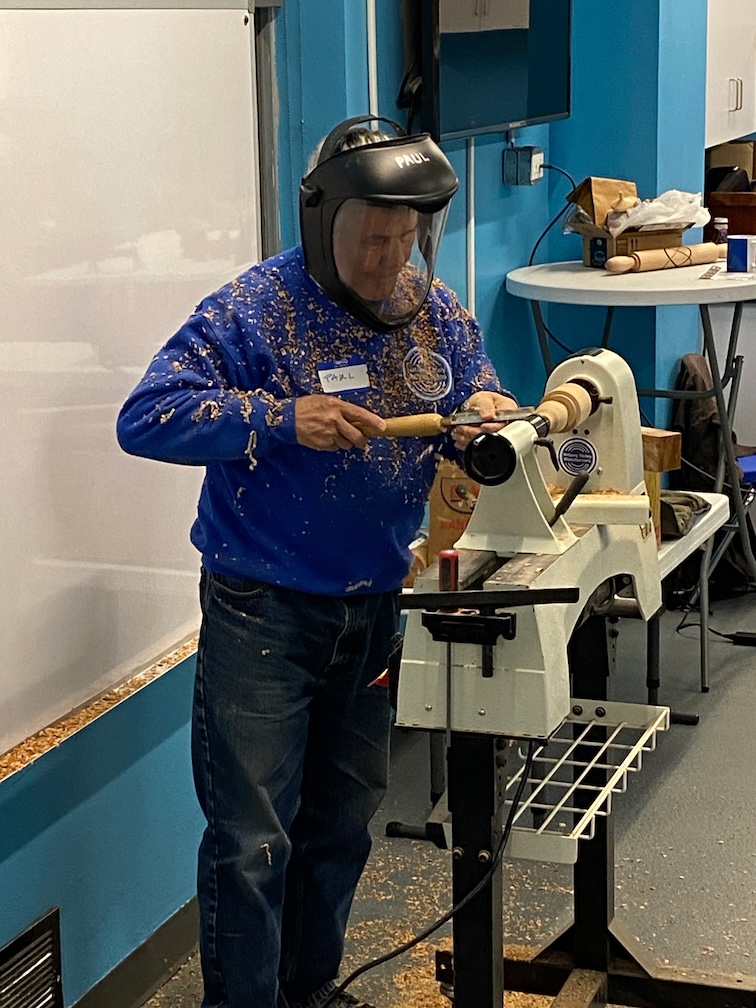
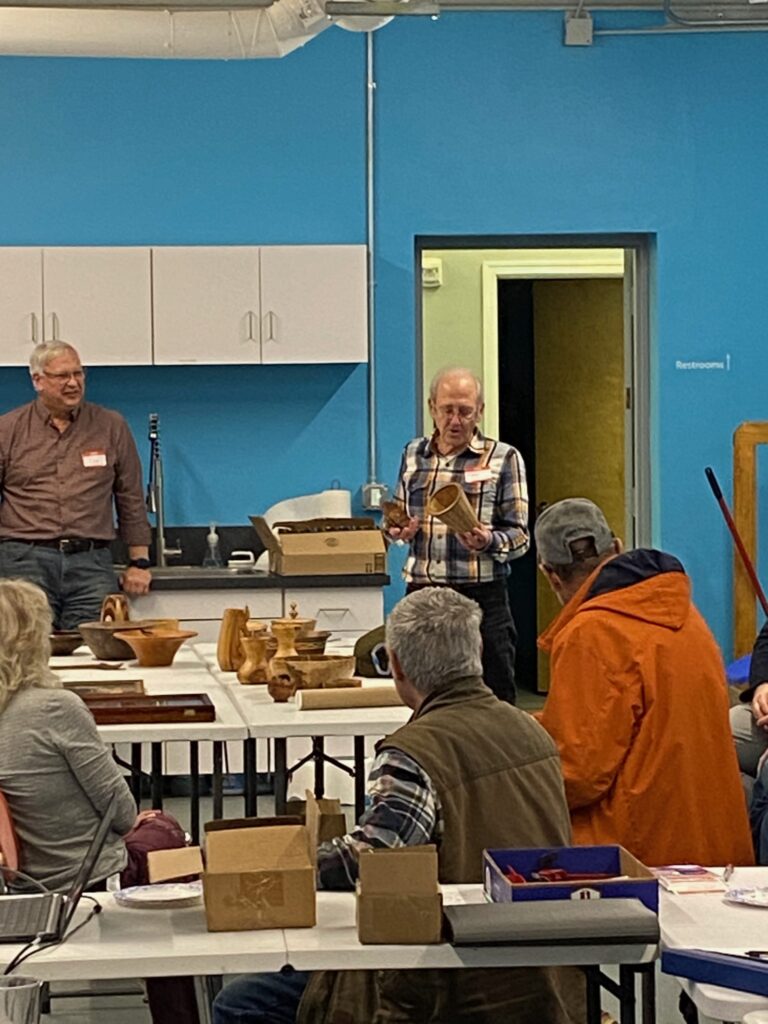
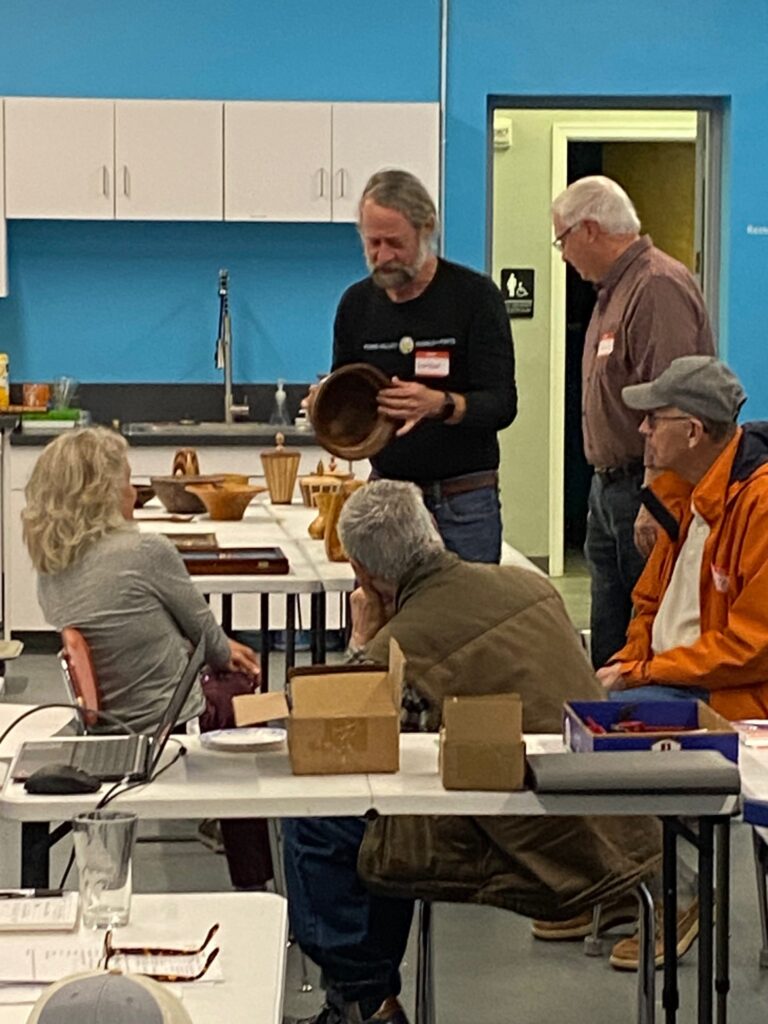
We had a presentation covering lathe maintenance from the wisdom and experiences of Paul & Ken.
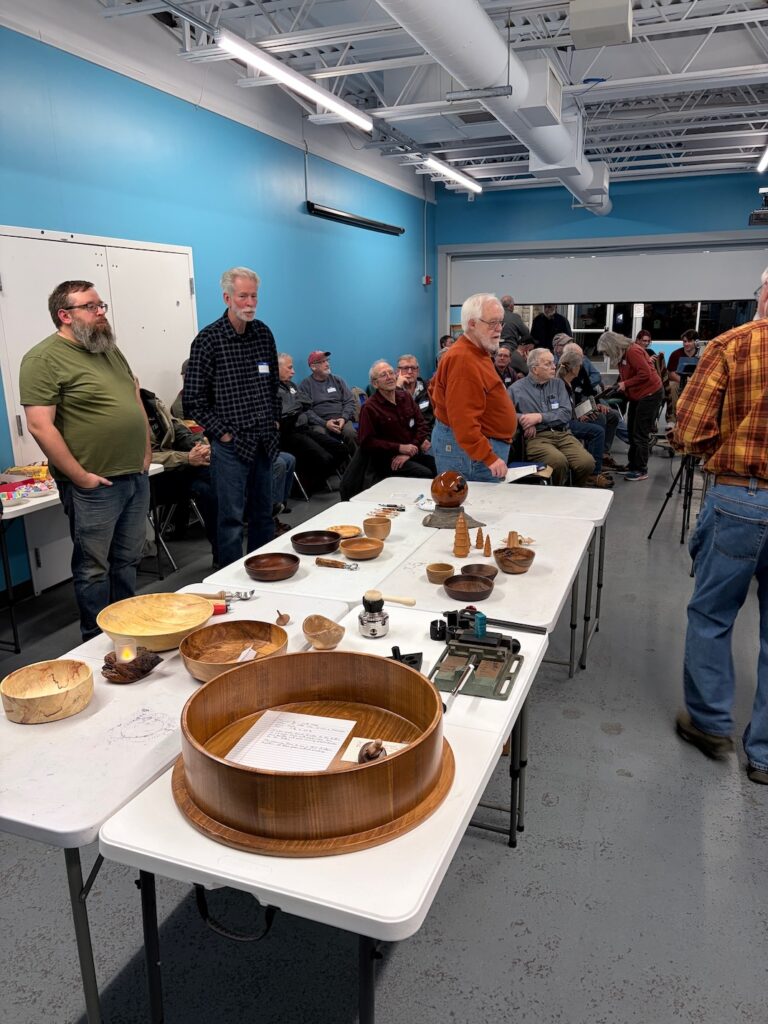
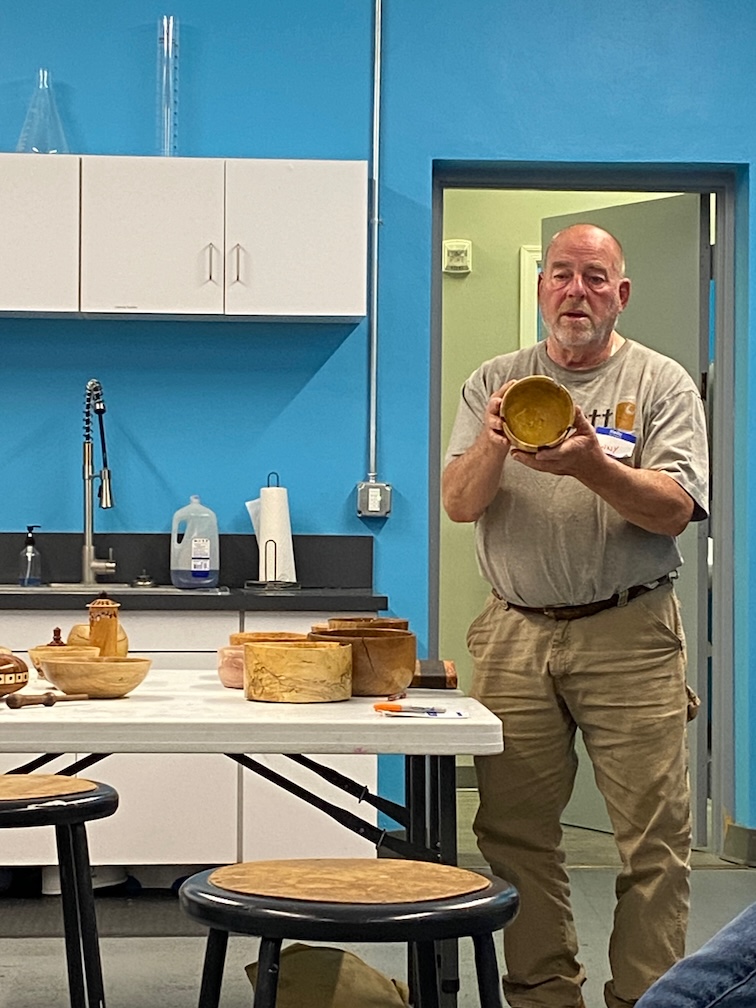
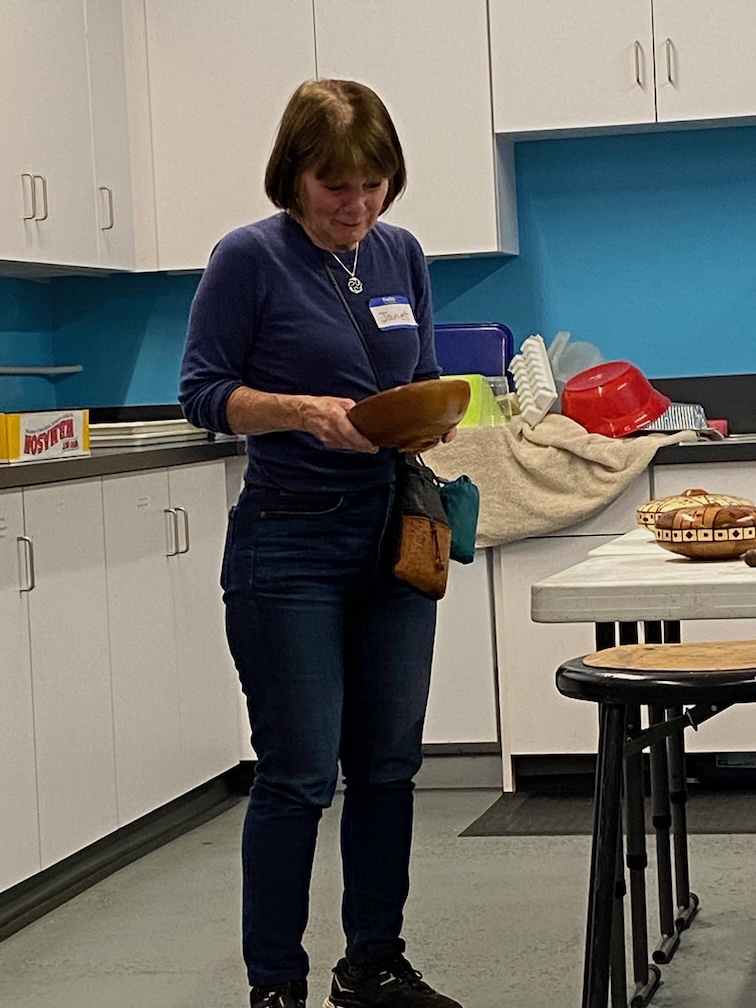
Show & Tell
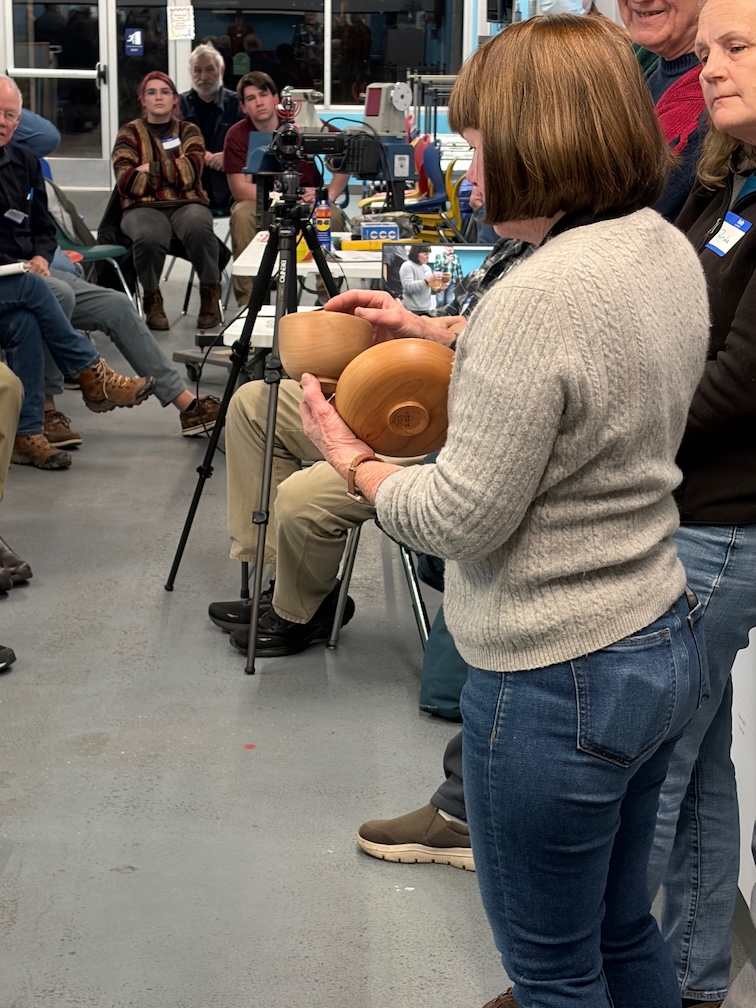
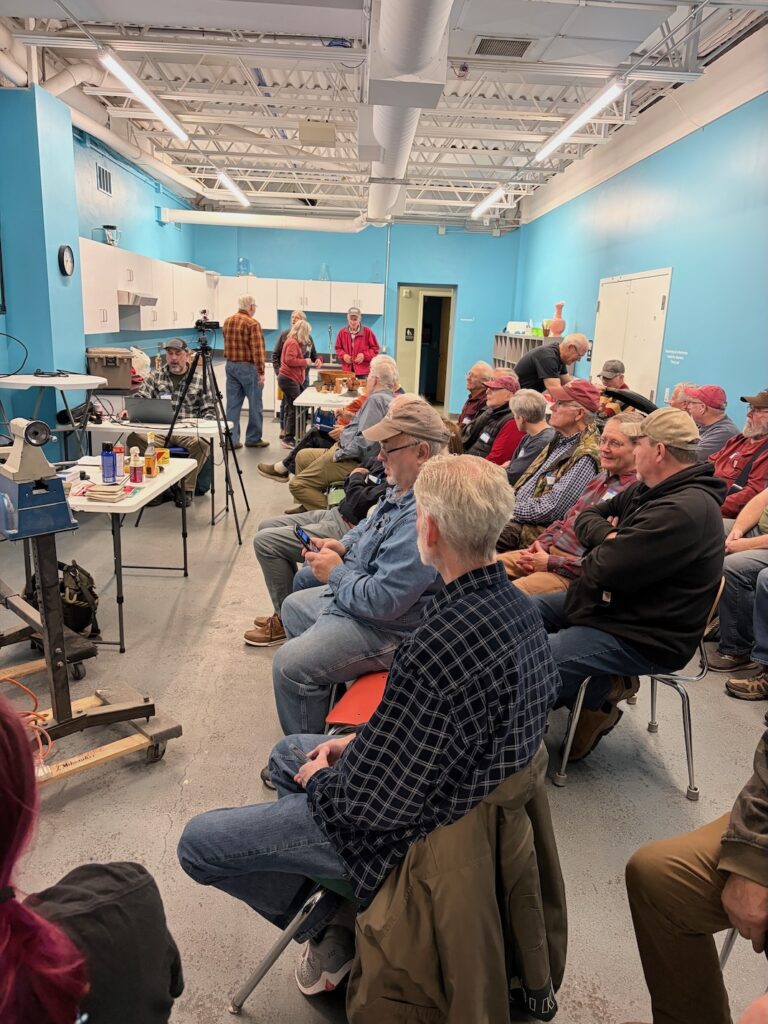

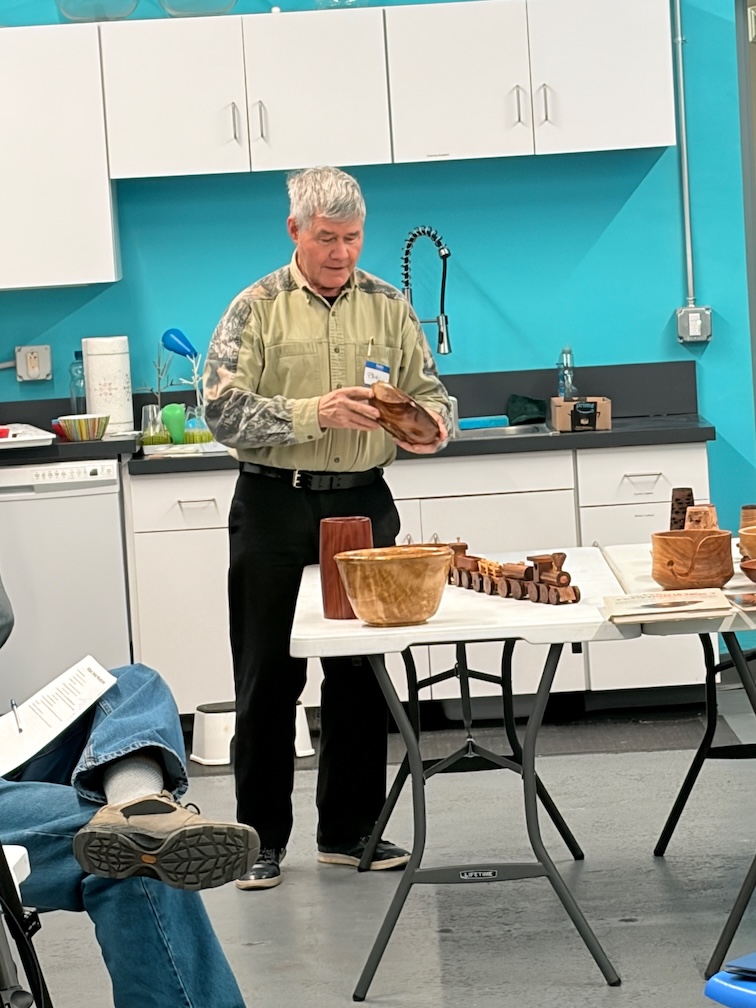
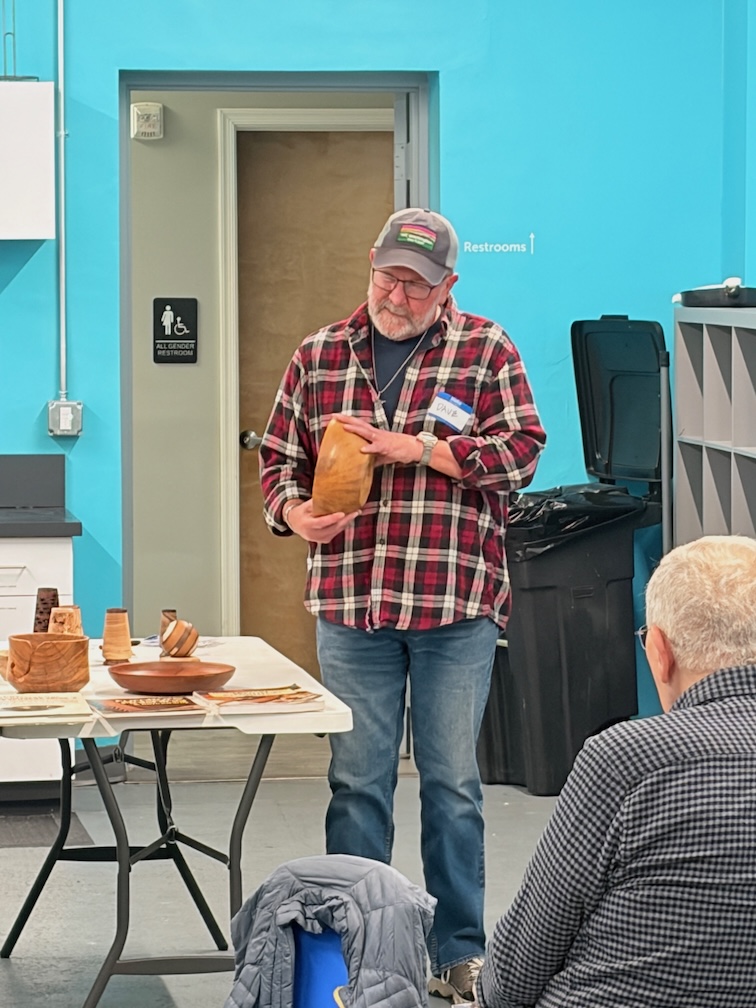
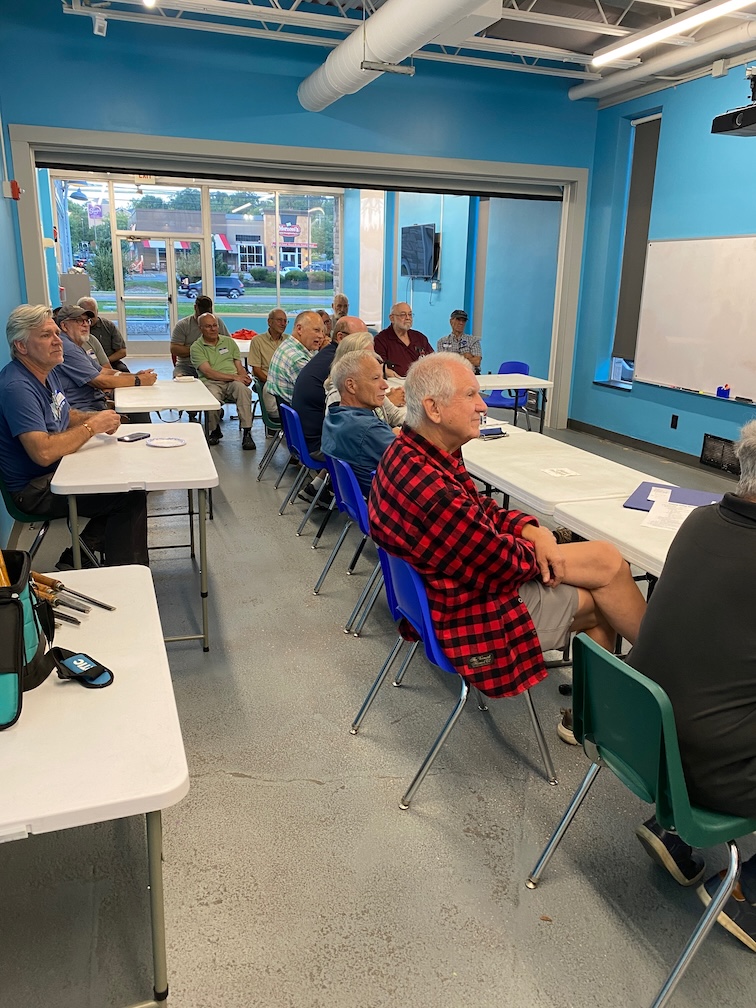
Woodturners club in State College, PA
We had a presentation covering lathe maintenance from the wisdom and experiences of Paul & Ken.
Show & Tell
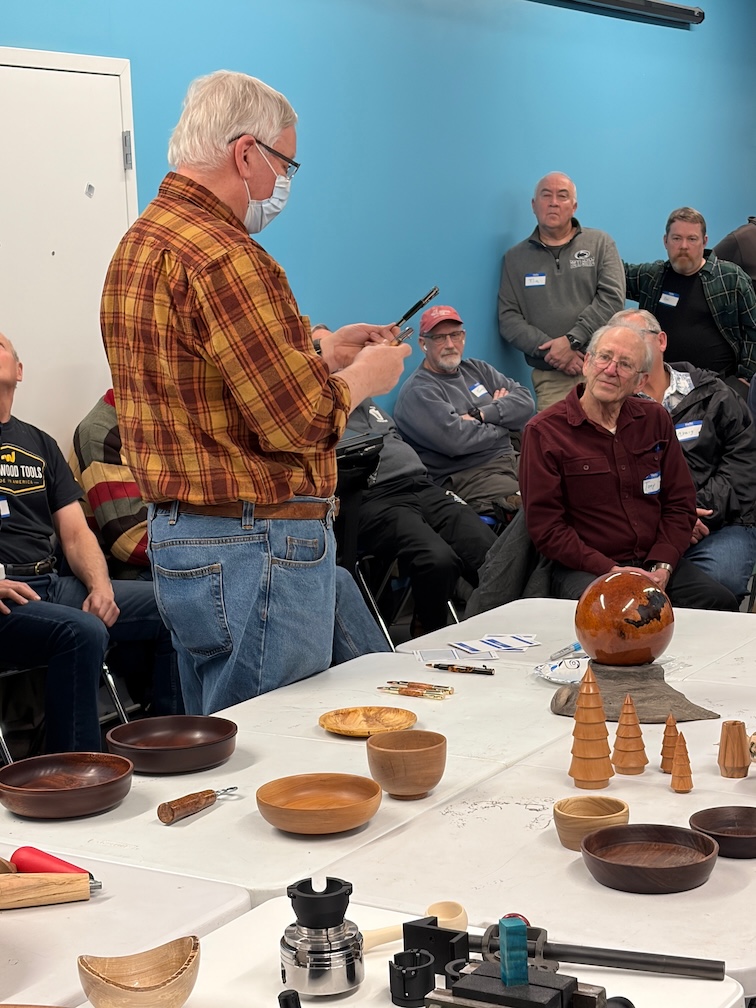
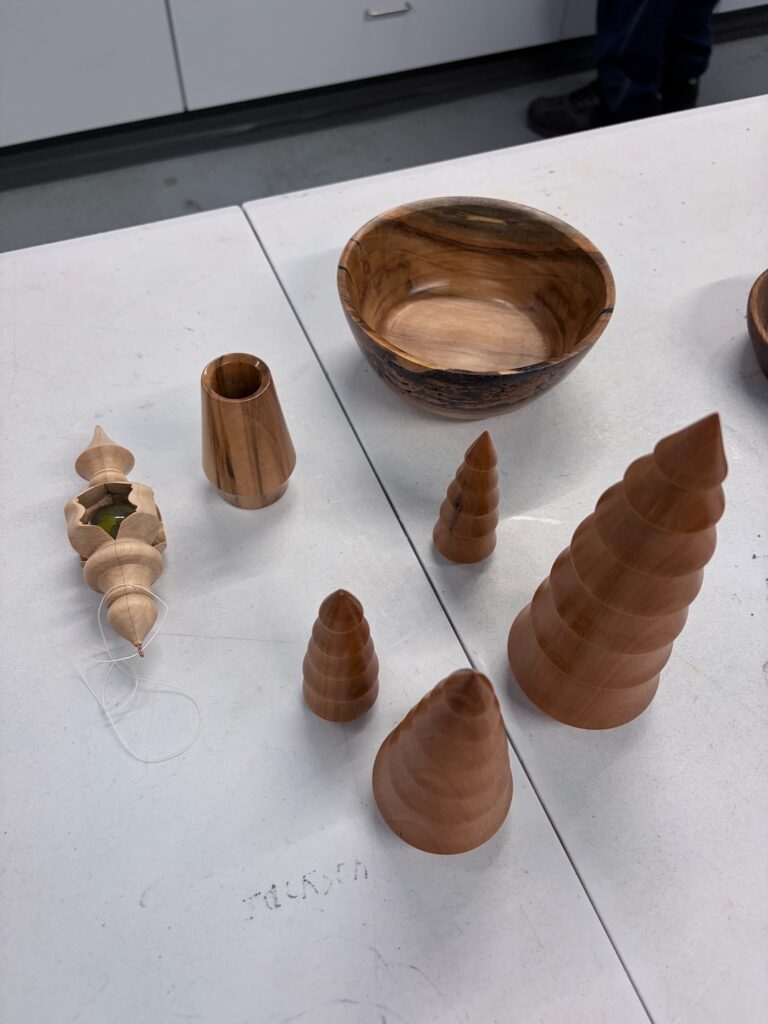
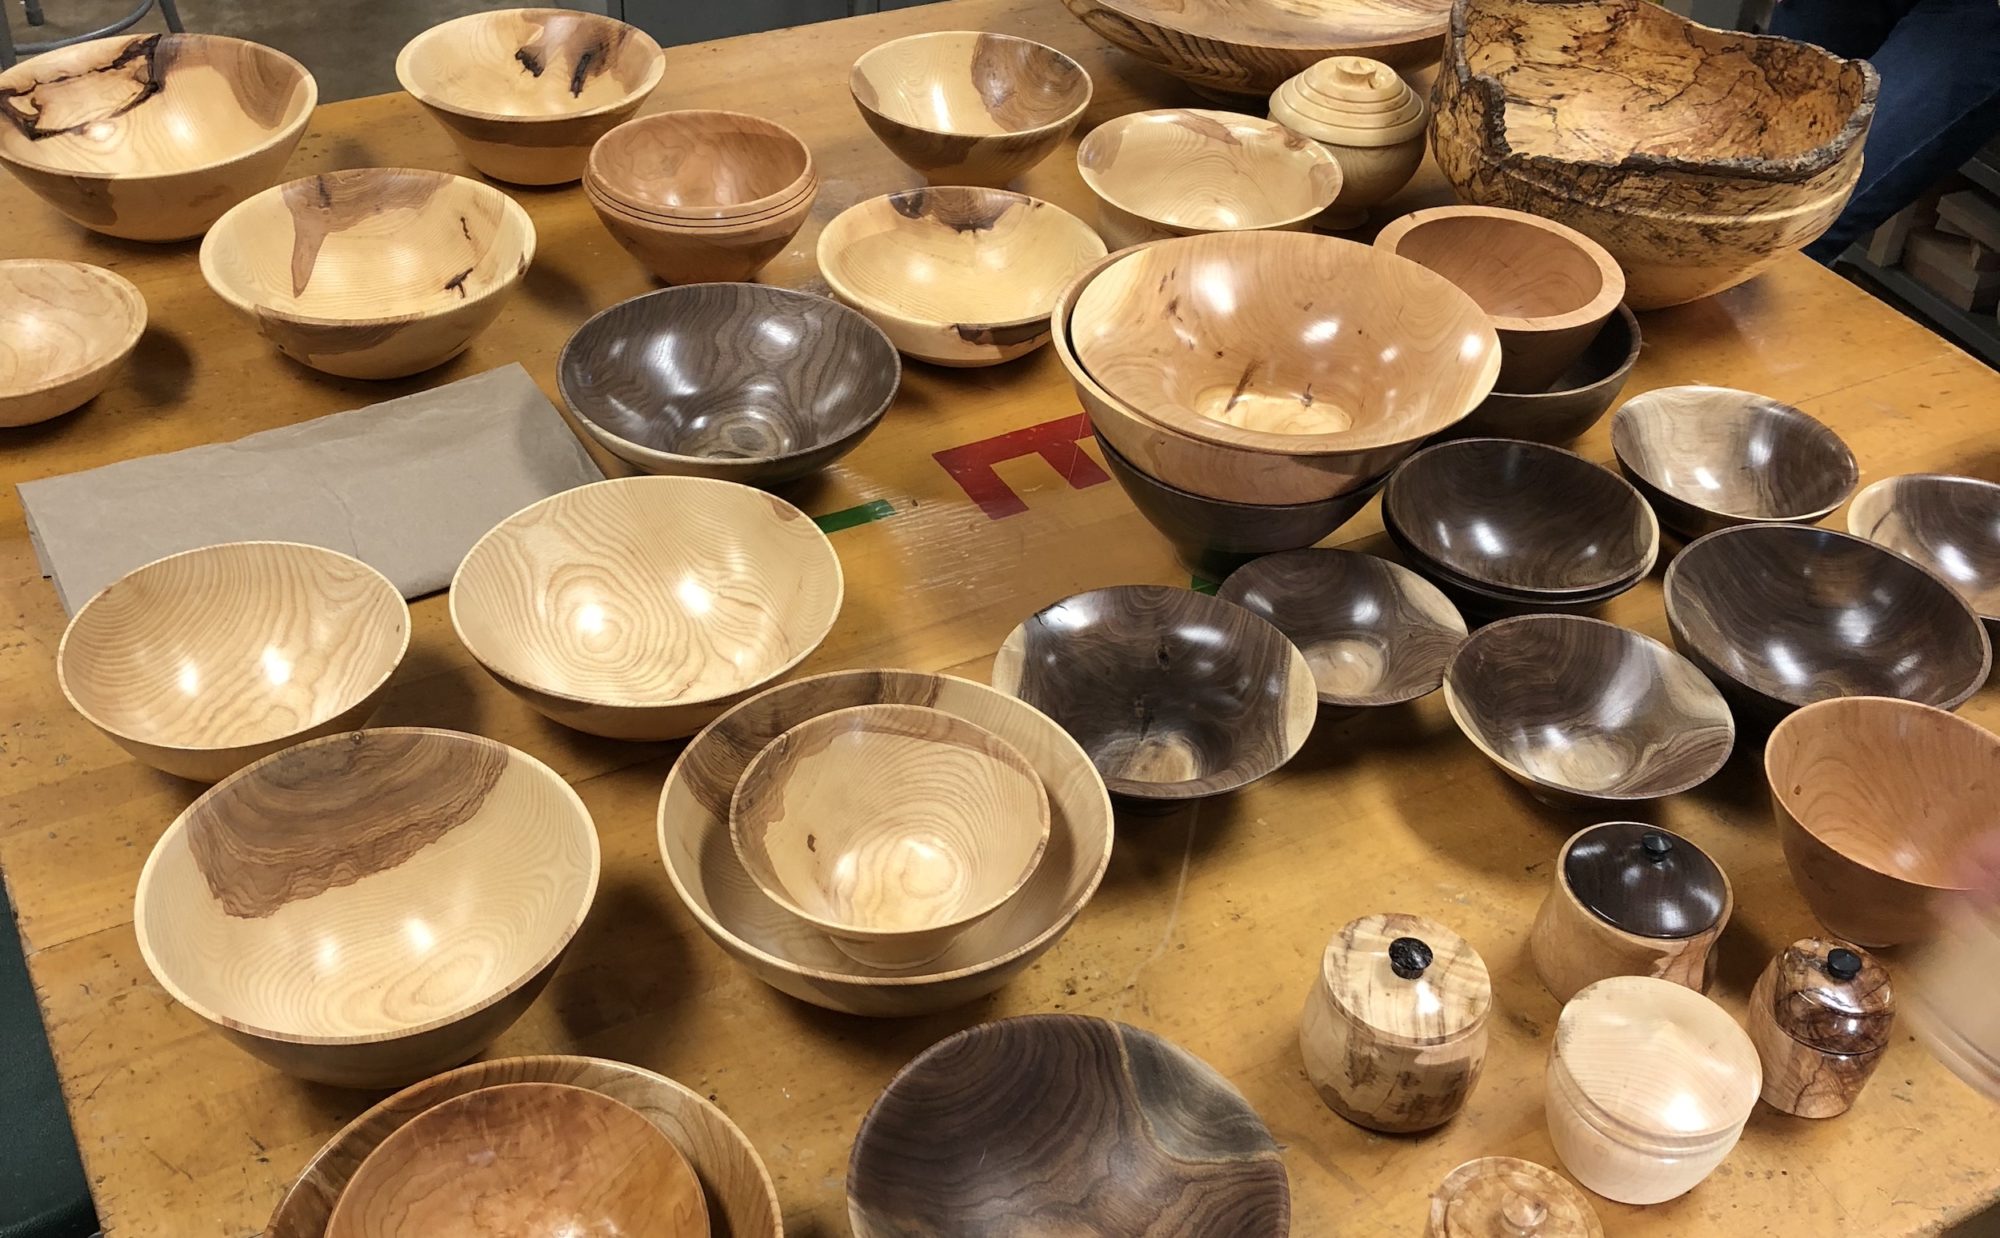
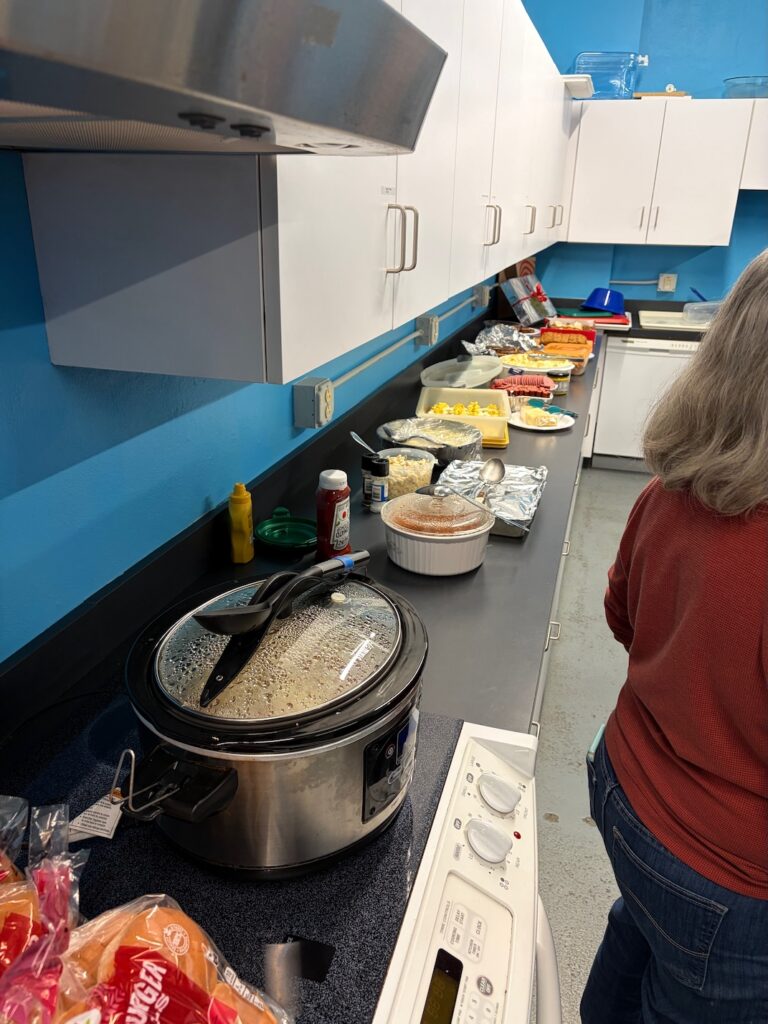
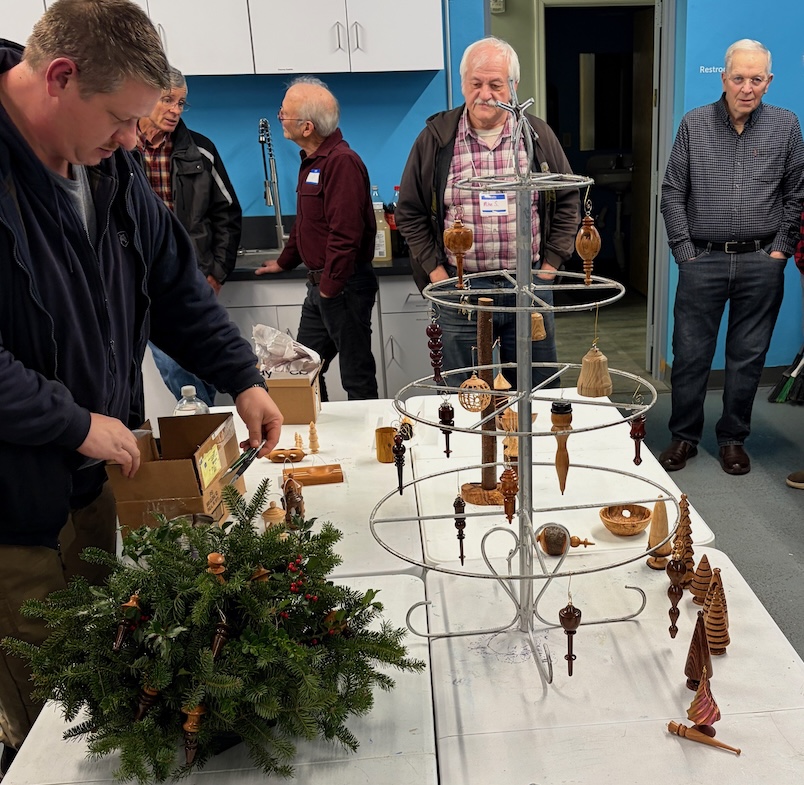
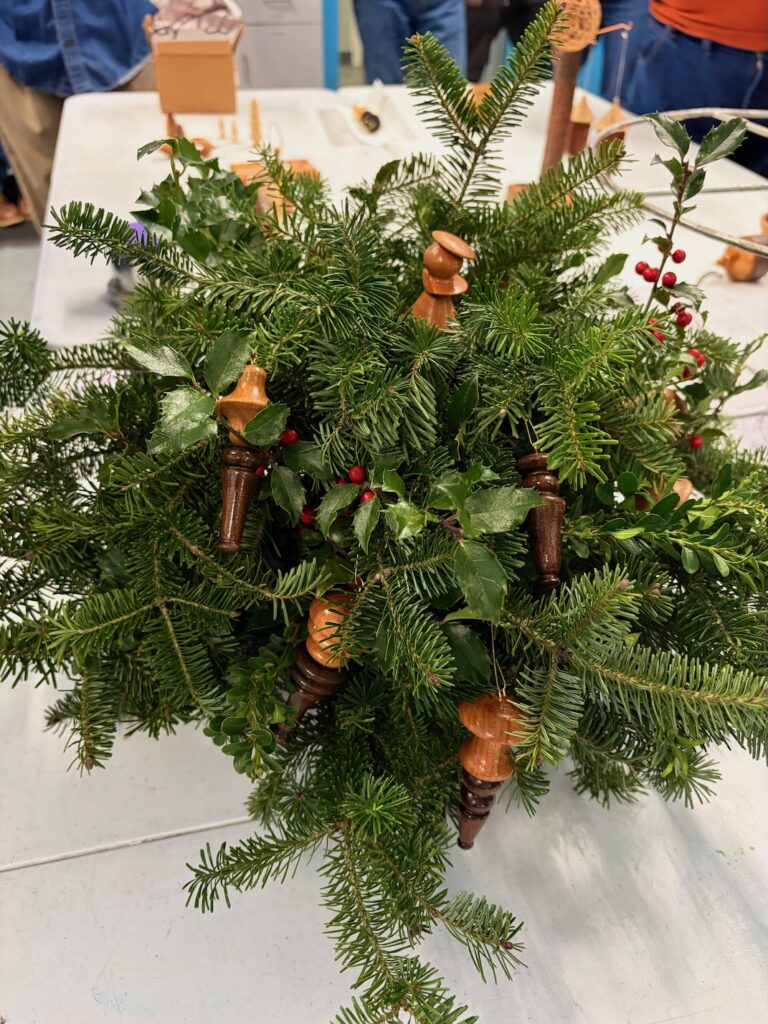
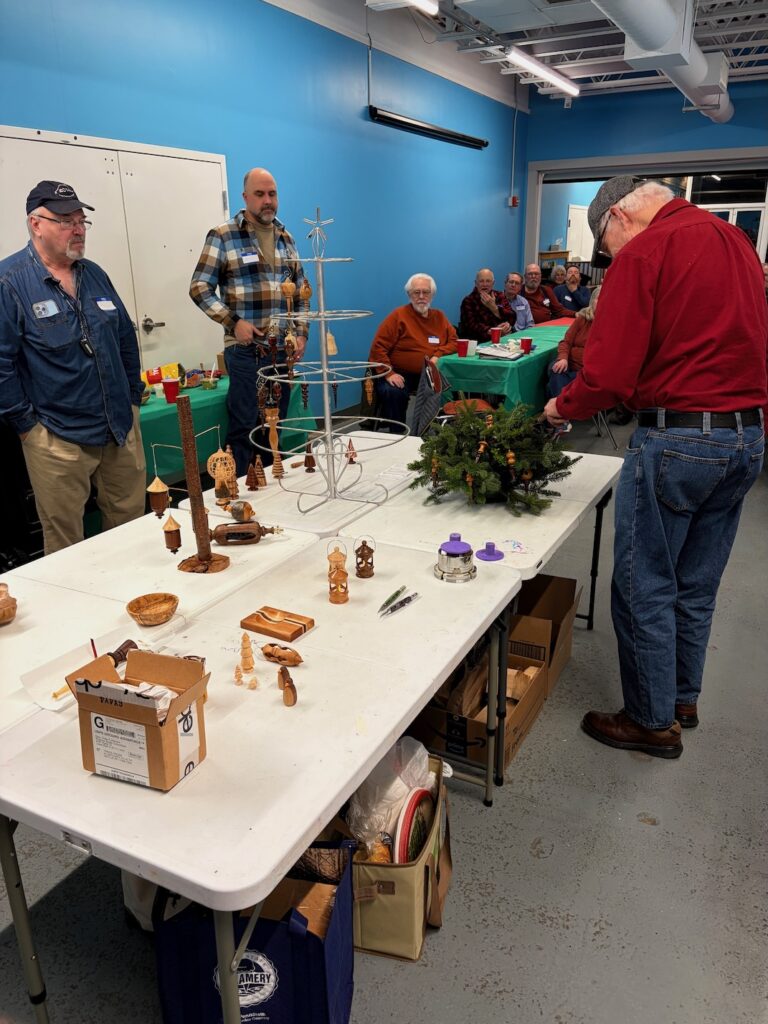
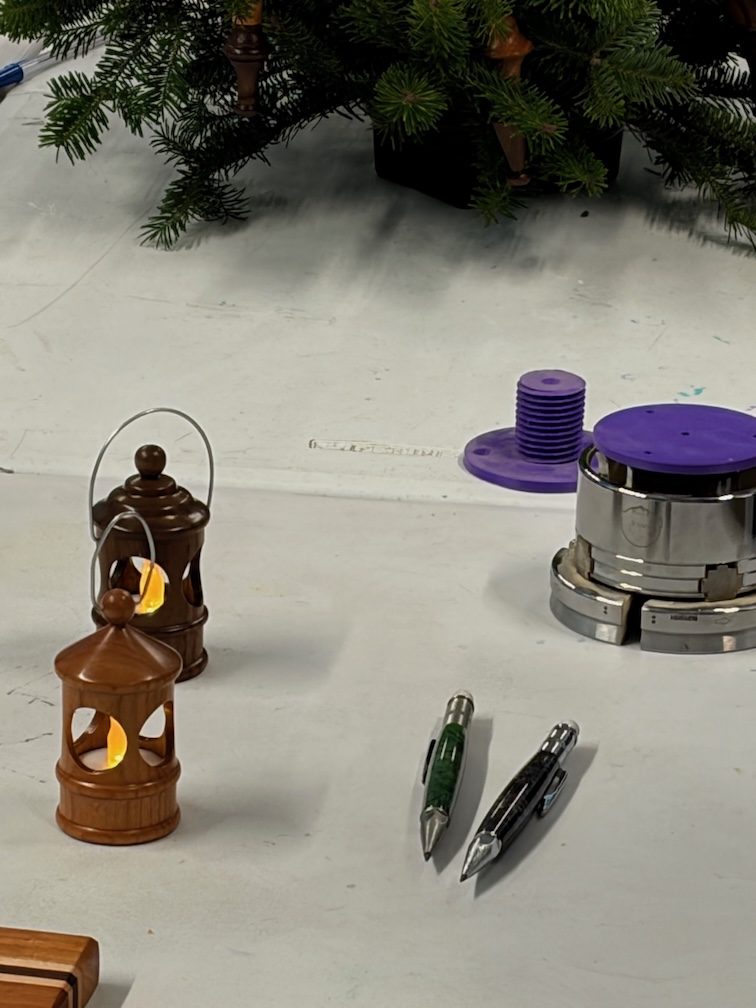
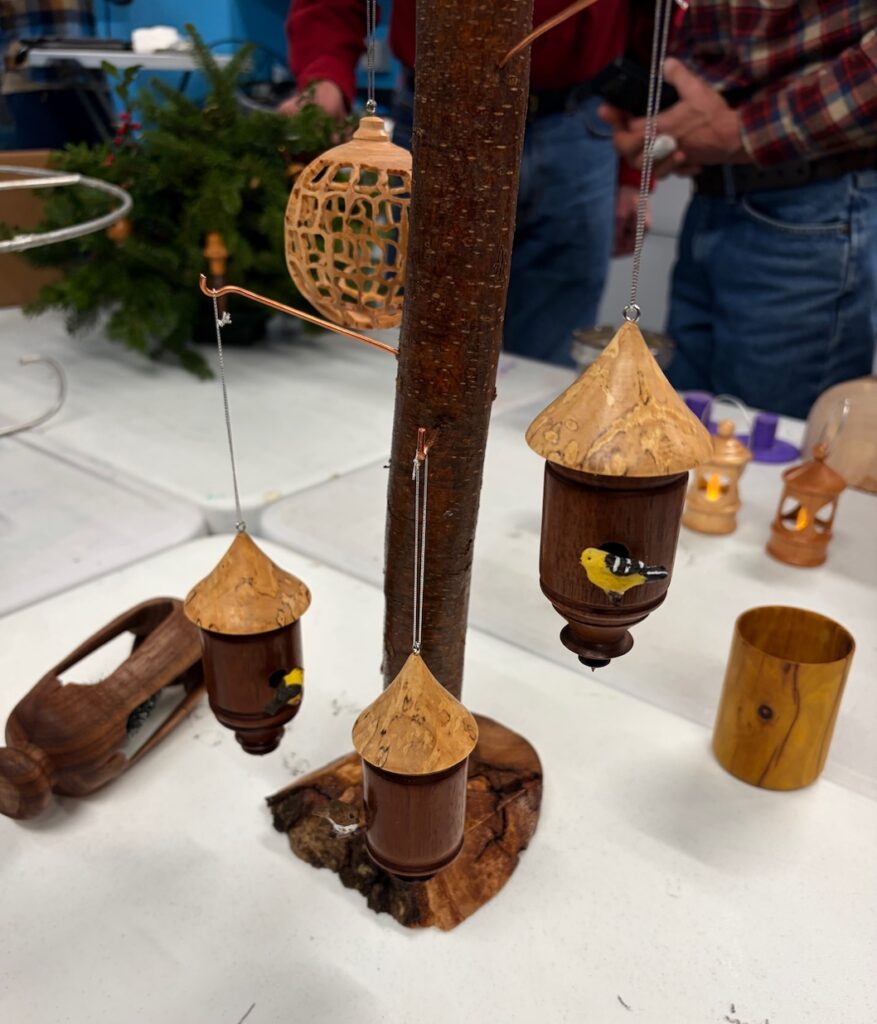
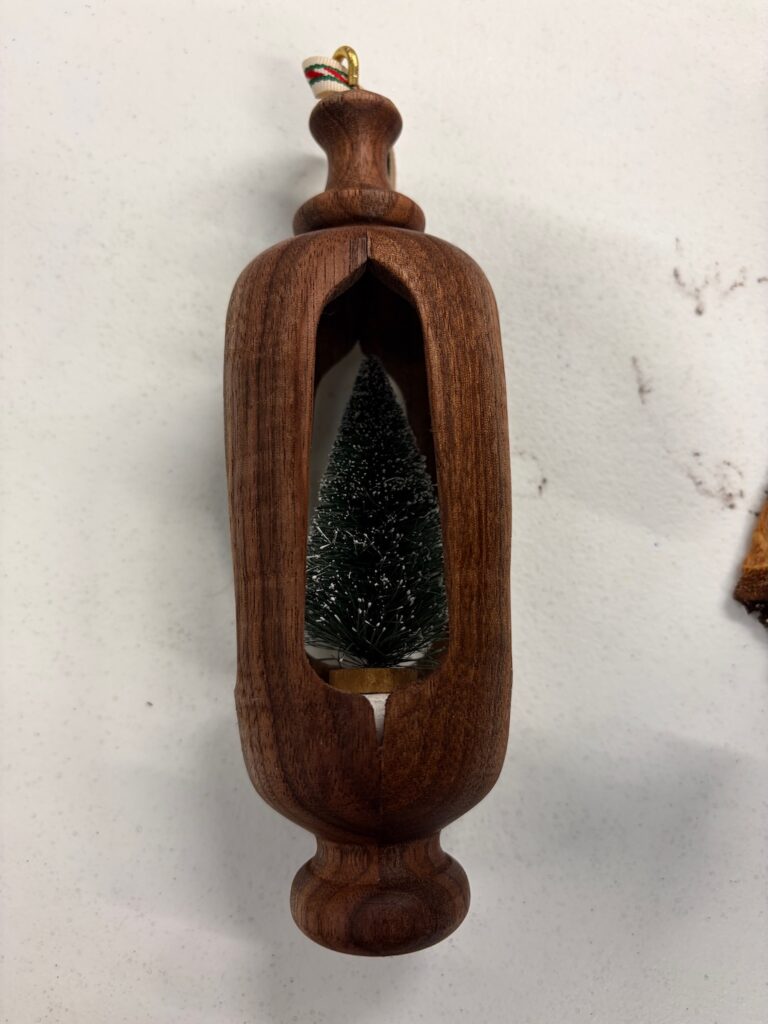
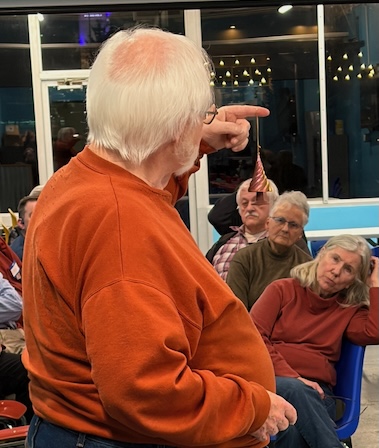
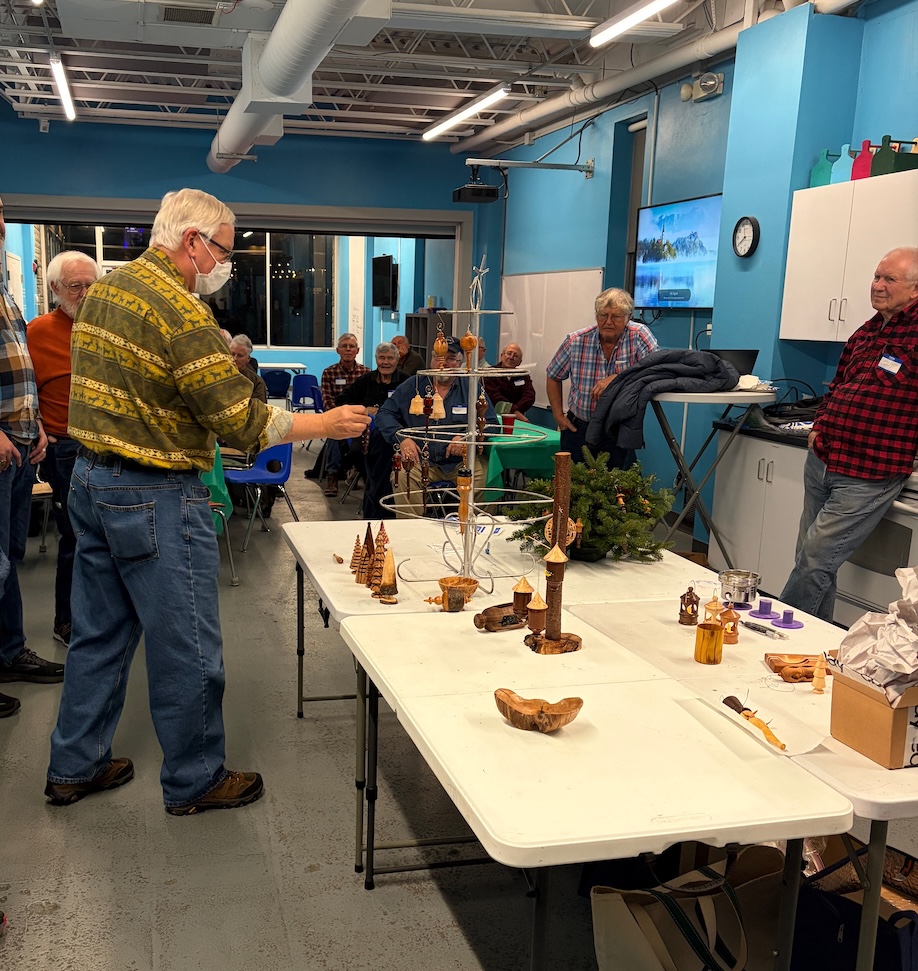
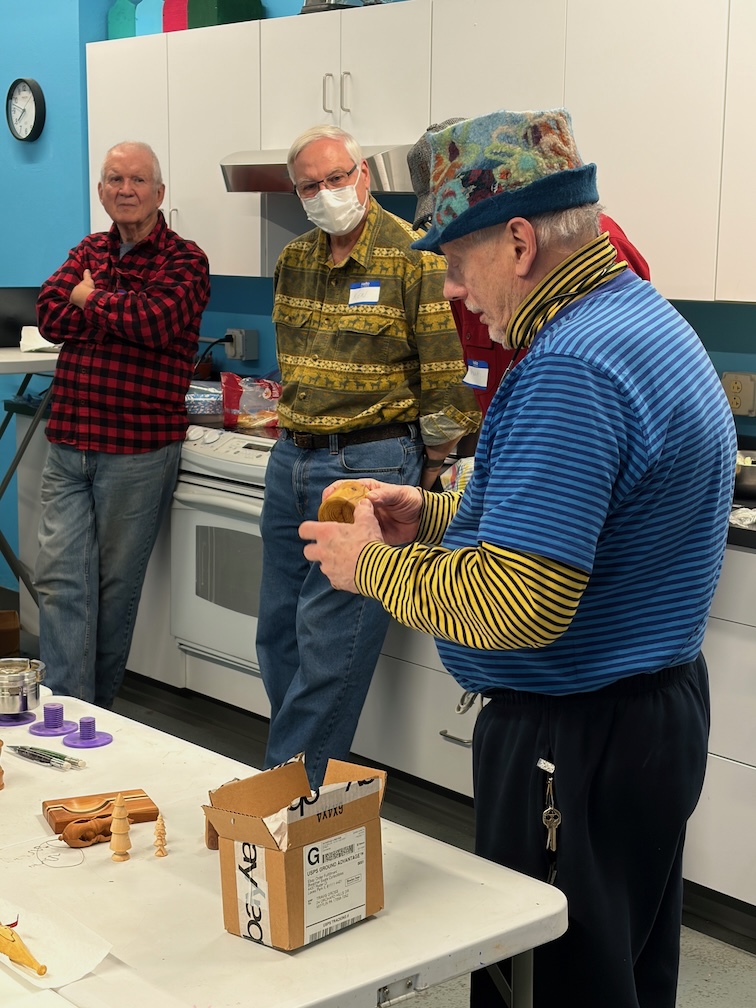
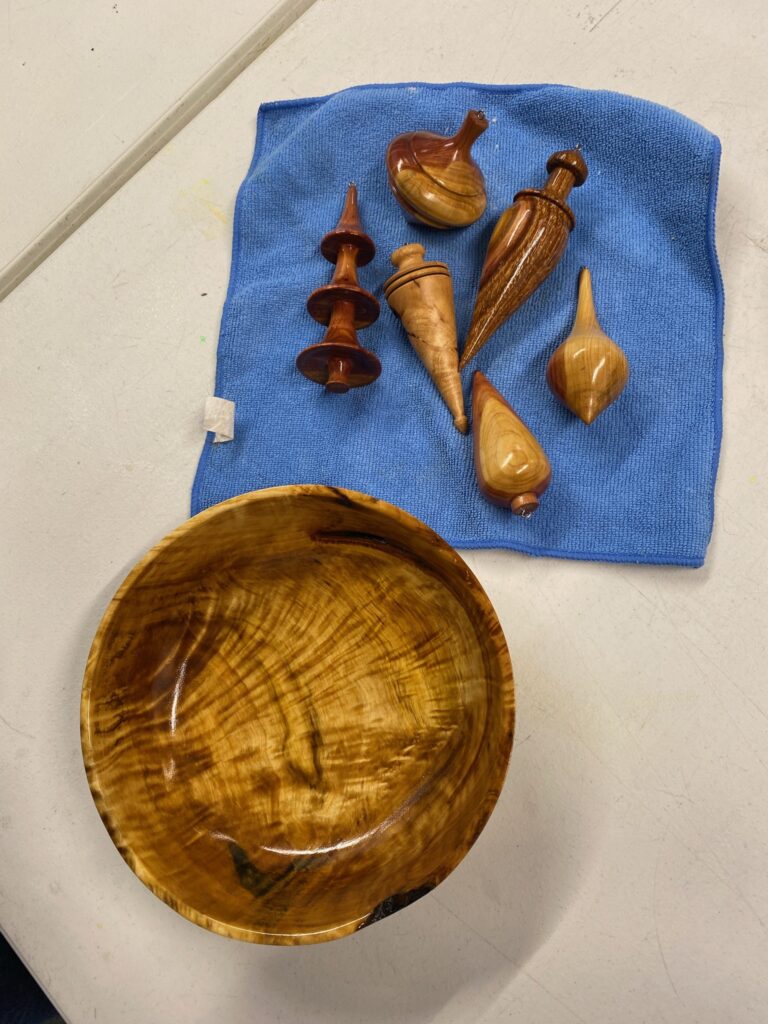
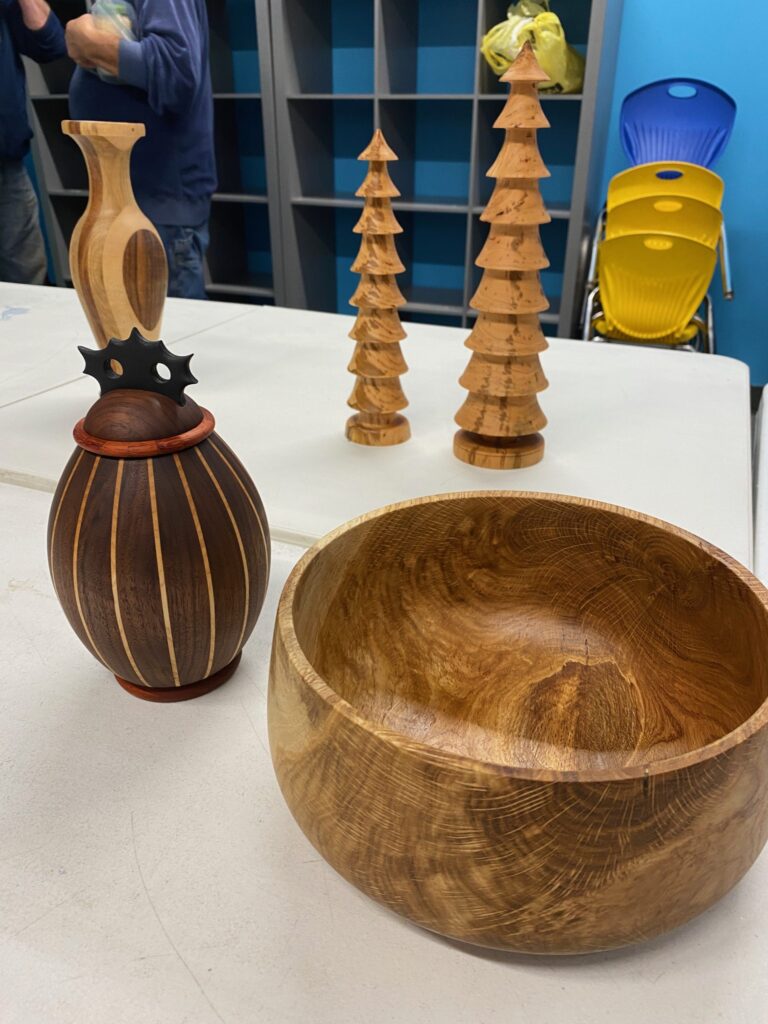
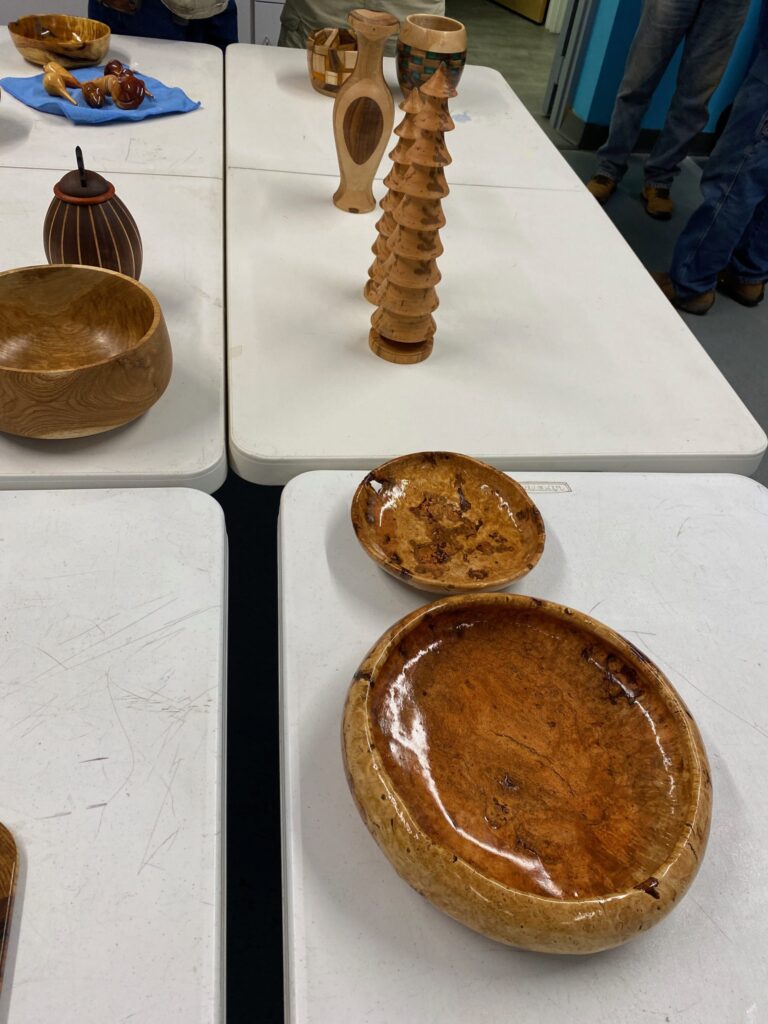
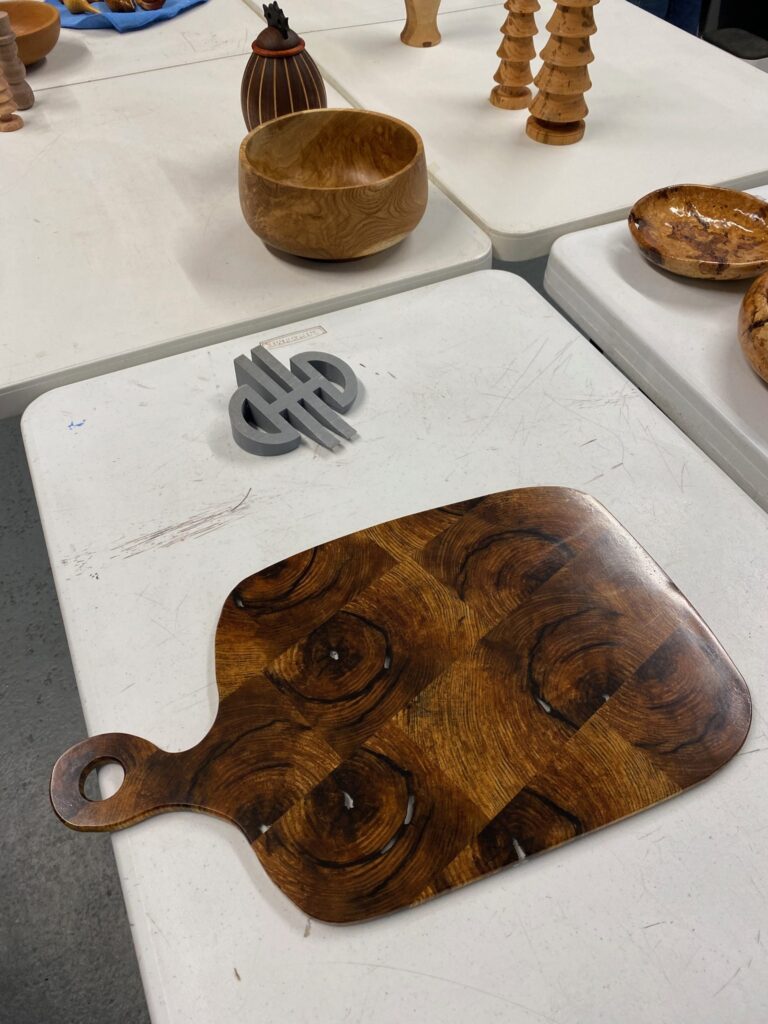
We had our Christmas party pot-luck get together with great food, show and tell, a wood auction, and lots of hanging out with each other. The president’s challenge was to make an ornament, so the show & tell included a ton of great examples.
The pot luck was a great spread of delicious food.
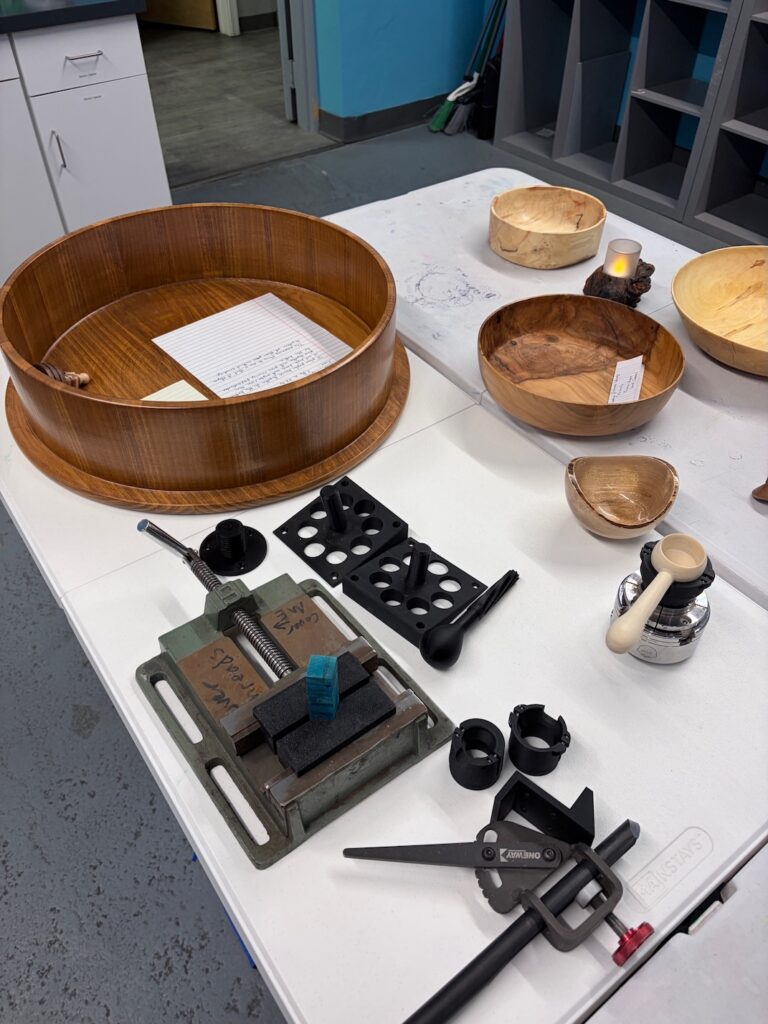
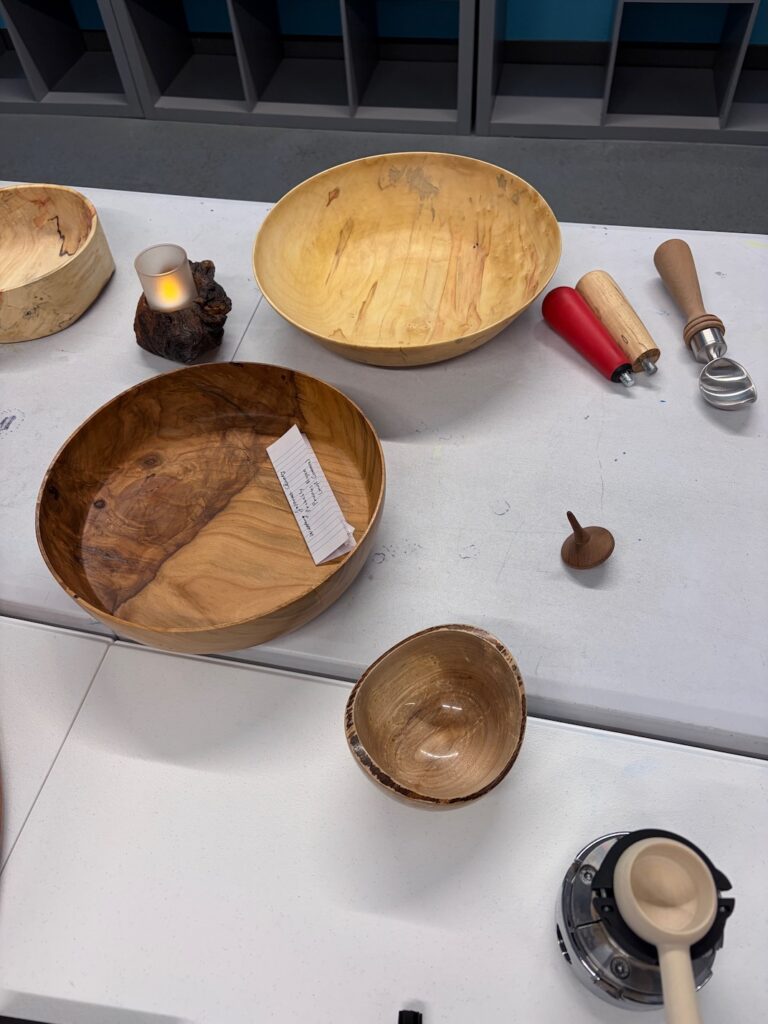
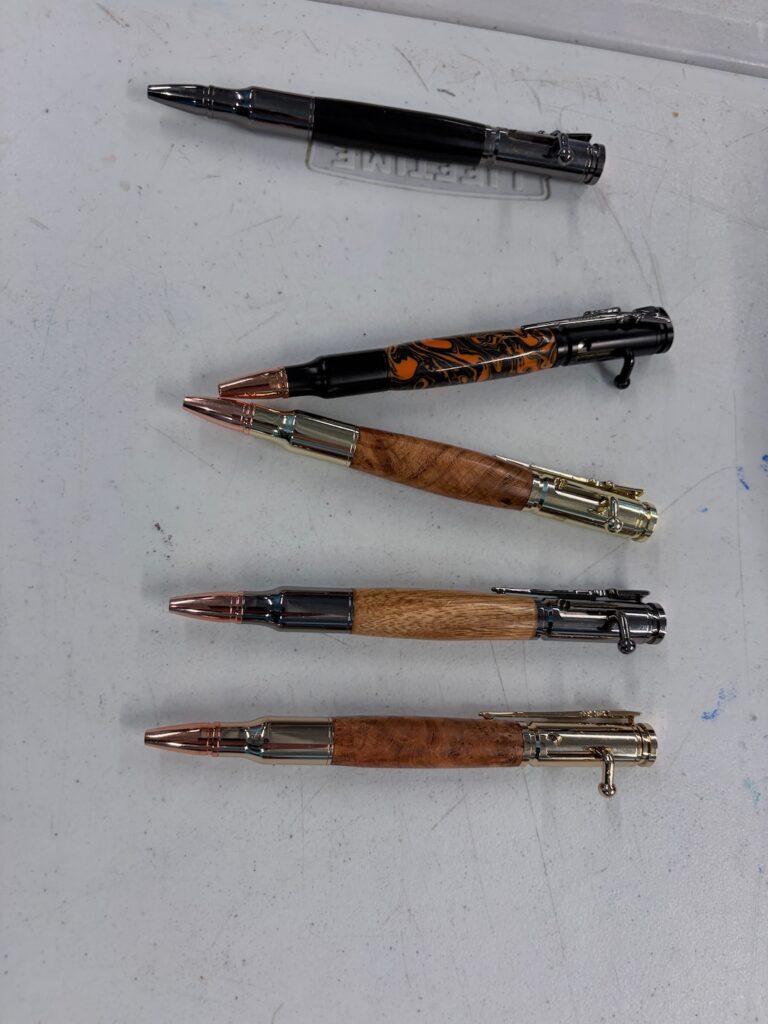
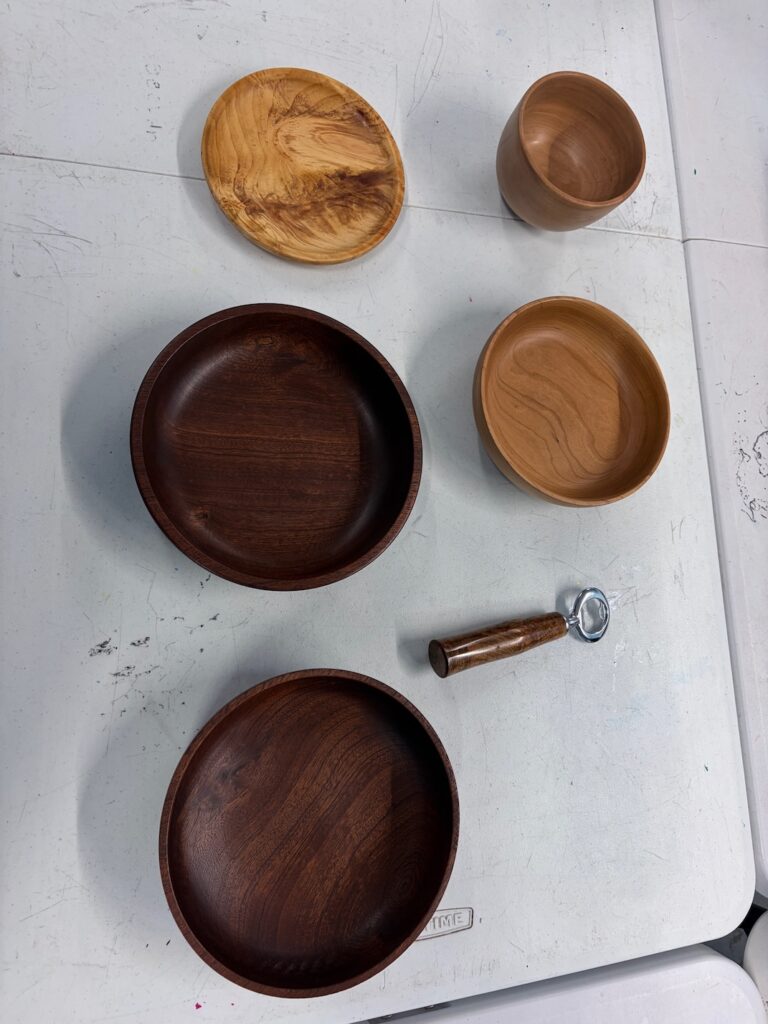
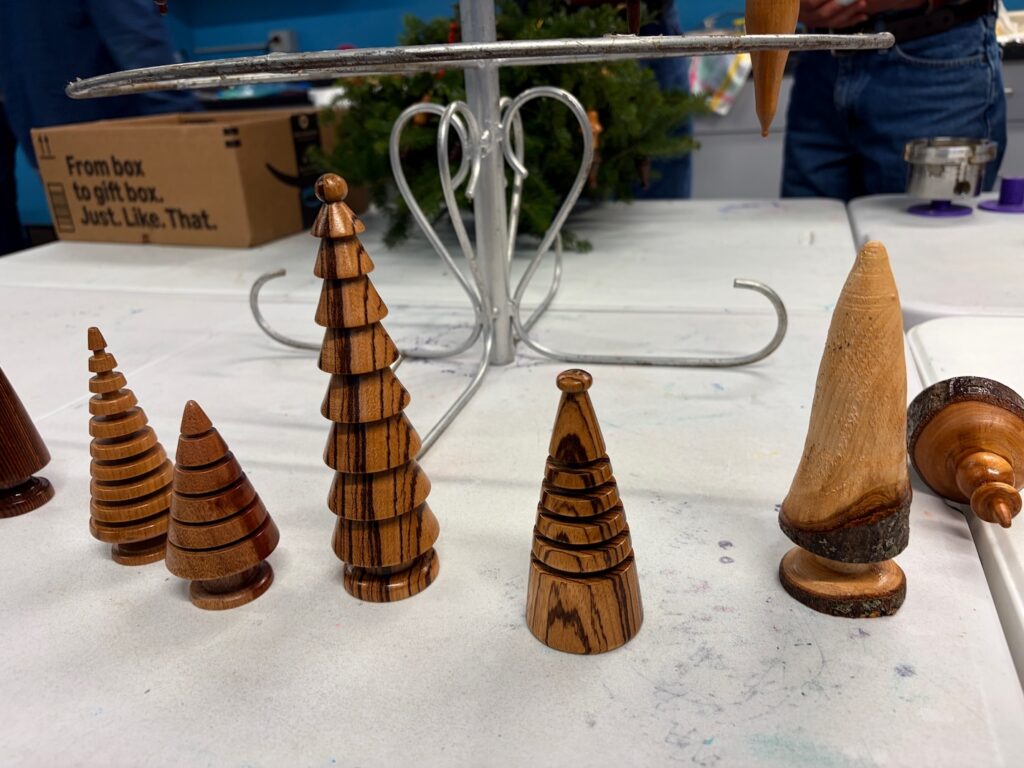
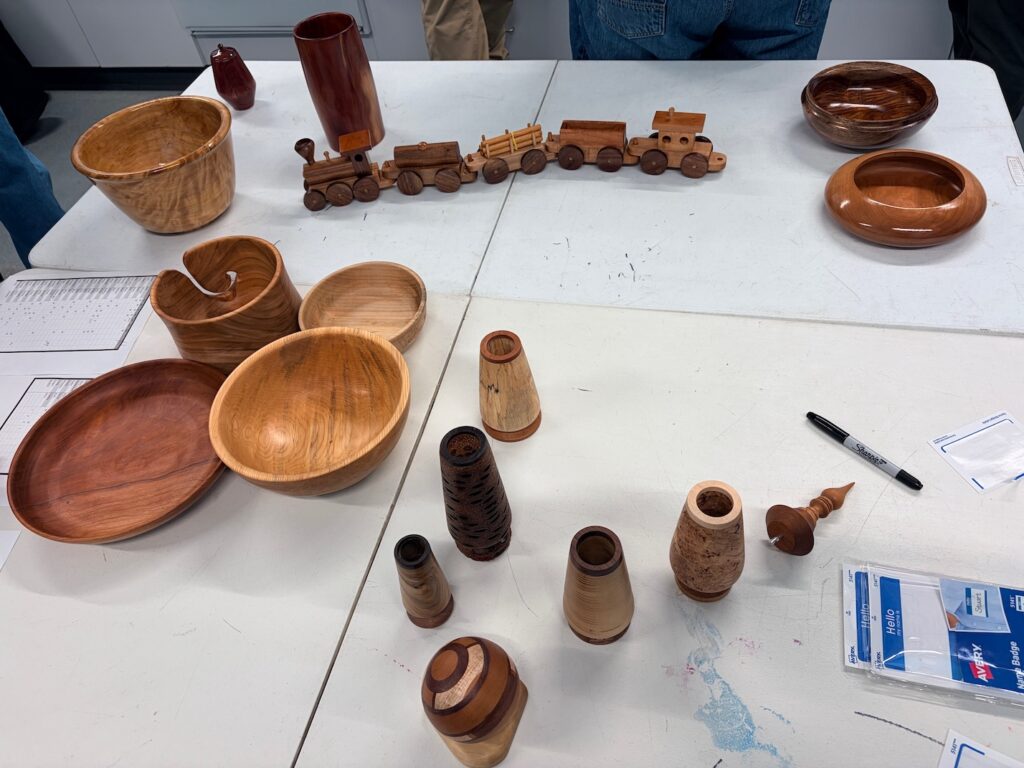
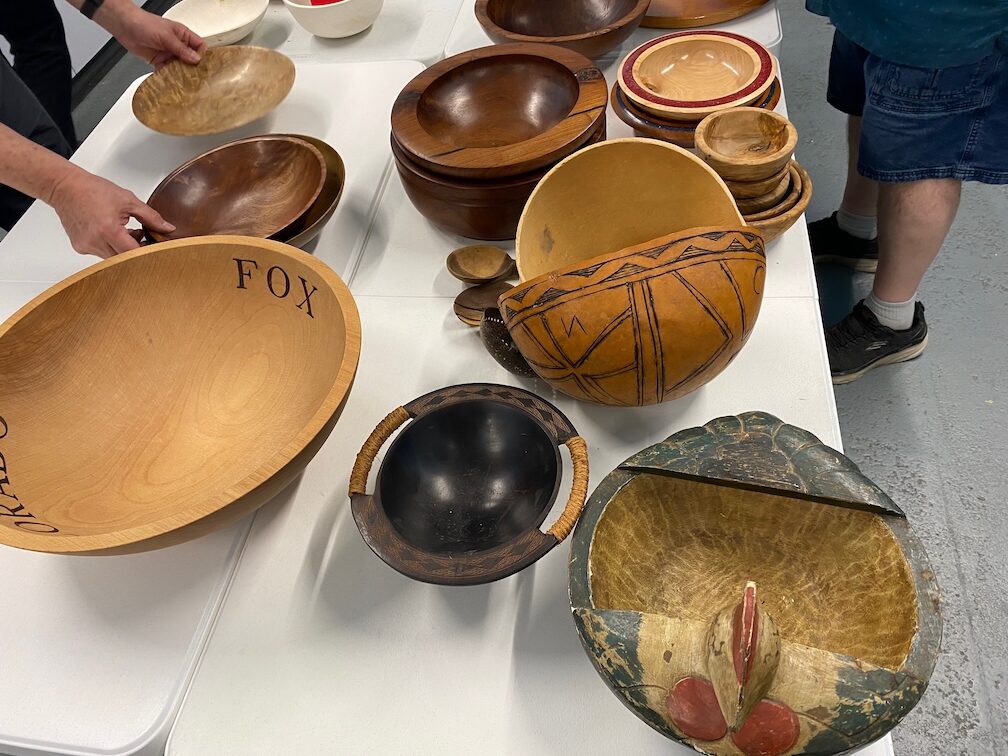
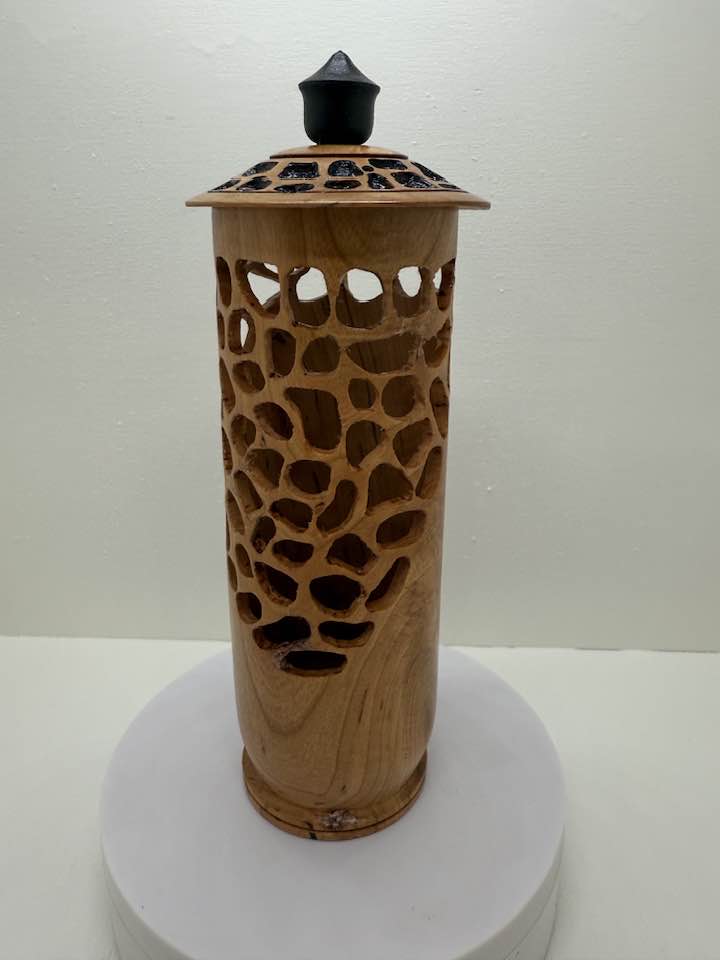
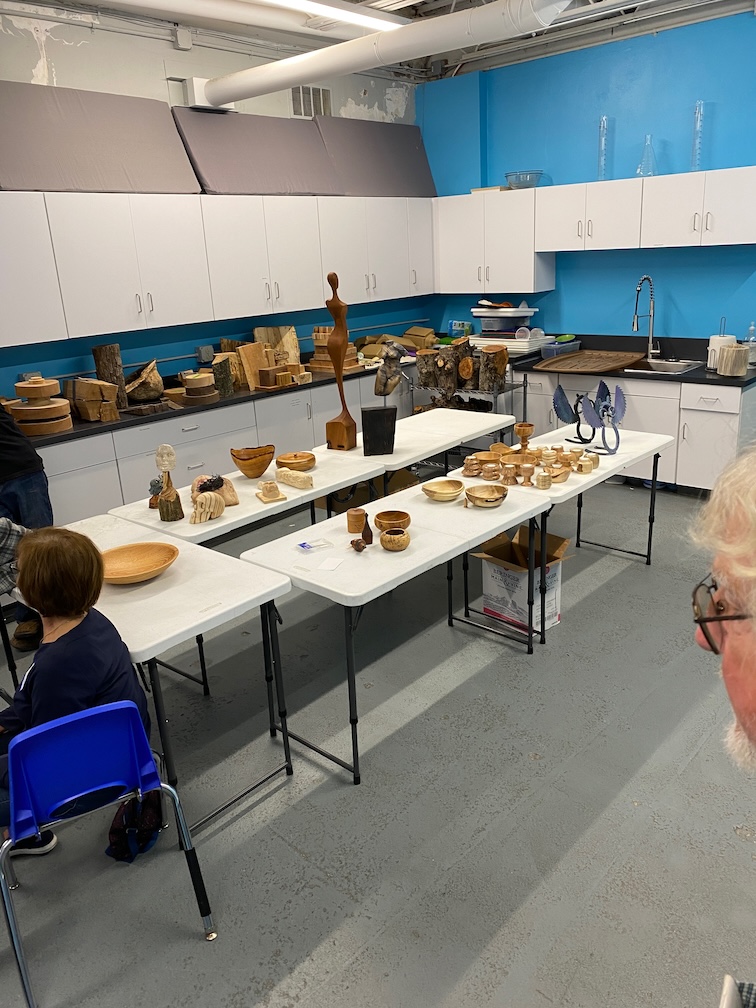
Check out all the great examples of member ornaments and other turned items.
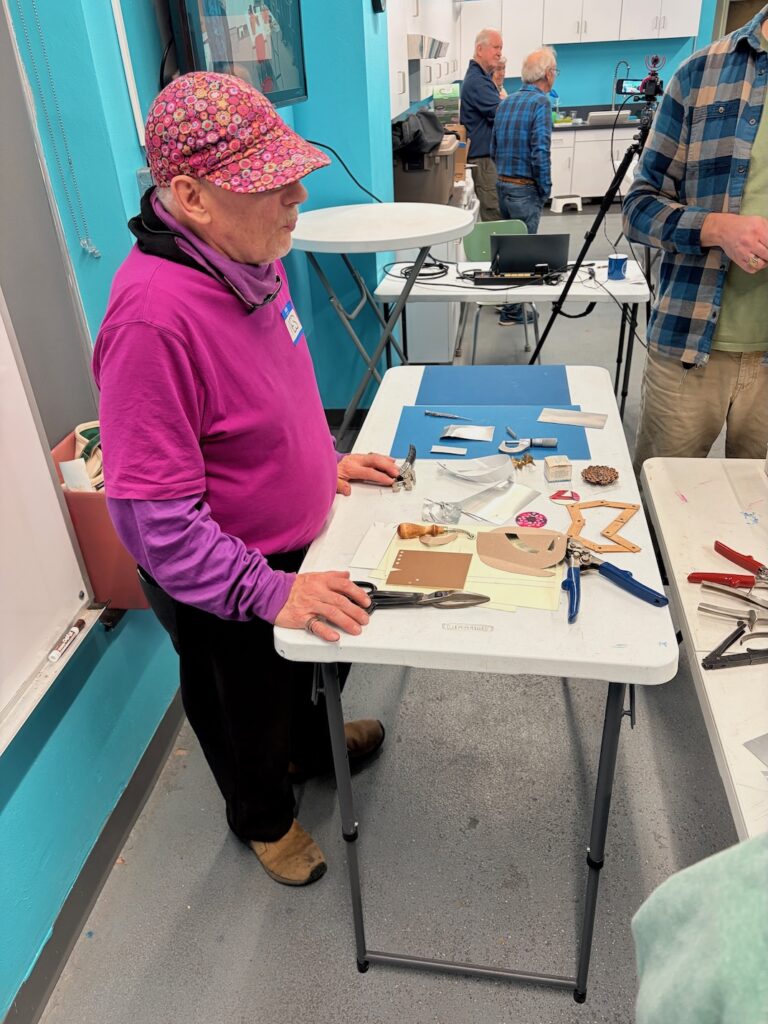
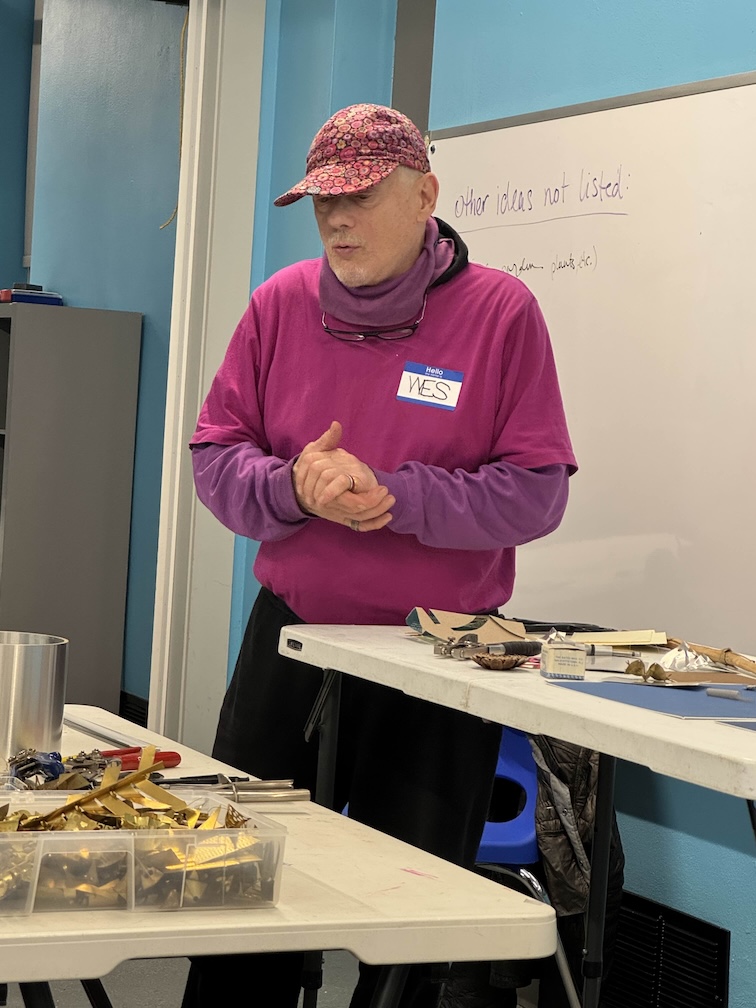
Our November meeting included normal business and updates, show & tell, a presentation by Wes Glebe on his creative process and the sale of 2 of the club’s older lathes to two lucky members.
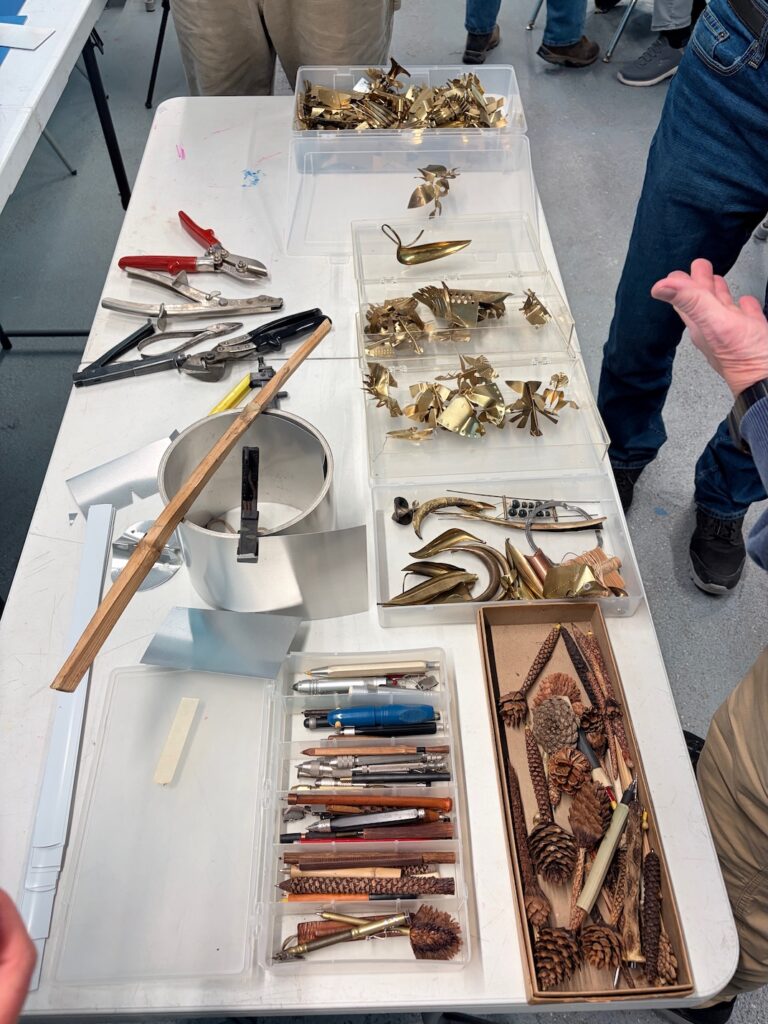
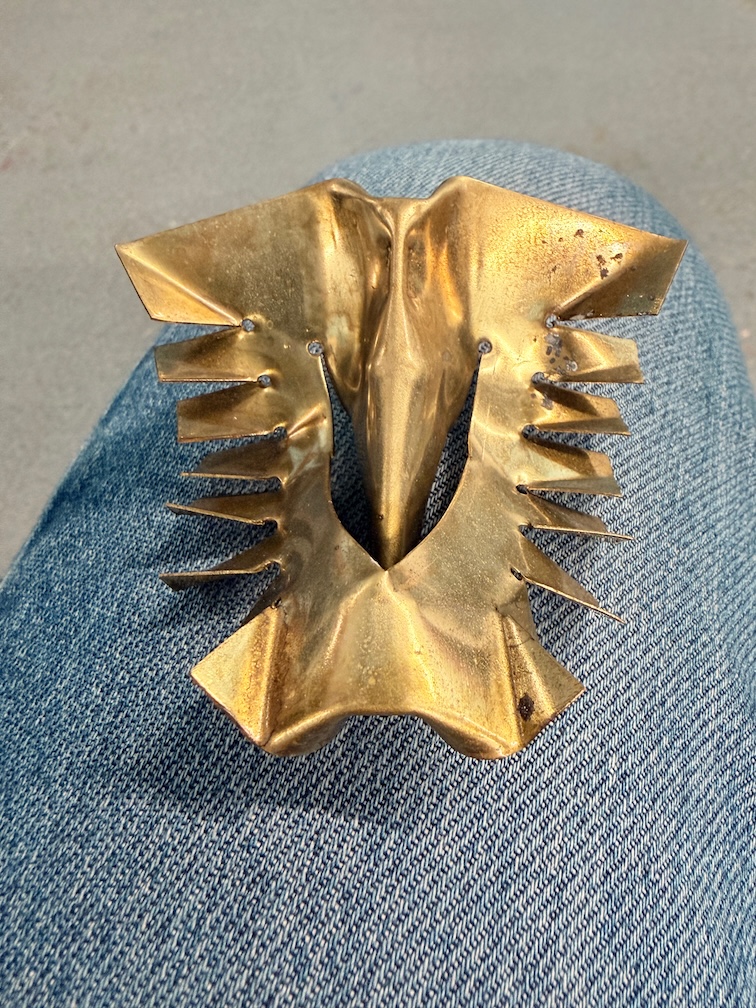
Wes is an artist using all sorts of materials and he used brass sheet metal ornaments as an example of how is creative design process works. A key take away was to experiment with many different tools and play until you find something that clicks and a design which works for you. He starts without an idea or plan or design and loves the exploratory process as much as the finished product. It’s a strategy which works will in turning as well when you throw a chunk of wood on the lathe it’s easy to play with different tools and techniques until you create something which clicks for you. Free yourself to explore.
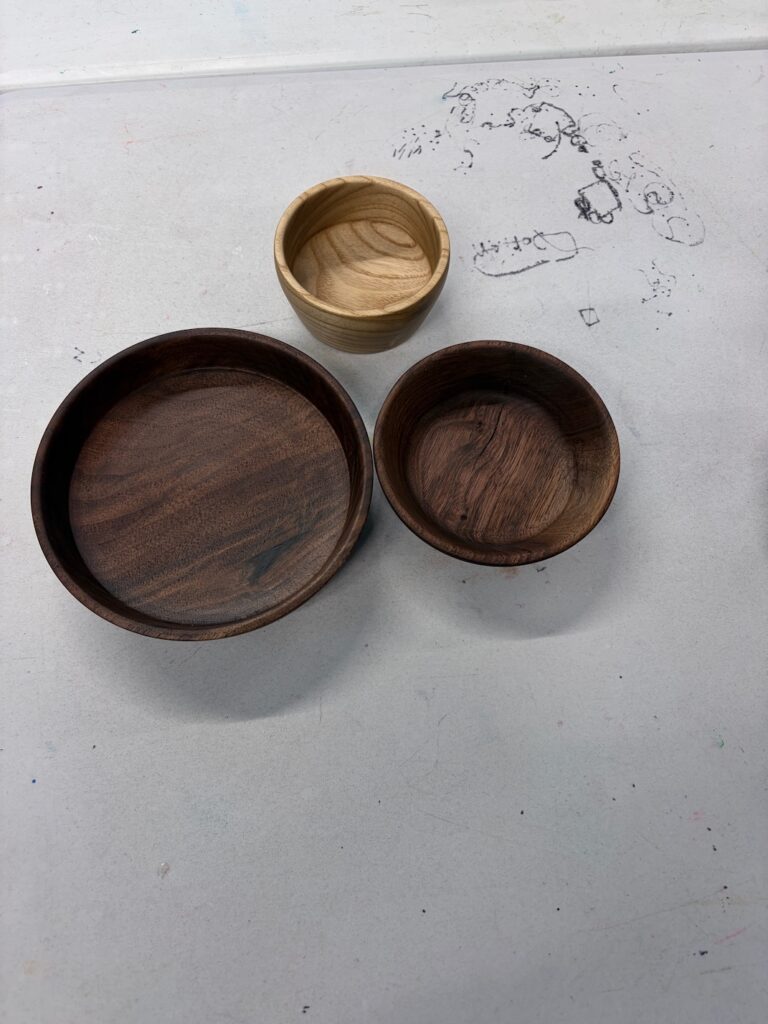
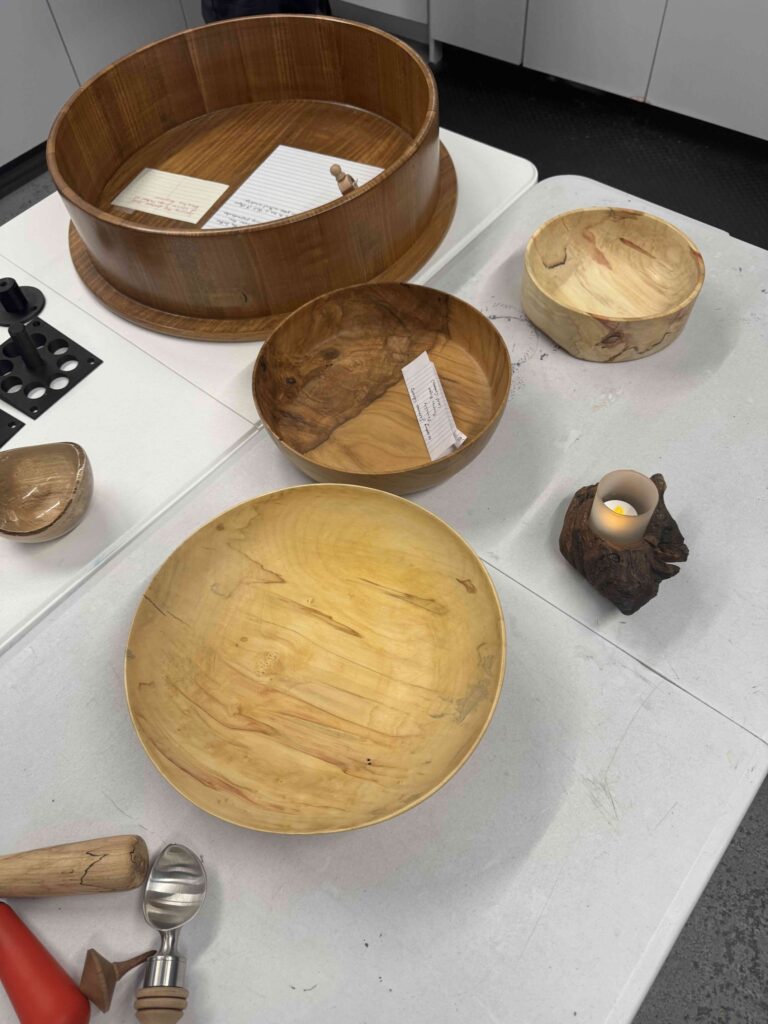
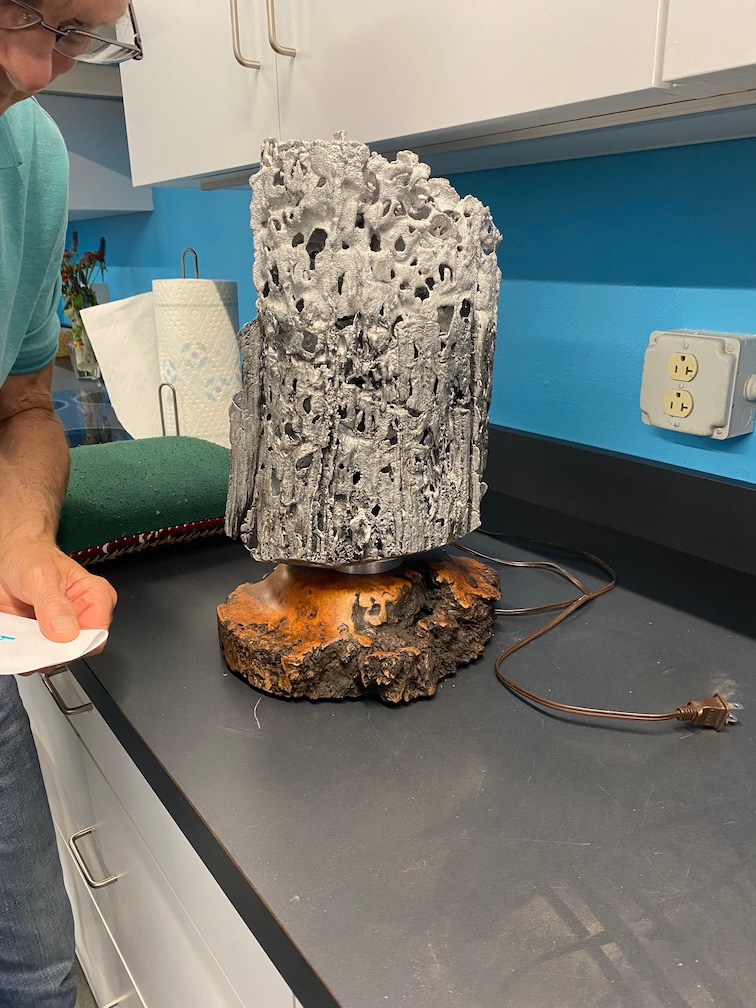
Show & Tell included many great examples of the talent within our club.
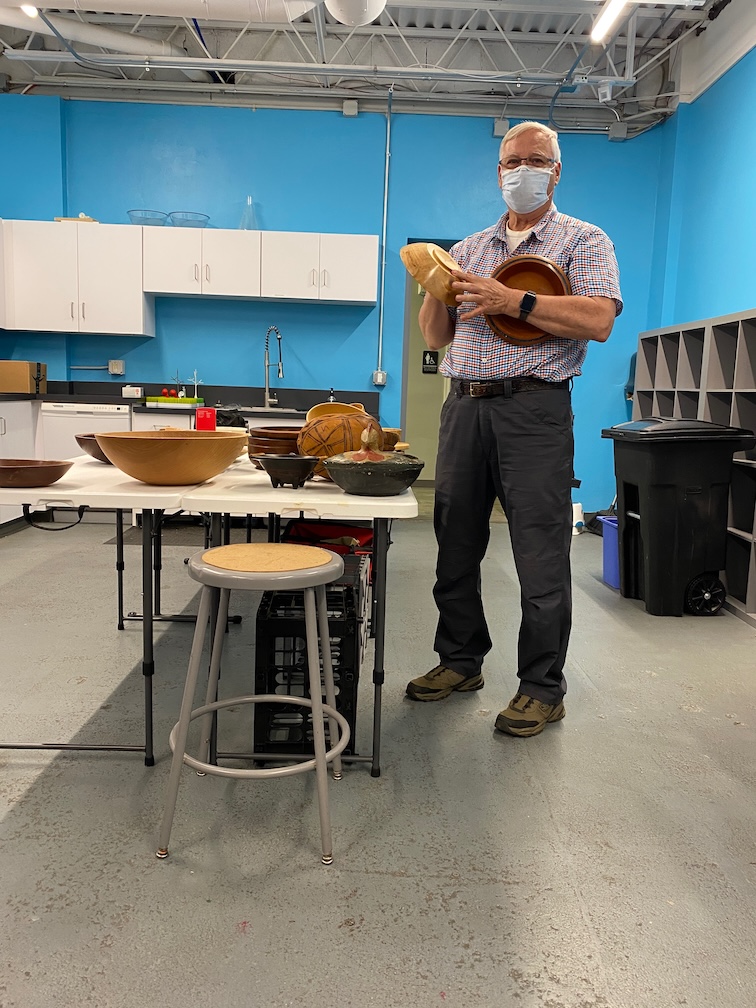
Our October meeting included a presentation about turning a bowl out of a white cedar burl and debrief of the recent woodturning symposium from Jeremy Sinclair and our normal show & tell and wood auction.
Richard Garland’s Presentation
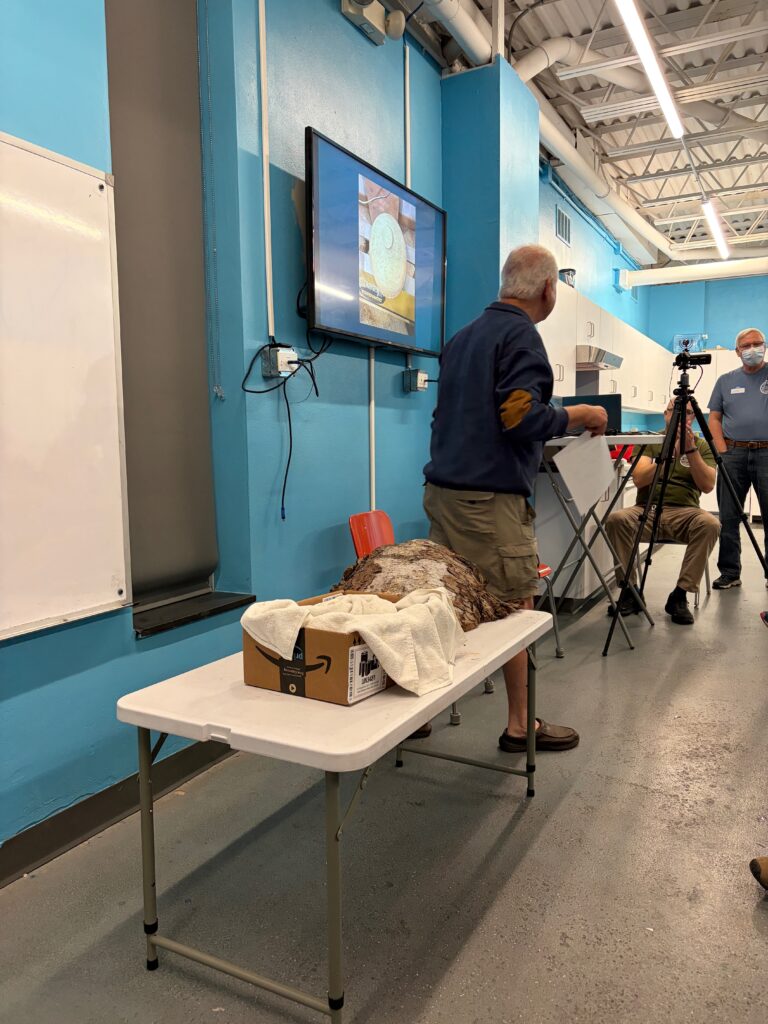
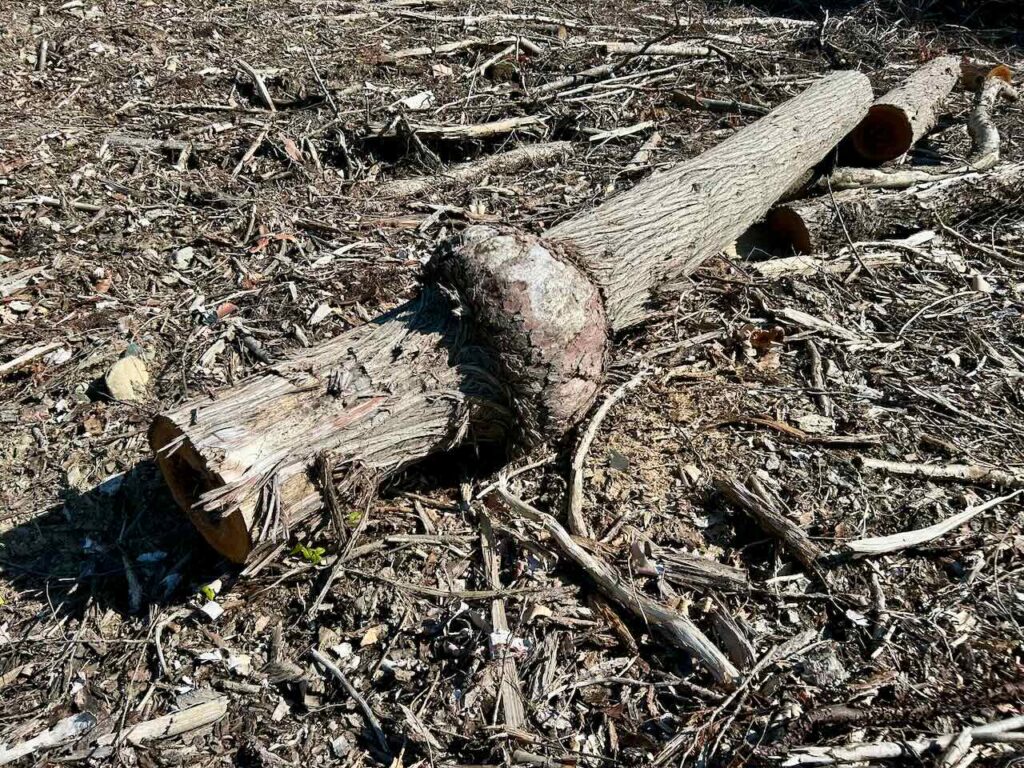
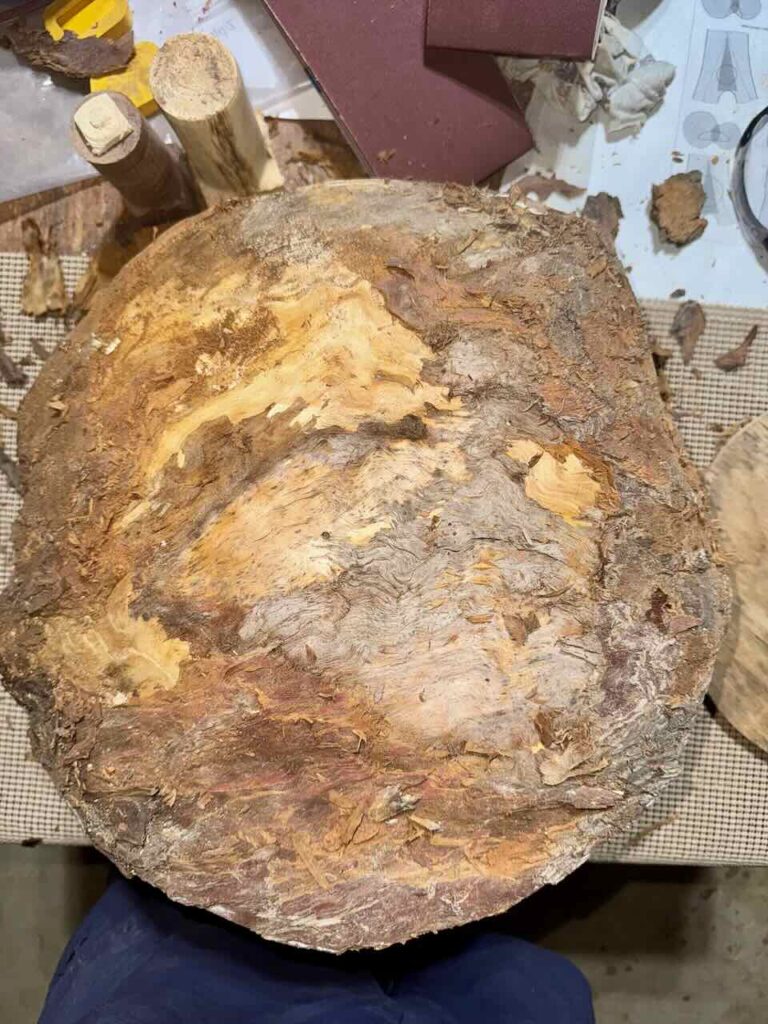
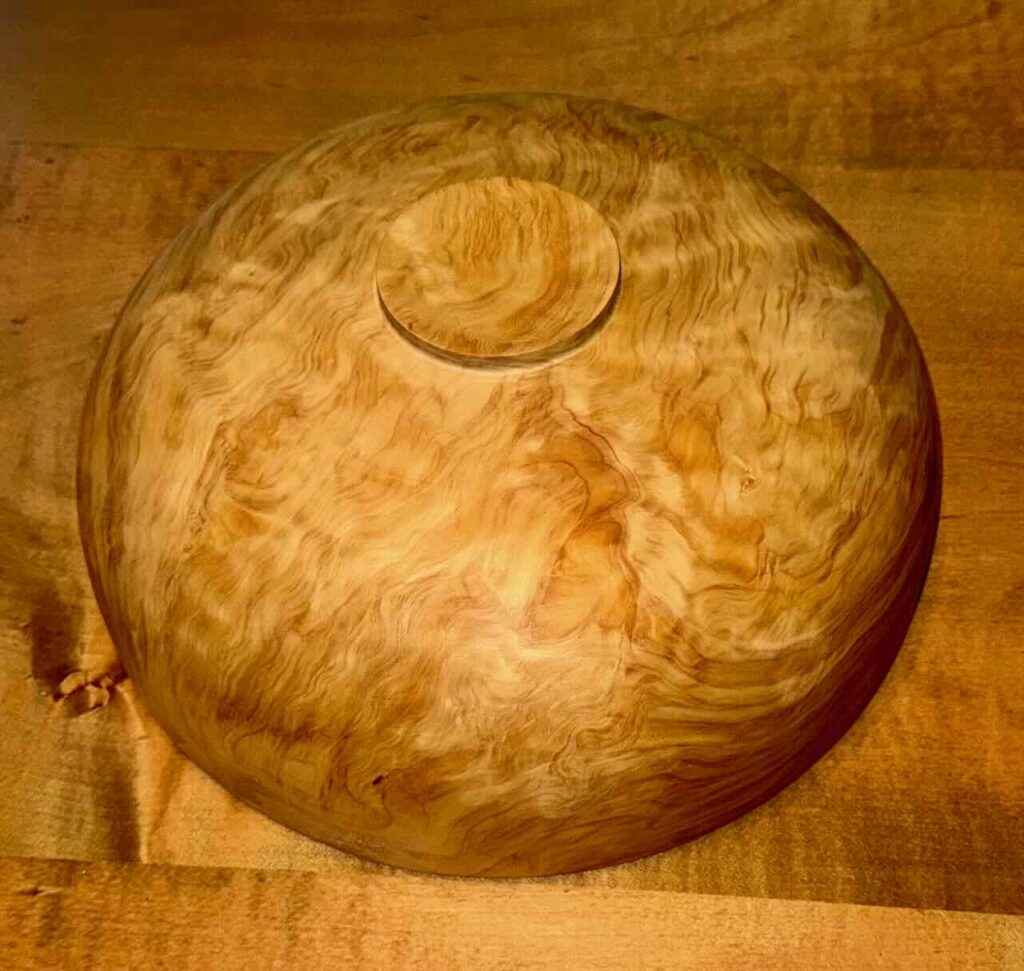
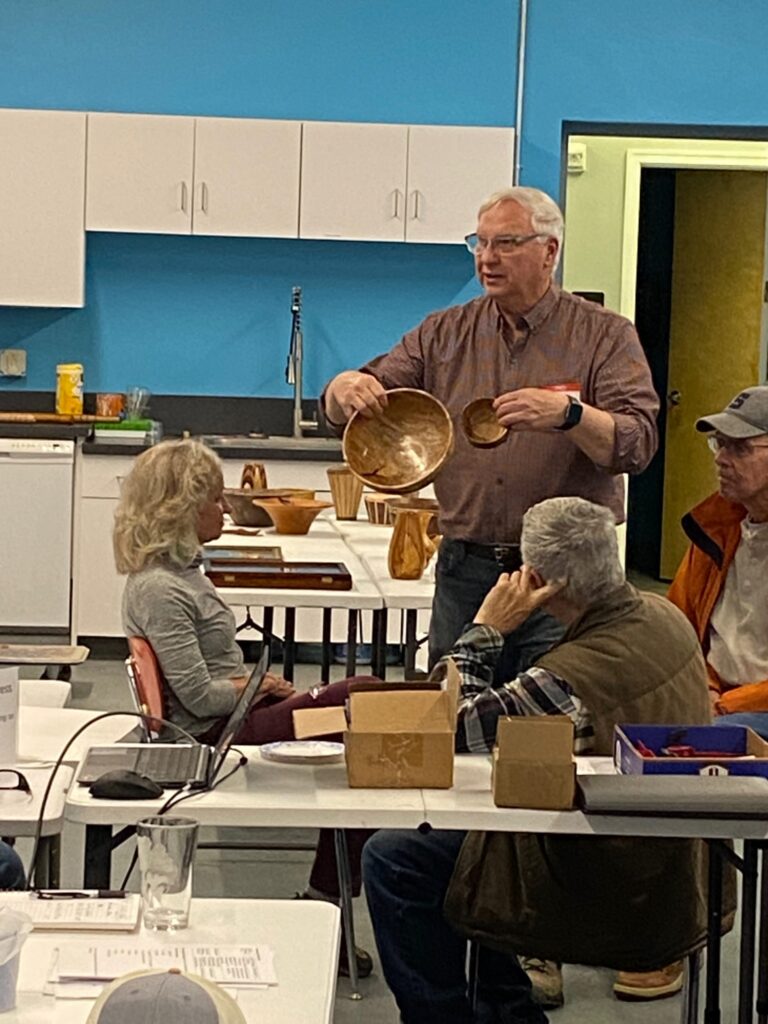
Richard Garland provided a slide show demonstration titled “Tree to Bowl –
White Cedar Burl”. Below you can see the log with the Burl which was cut from the log and cut in 2 pieces, one of which, Richard prepped for the lathe and turned into a large bowl with great grain. One challenge was dealing with tear-out due to the grain and softness of the cedar. Nice bowl.
Jeremy’s Tour of the Symposium
Everyone enjoyed Jeremy Sinclair’s enthusiastic summary and slide show of the
Lancaster Mid-Atlantic Woodturning Symposium. Amazing world renowned woodturners were there to demonstrate their skills and teach attendees the tricks of the trade. Vendors were also there to show off their products with many opportunities to find deals and pickup the tools you need. We hope that more members will attend next year’s event the 3rd week, September 2026.
Show & Tell
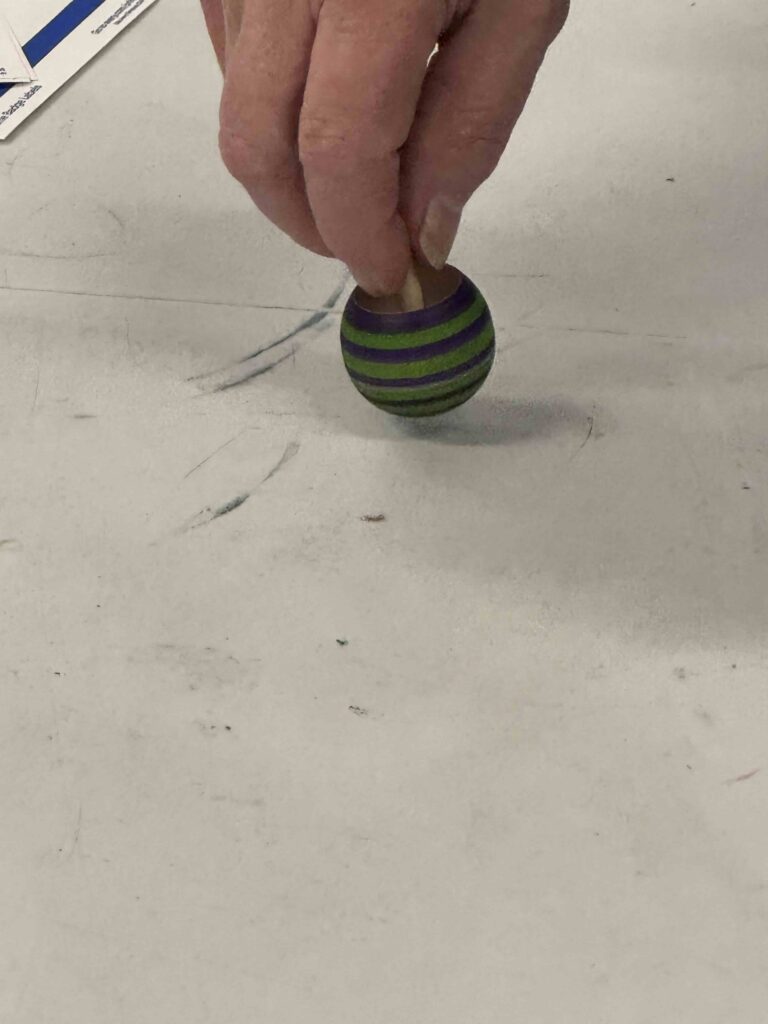
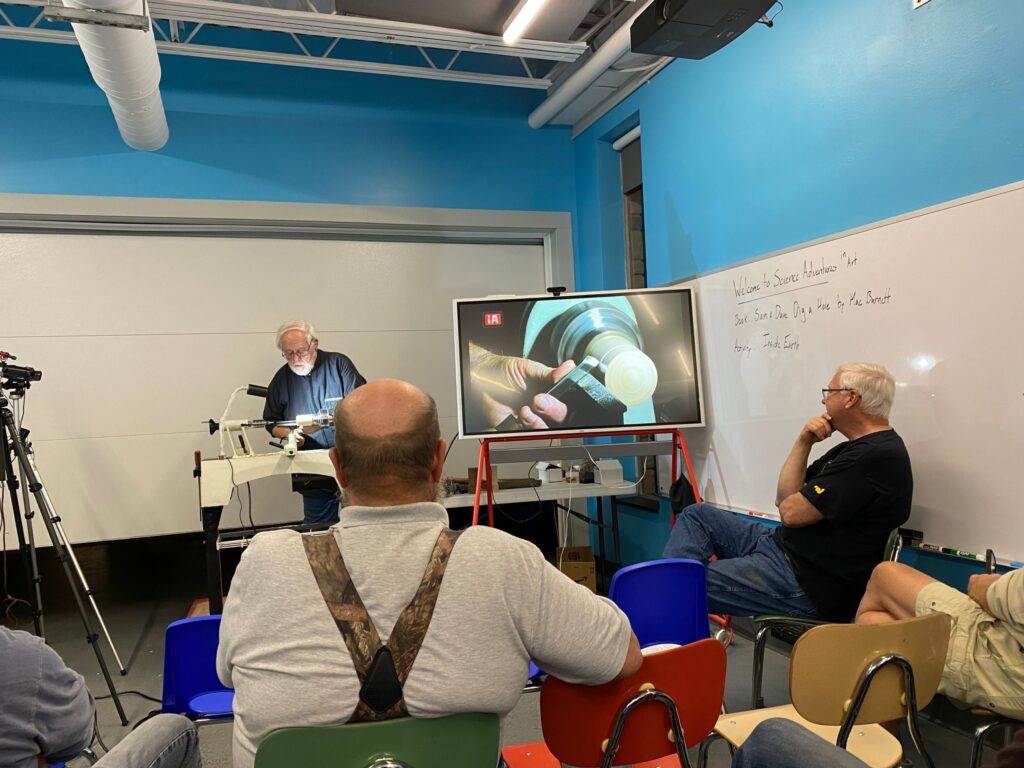
Our meeting included a demonstration on making tops, show & tell and wood auction
Dan’s Top Demonstration
Demonstration began with Dan suggesting that it is important to pick the correct style of top to make a good spinner. Some examples of poor design included: stem too thick; top to tall for diameter; disk (body of the top) too thin—the body should have significant mass to it. Ideal shape of the disk is wheel shaped. Remember the top should be large enough that it does not fall through the center of a toilet paper roll.
Dan used a parting tool and a spindle gouge to turn a top. The point of the disk should not be too sharp as it would be a puncture hazard. The stem should be about the width of a finger and 1/8 inch in diameter. Dan tapered both sides of the disk with the spindle gouge and shaped the stem with the parting tool.
Using Sharpies, Dan decorated the top and bottom of the disk. Ken remarked that at Black Moshannon, some of the kids liked the decorated tops, while others preferred to color the tops themselves. Club members were encouraged to turn their own tops over the next month and bring tops to the October meeting so the tops can be distributed to kids who come to the Reeds Gap State Park Fest demonstration, October 11, 2025 11:00-3:00.
Show & Tell


Our May meeting included an ornament presentation and show & tell.
Gib Corl presented how he made Christmas ornament “bulbs” using pine cones and epoxy.
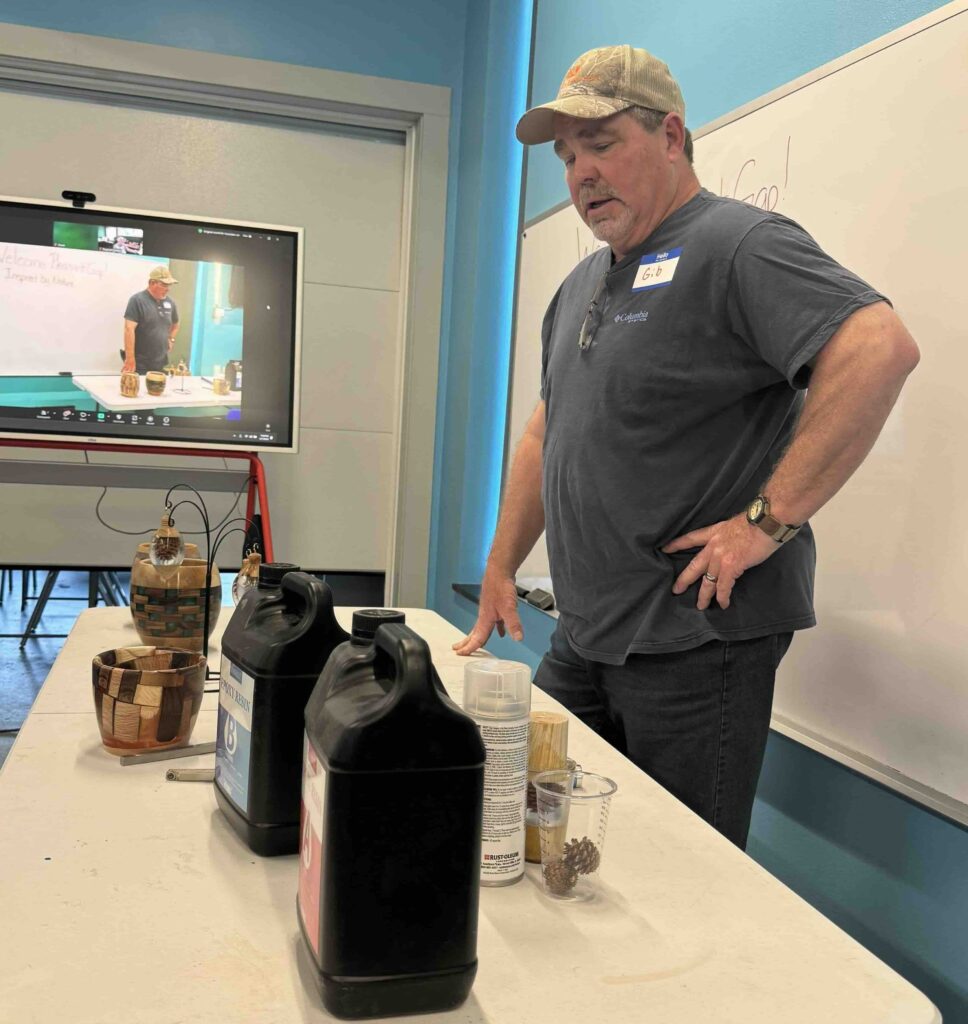
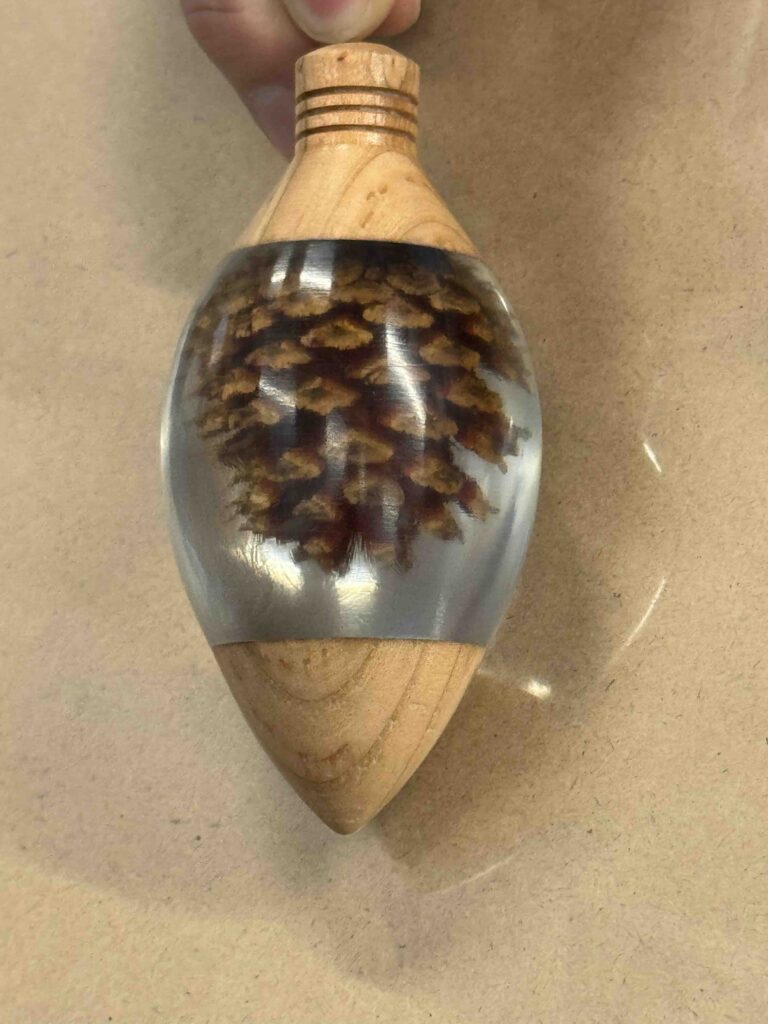
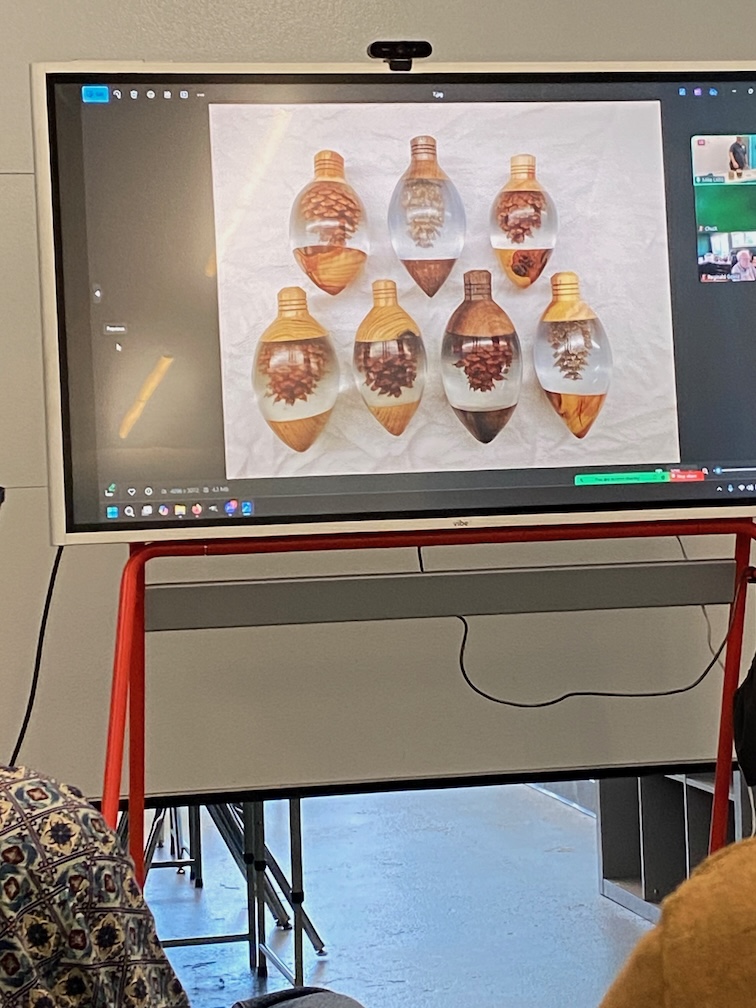
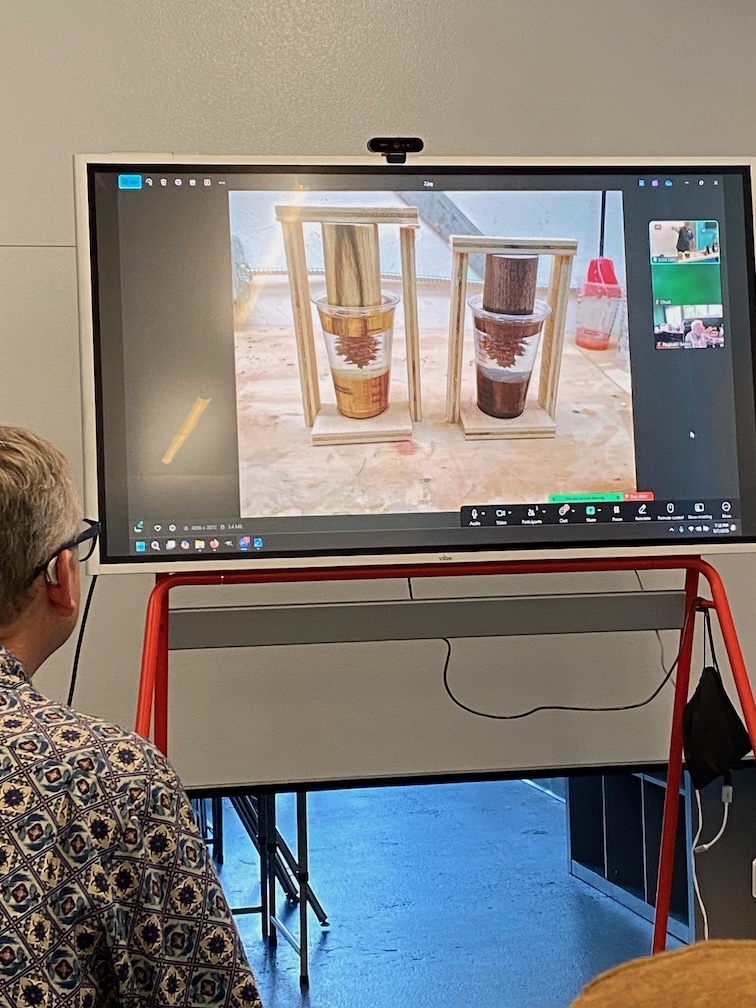
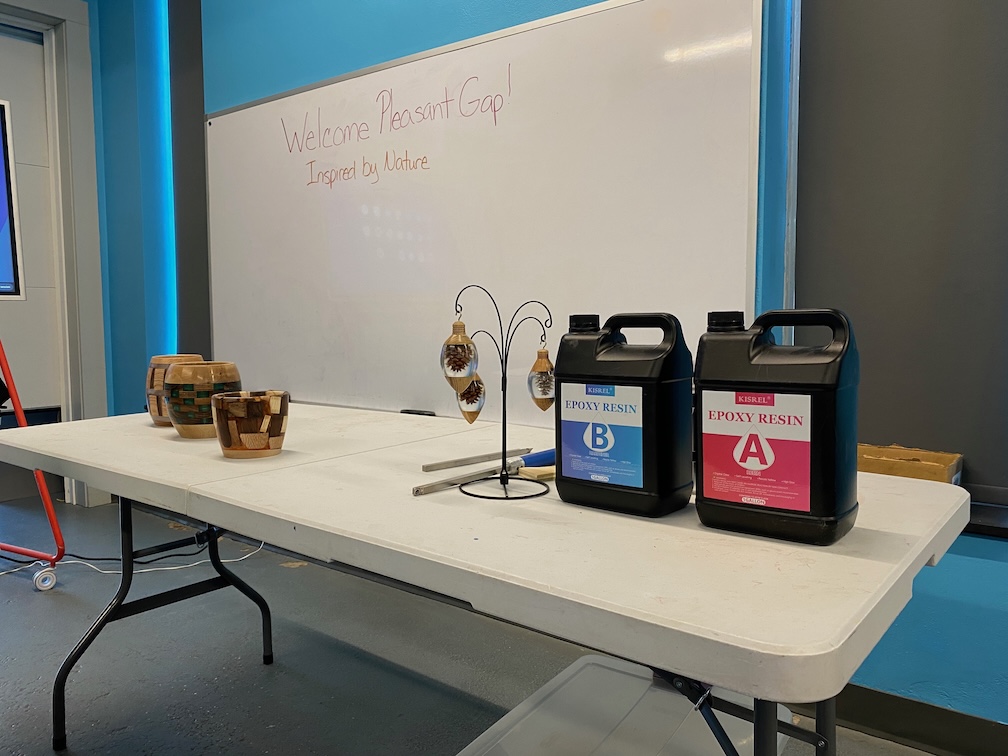
He showed an ornament with a small hemlock cone, but other center pieces can be used. The cone is hot glued to a blank and another blank is hot glued to the bottom of a plastic cup. The cone is suspended over the cup with a jig he has fabricated and after all the parts are in alignment, he pours the epoxy mix into the cup. He uses a 5 gallon pressure pot @ 60psi to compress any bubbles in the pour and waits about 48 hrs before removing the item. The cured assembly is then put in the lathe and turned to the desired shape, lacquered, and sanded up to 400 grit.
Show & Tell

Demonstration
Dan demonstrated how to make Gnomes.

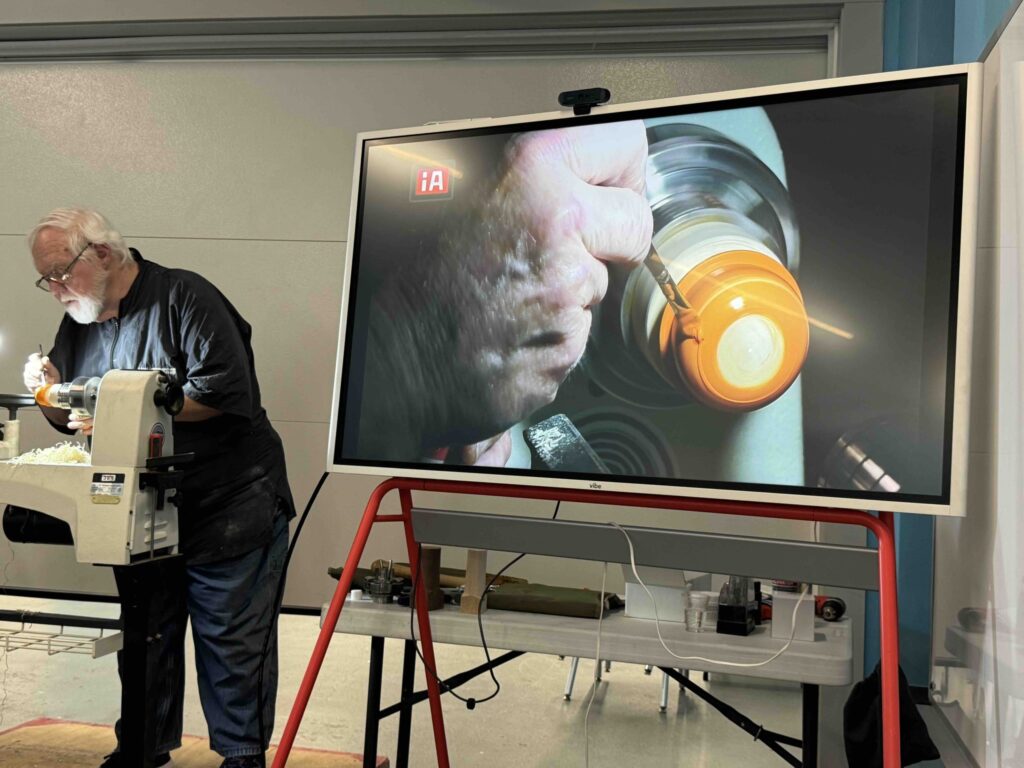
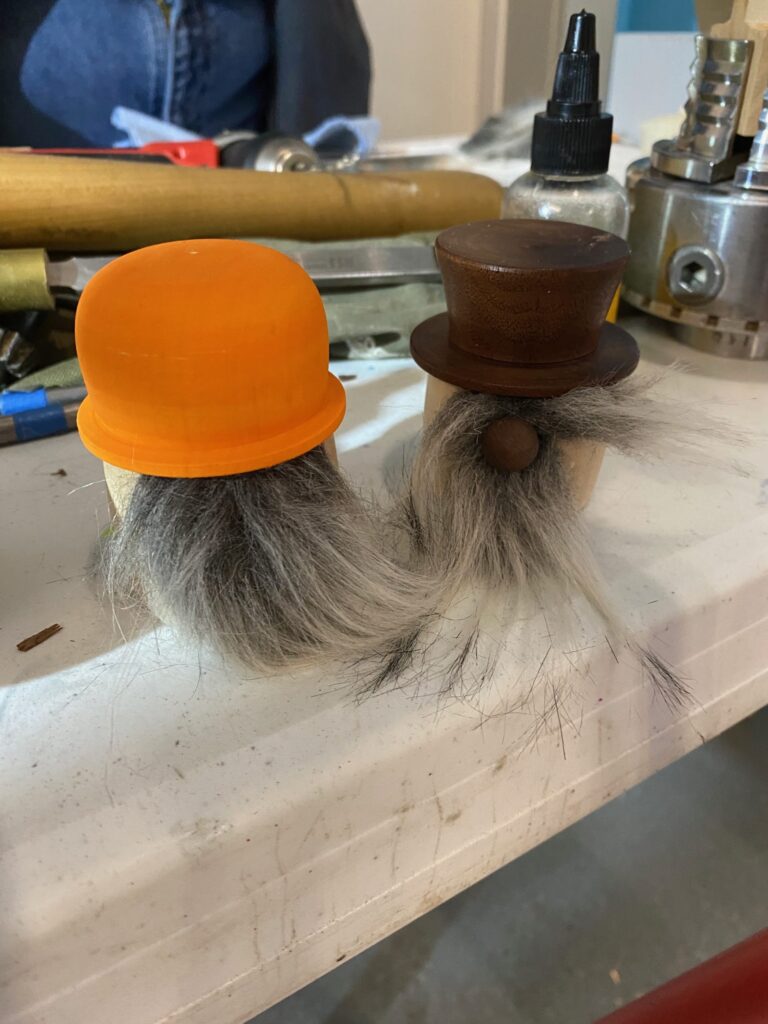
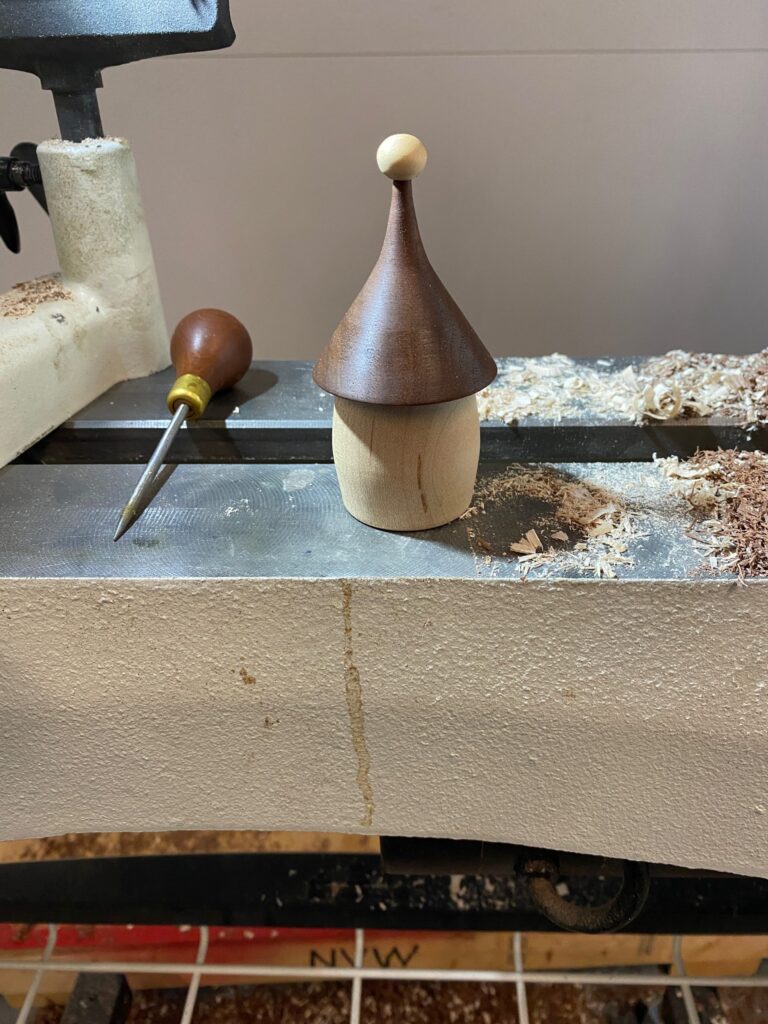
Dan provided notes so anyone can make a gnome like he does:
Show & Tell
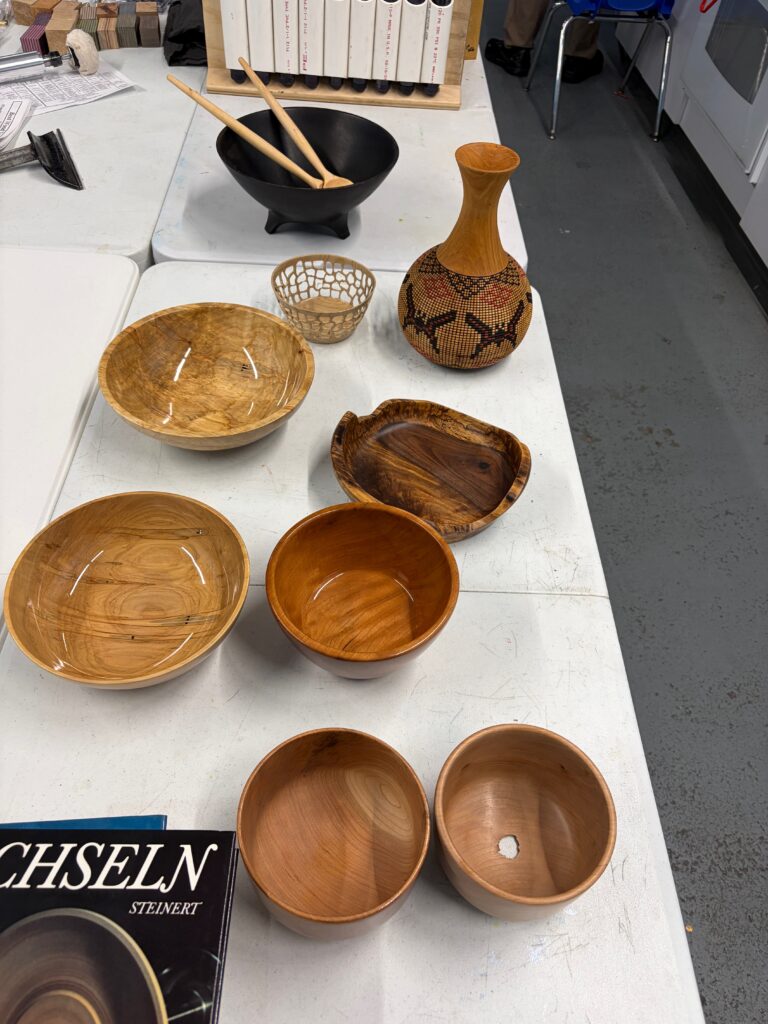
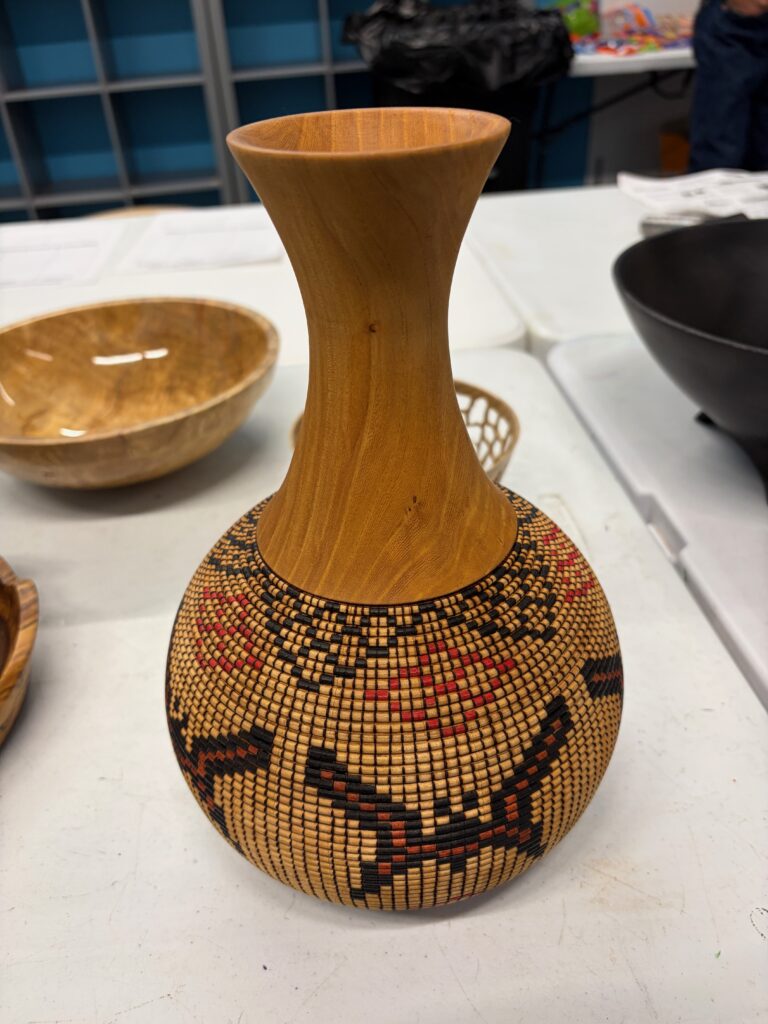
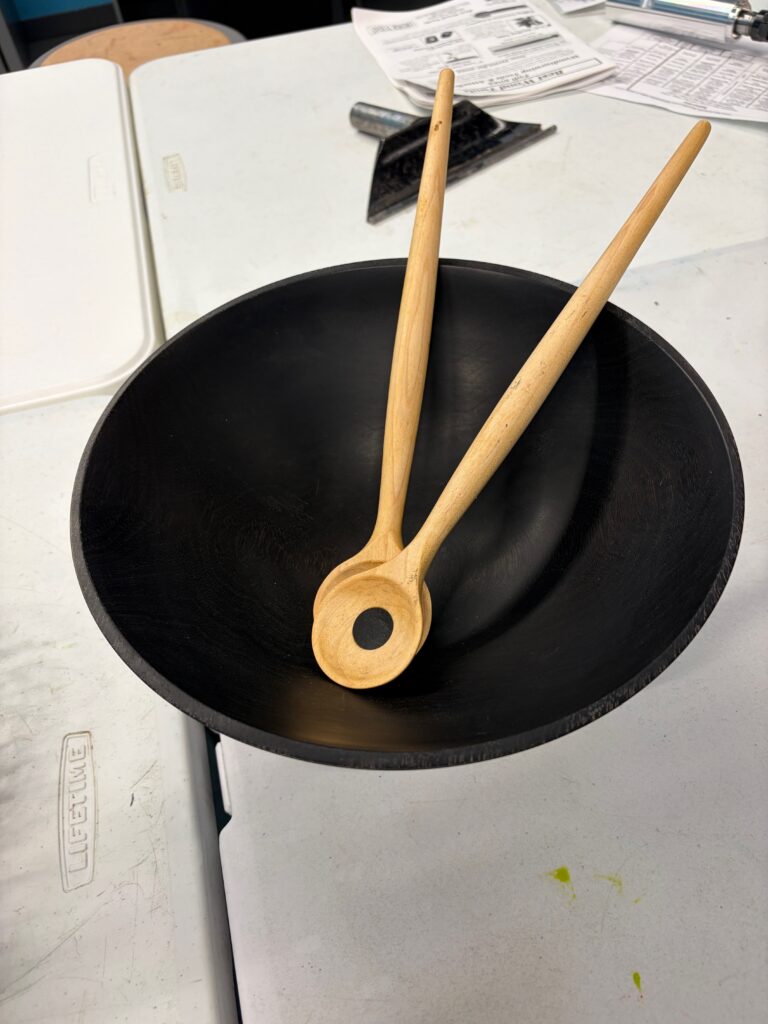
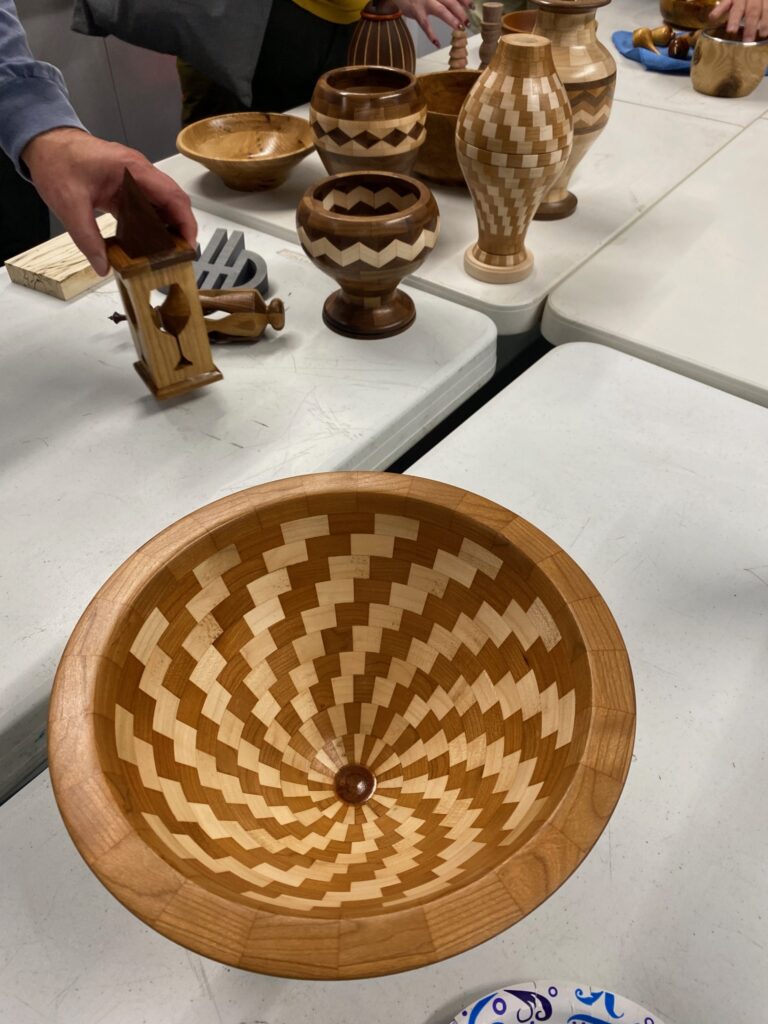
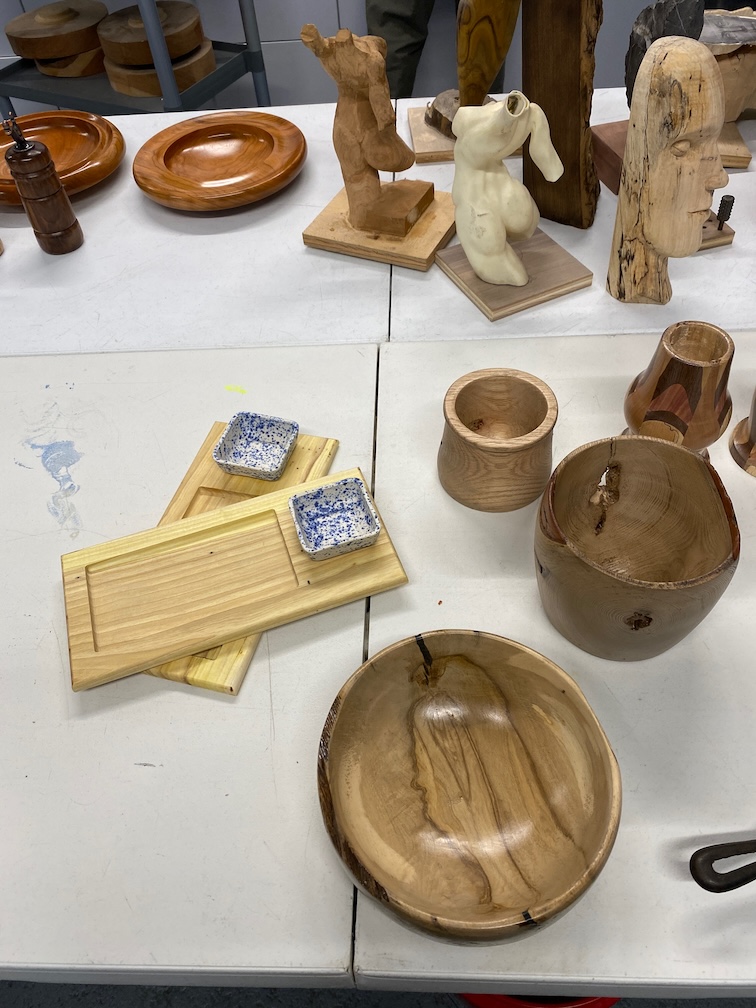
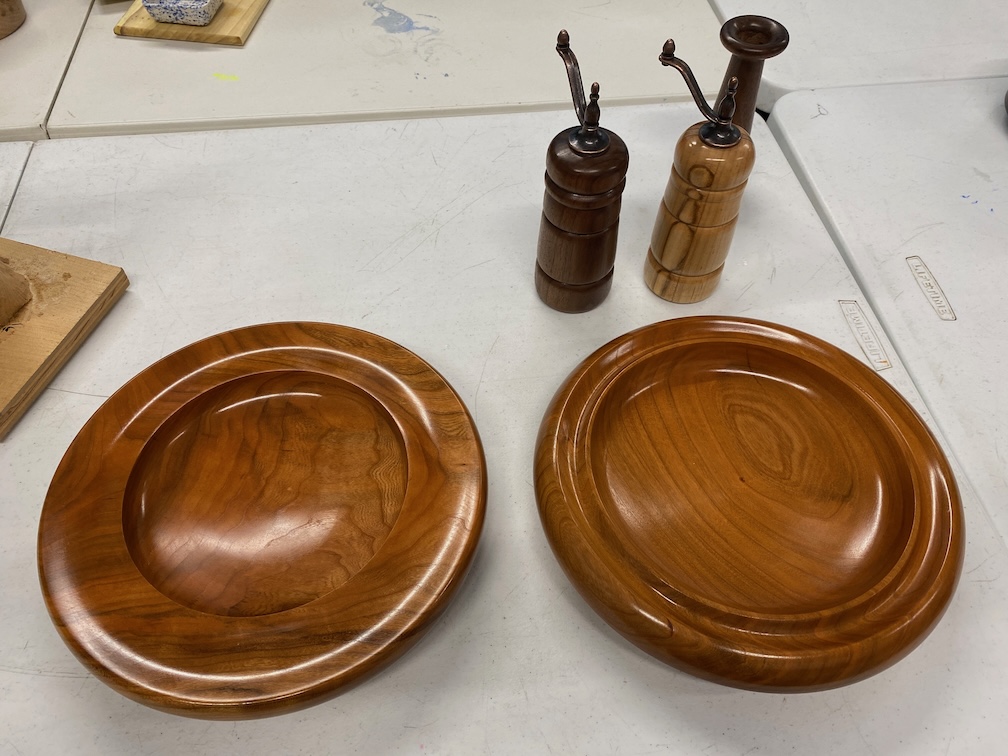
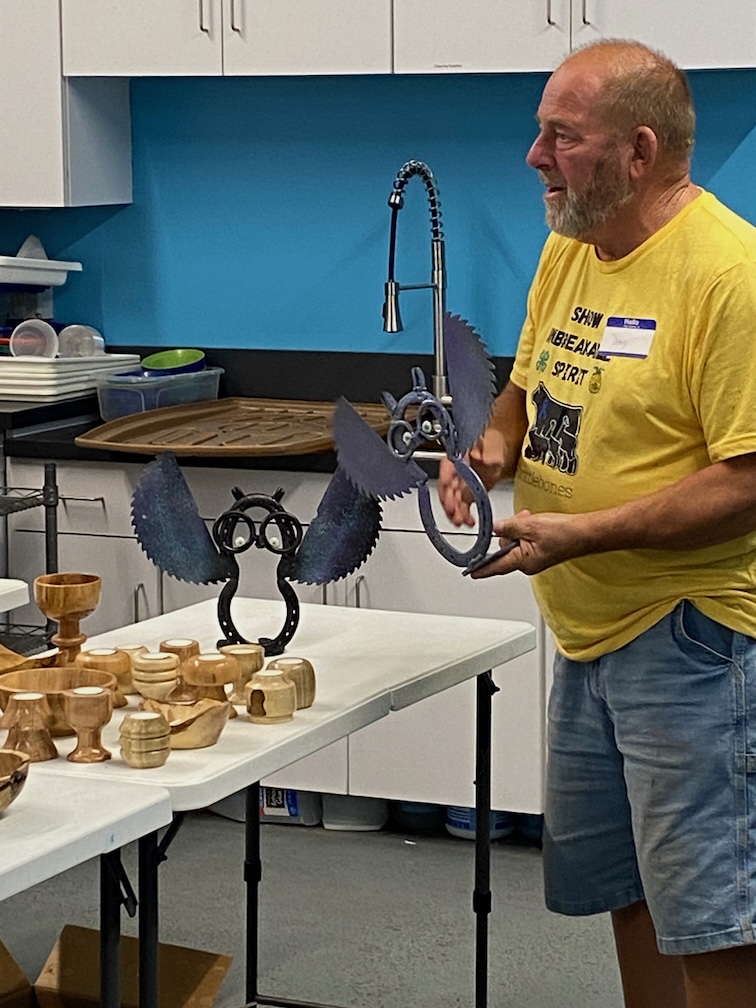
We had a normal show and tell where we saw members amazing work
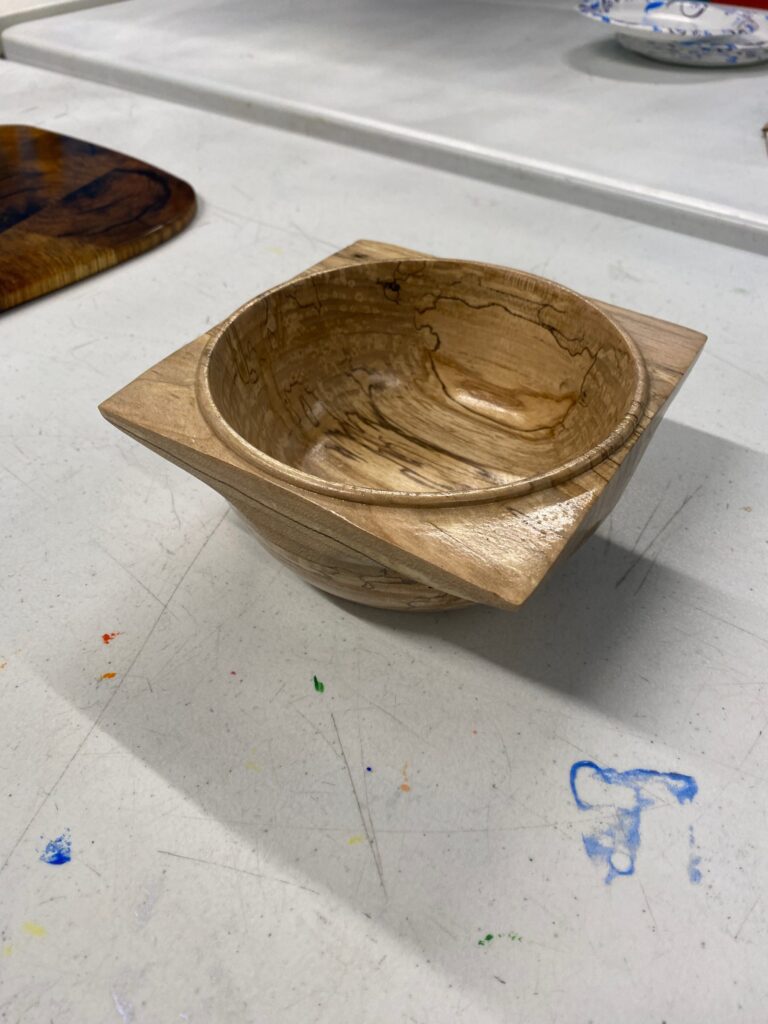
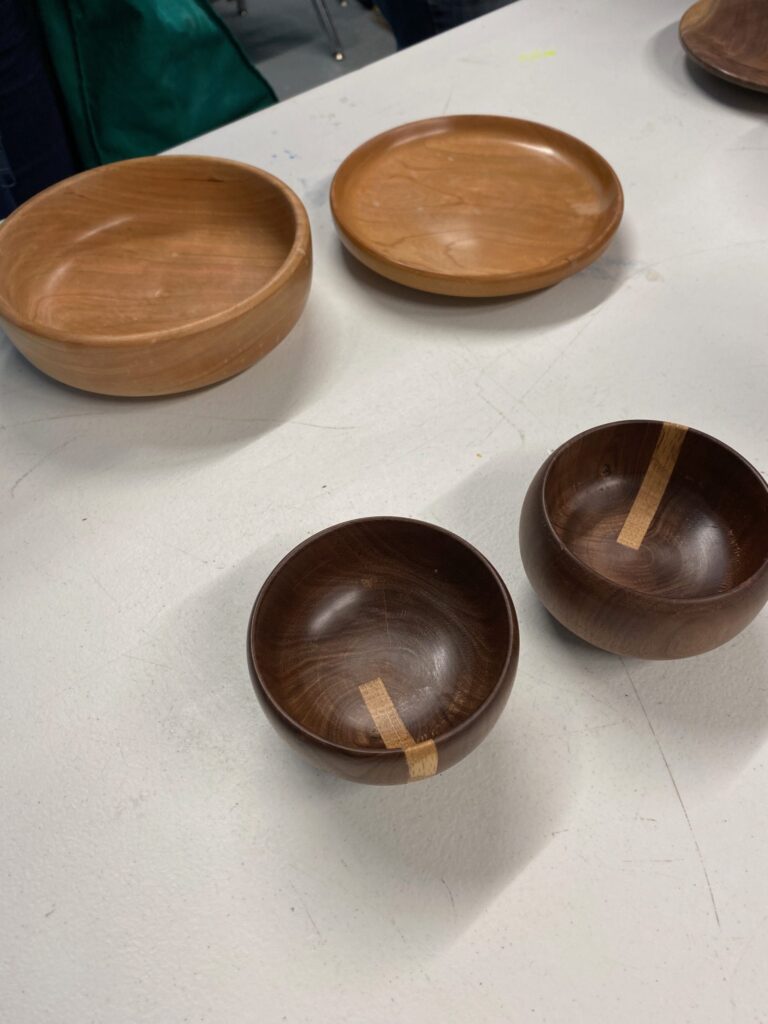
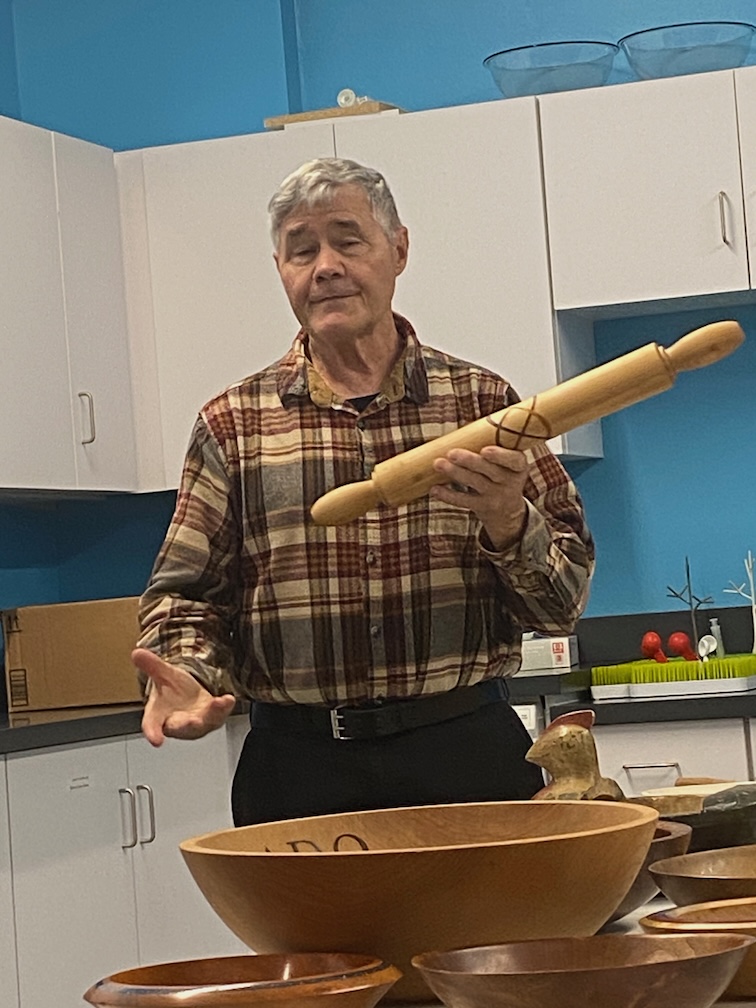
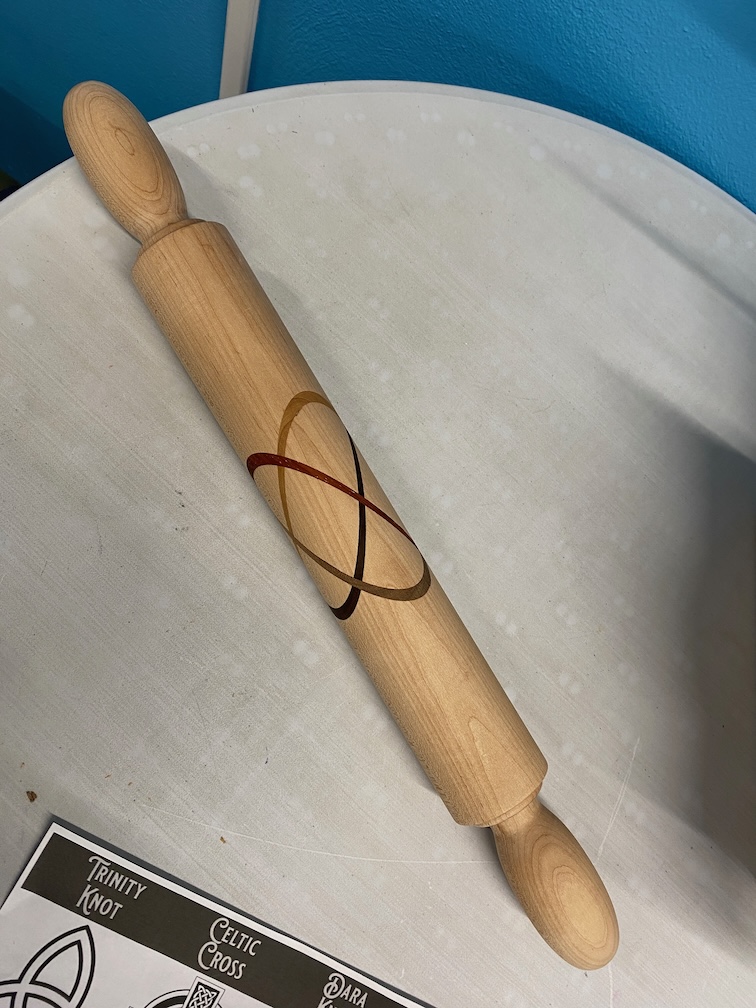
Paul Demmert shared how to make a Celtic Knot rolling pin. A Celtic knot is an infinite loop type pattern which makes an impressive decoration on a rolling pin. But first we had our regular show and tell where several people showed us what they’ve been making lately, from sculptures to grinders to chips and dip bowl.

Below are examples of various Celtic knots.

Below is an example of how to layout the cuts made in the blank before turning. You must make deep cuts just 1/8″ short of going through to hold it together until glued. Place a different colored 1/8″ thick wood blank in each slot, cut and glue one at a time.
Some other tips he shared:

Due to the demo lathe’s size limits Paul used smaller pieces to show how it’s done.
Look at this beautiful final product, when done on a full sized lathe.
Our first meeting after the summer break was a time to reconnect and learn what everyone made over the summer, so we had a larger than normal show and tell session as well as a great wood auction.
We had a normal meeting at the Rivet including a business discussions, show and tell and an in-depth presentation and sharpening demonstration by our very own Larry Lukens.
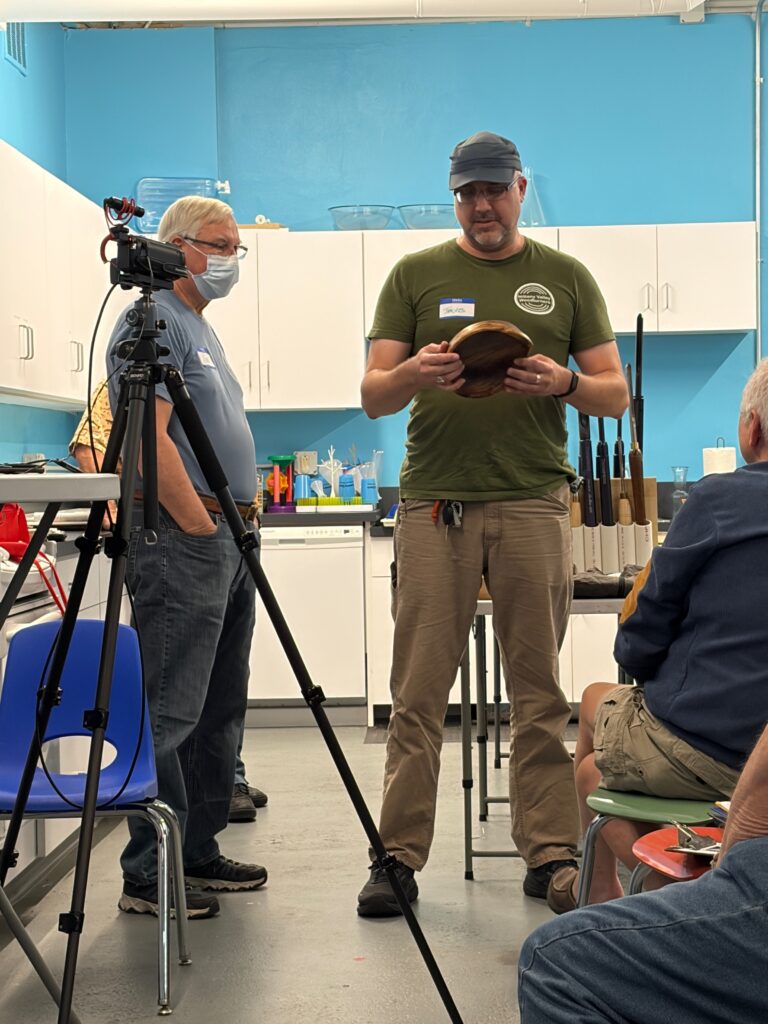
Several people showed the nice pieces they had created
Larry showed us how to sharpen our tools