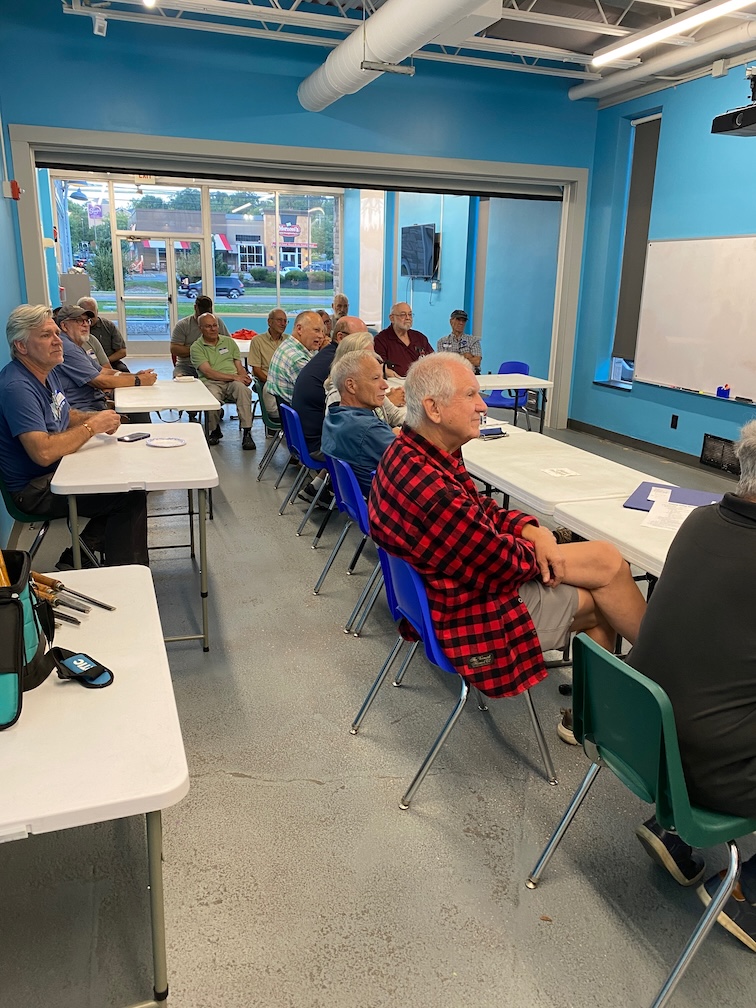
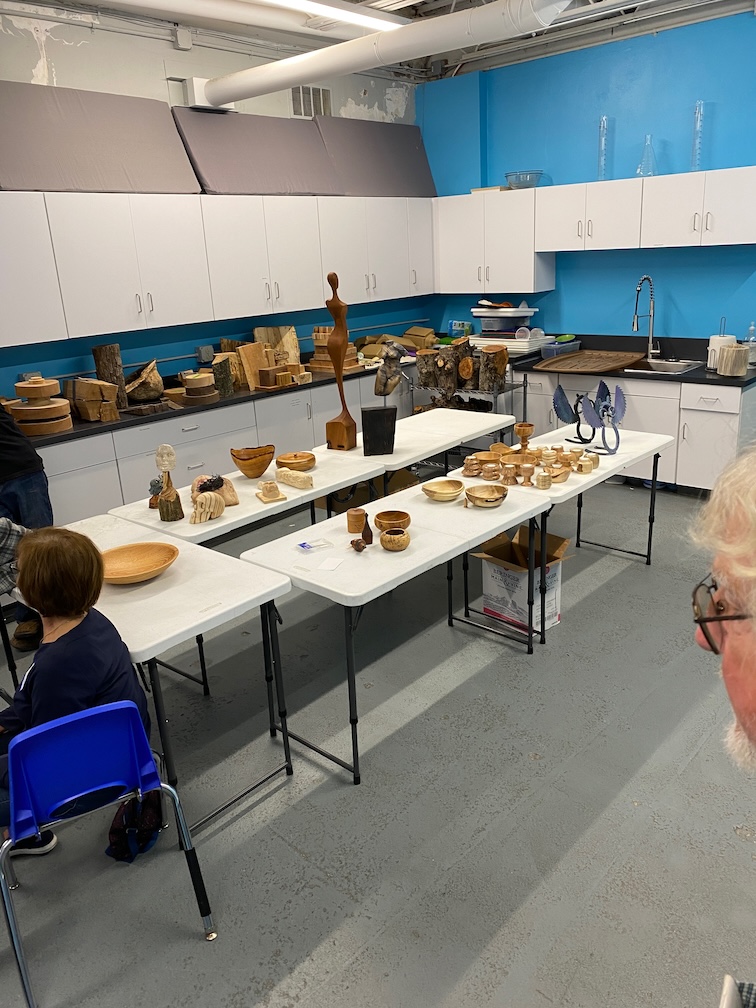
Our first meeting after the summer break was a time to reconnect and learn what everyone made over the summer, so we had a larger than normal show and tell session as well as a great wood auction.
Woodturners club in State College, PA
Our first meeting after the summer break was a time to reconnect and learn what everyone made over the summer, so we had a larger than normal show and tell session as well as a great wood auction.
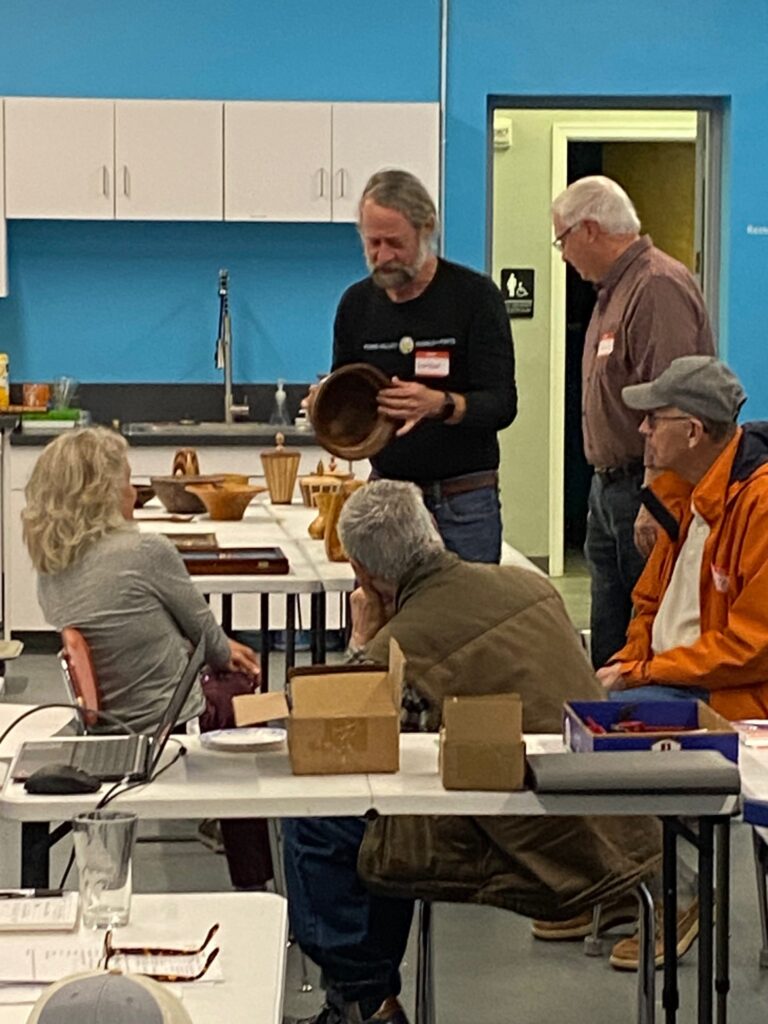
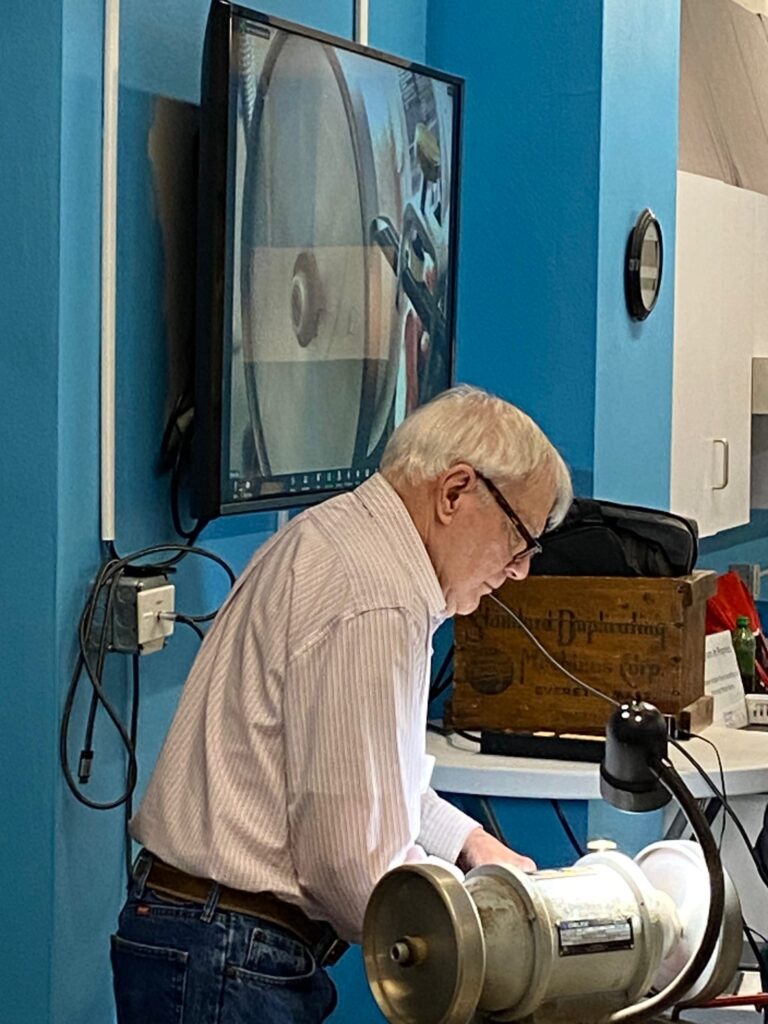
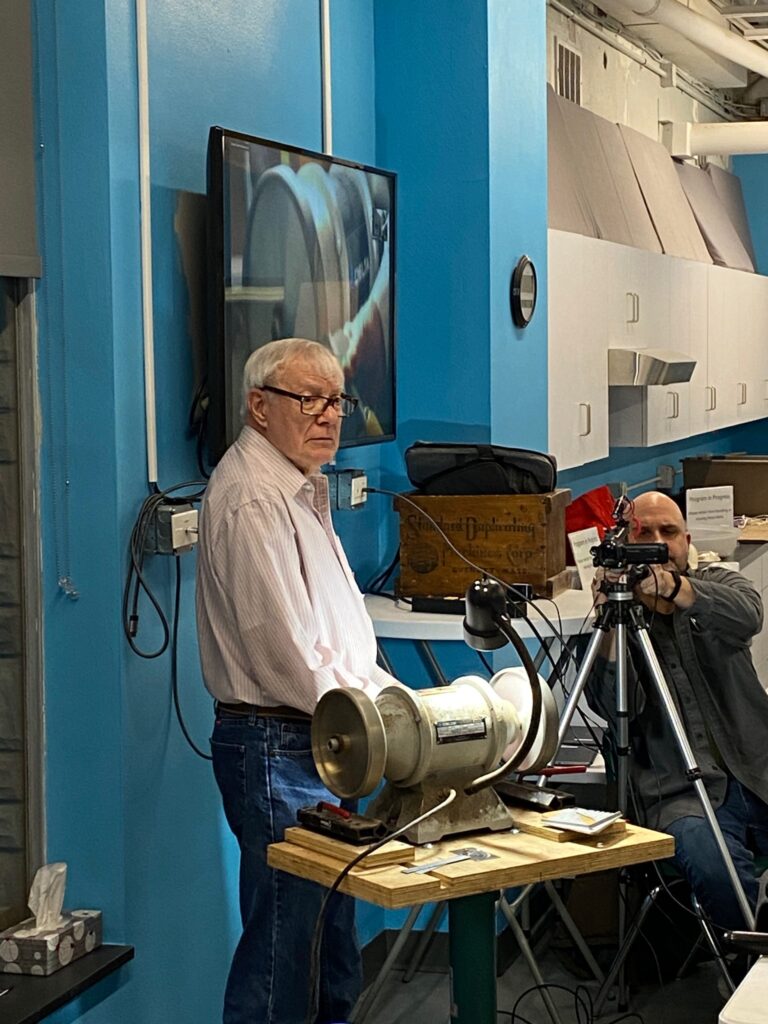
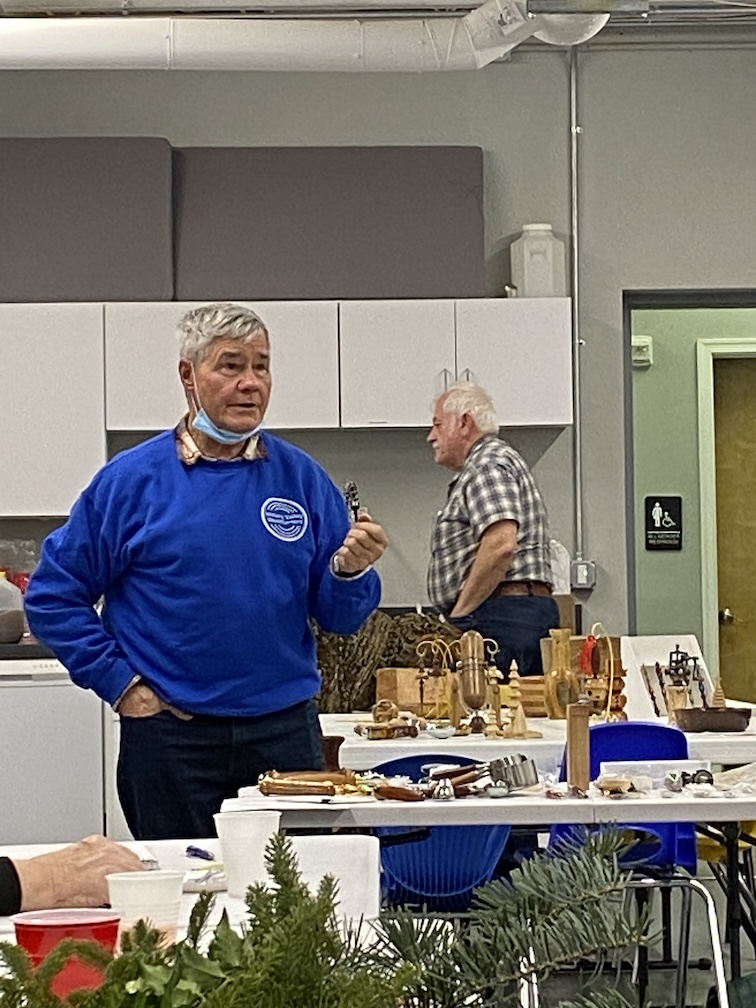
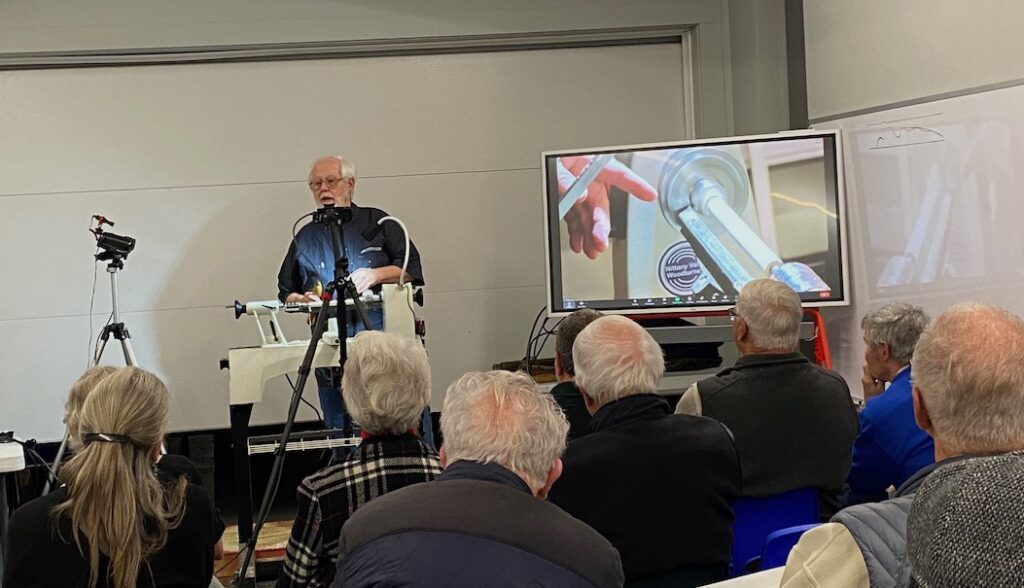
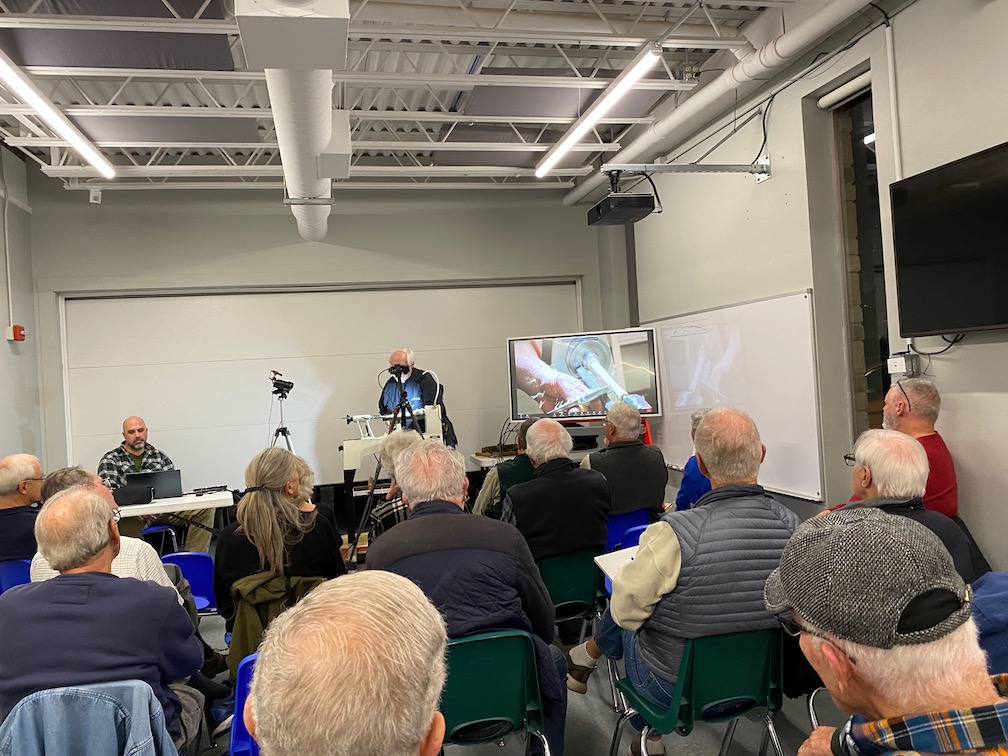
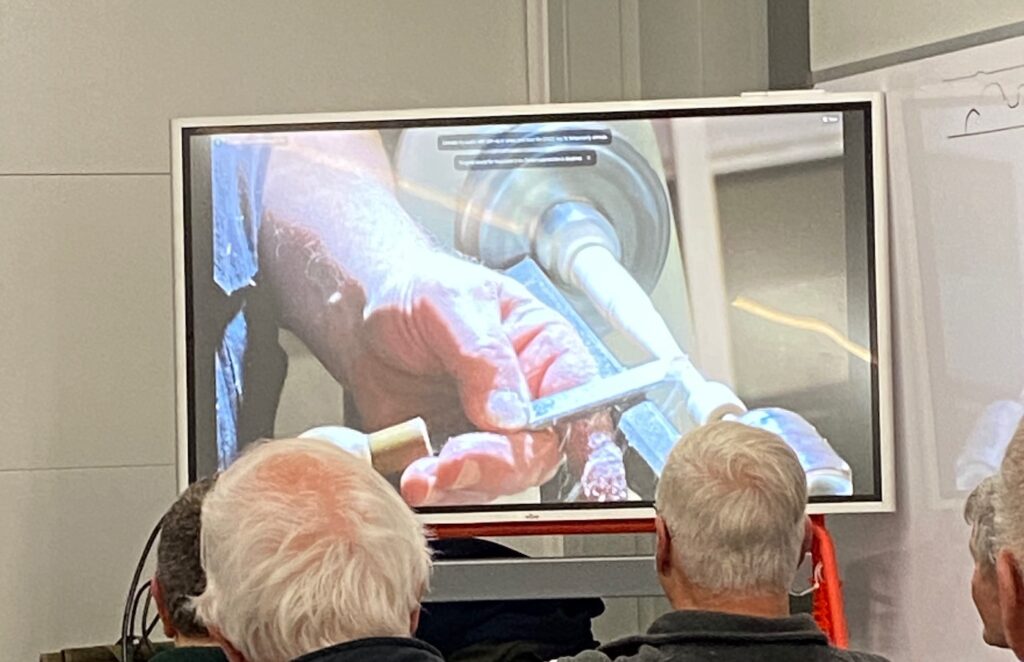
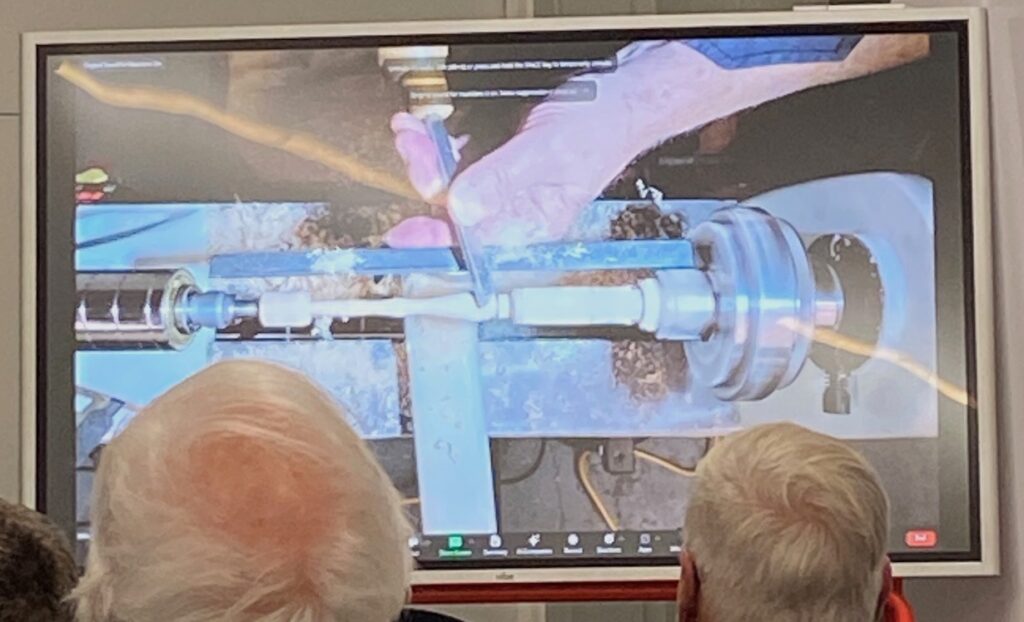
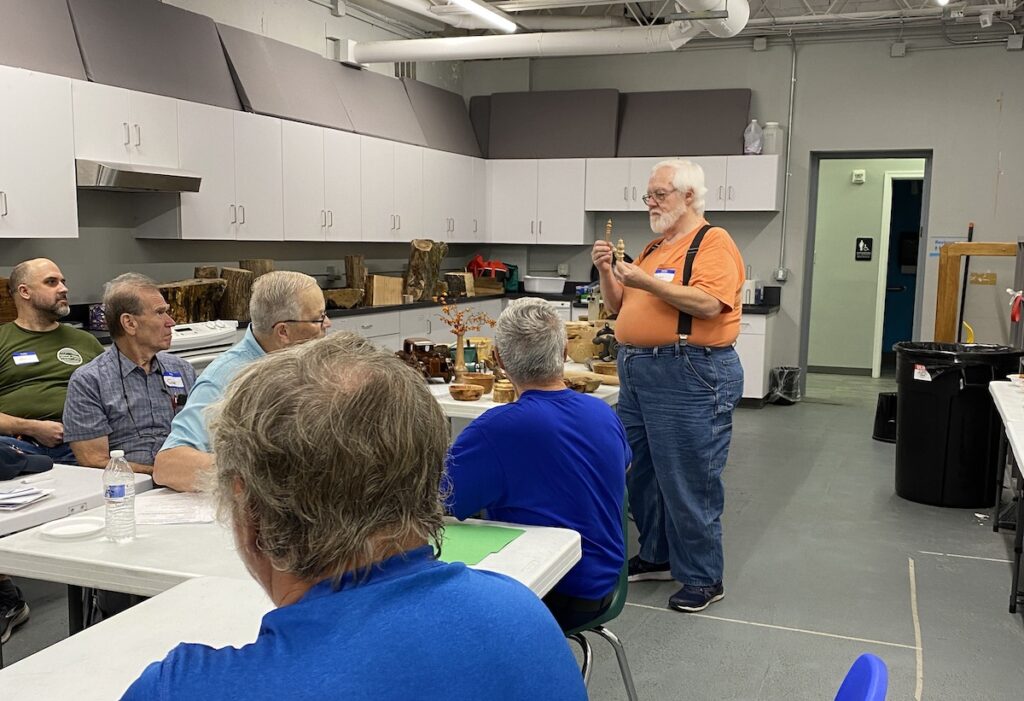
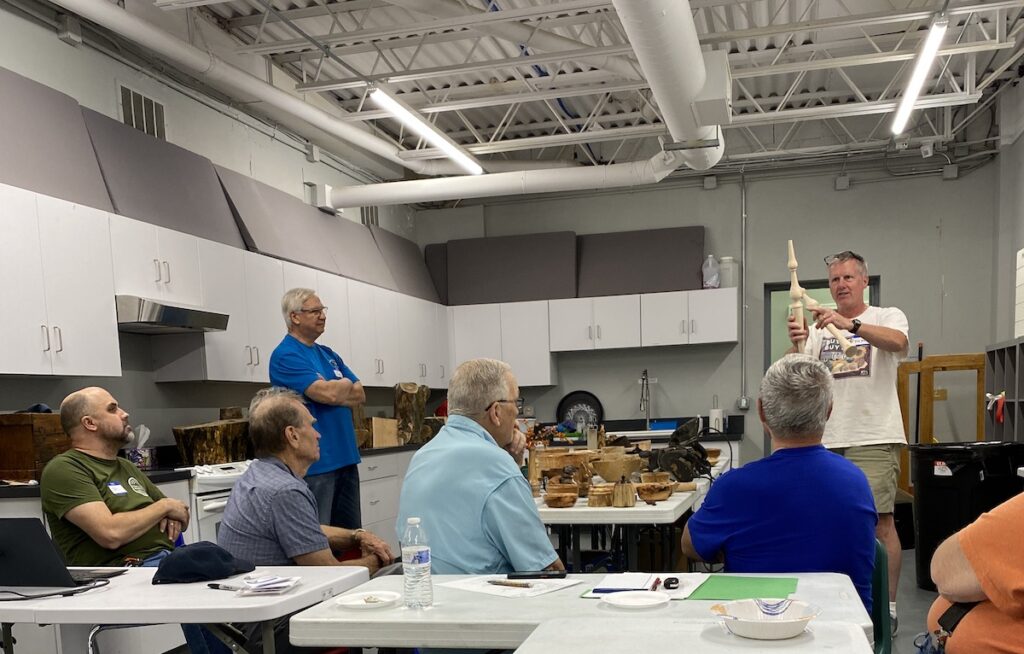
We had a normal meeting at the Rivet including a business discussions, show and tell and an in-depth presentation and sharpening demonstration by our very own Larry Lukens.
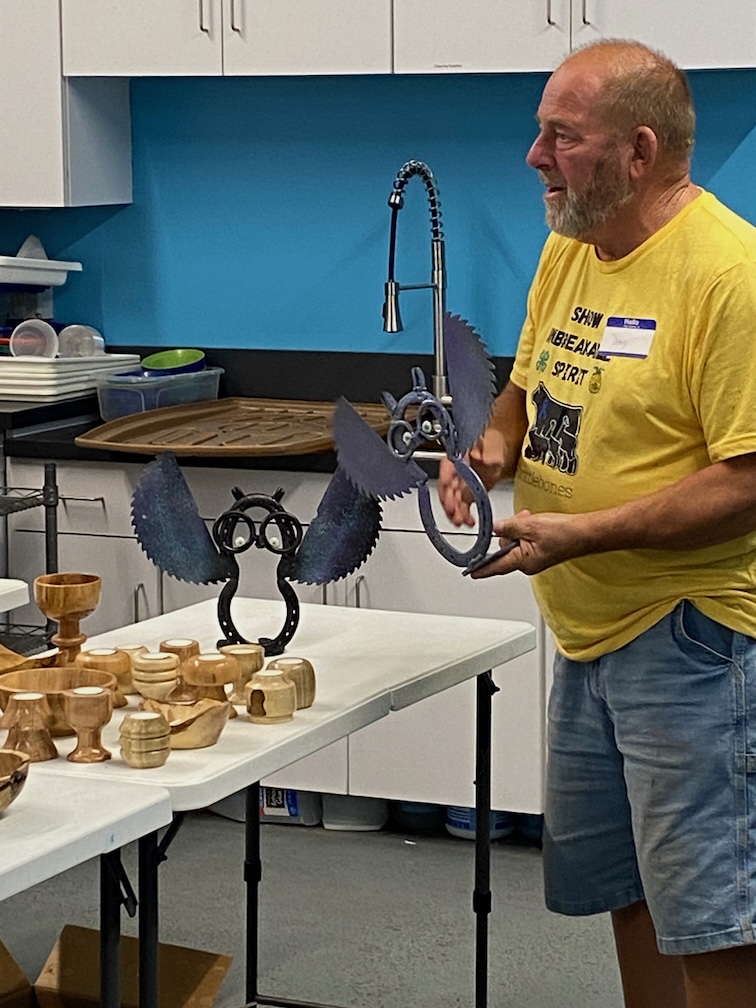
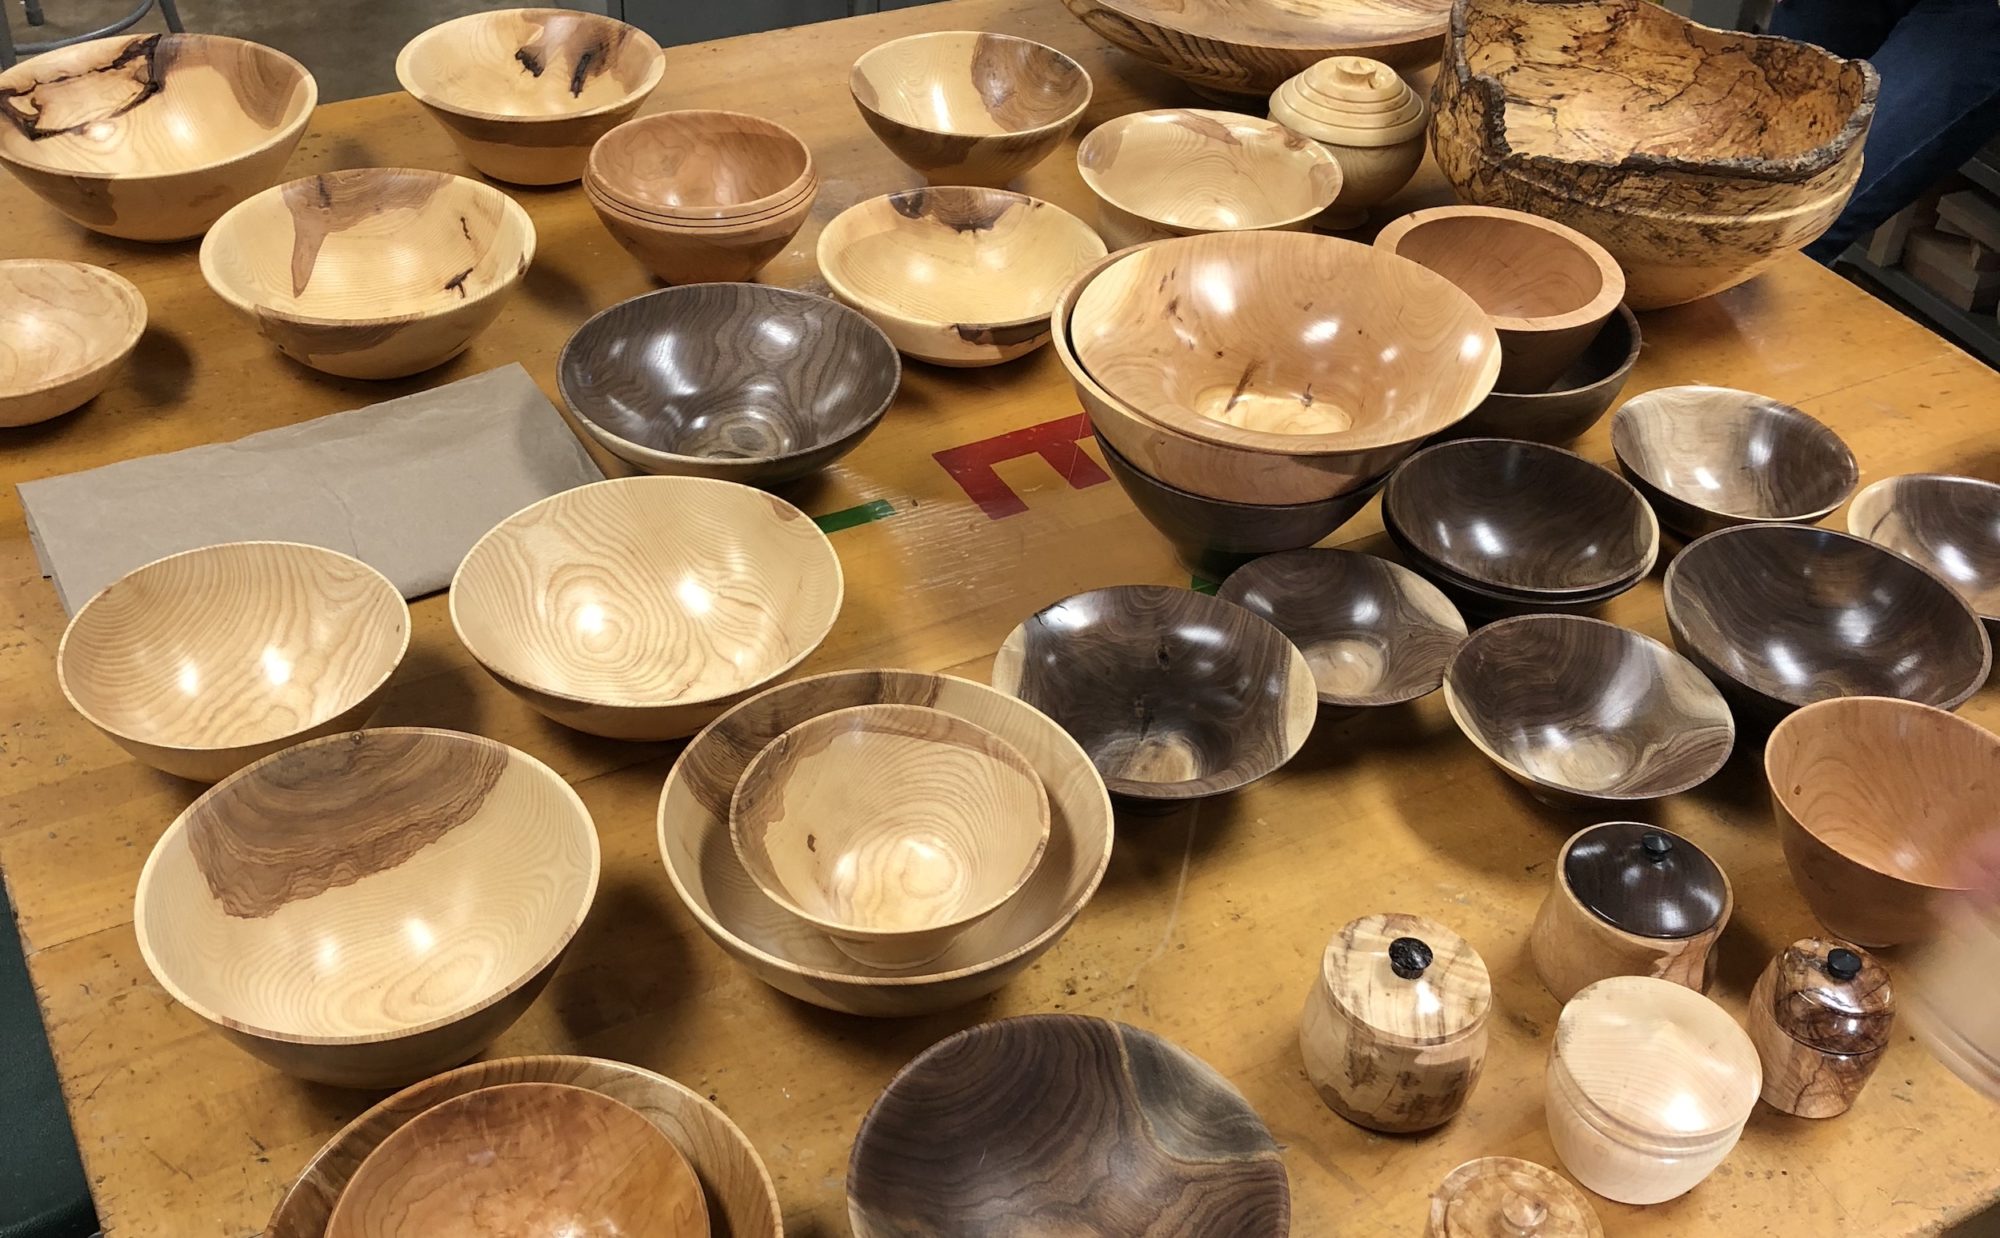
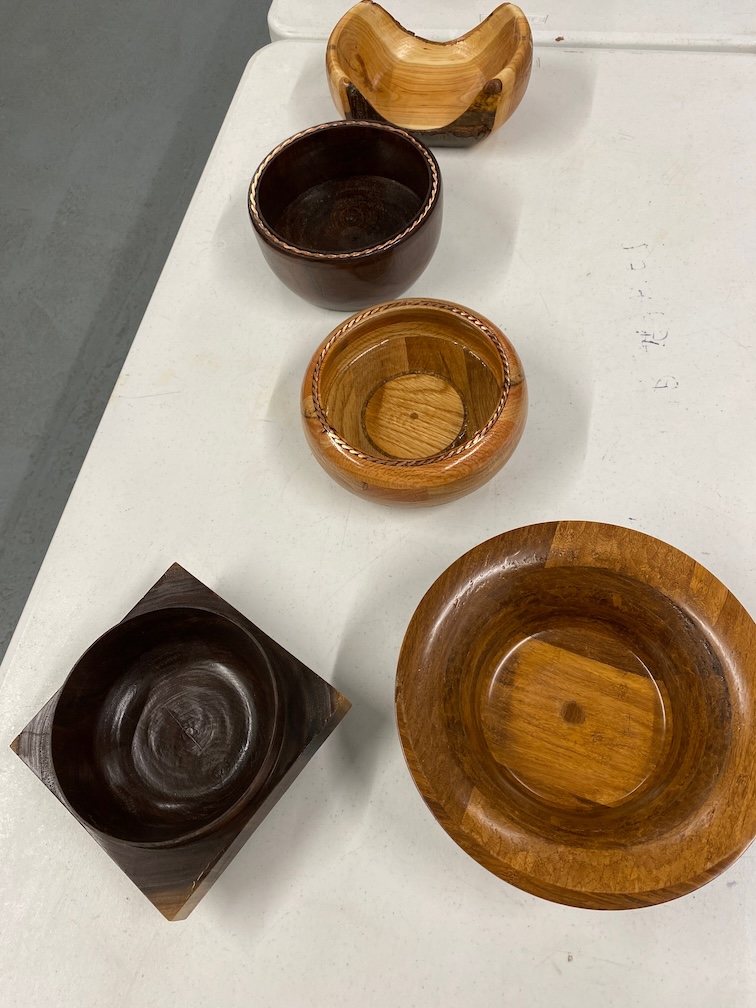
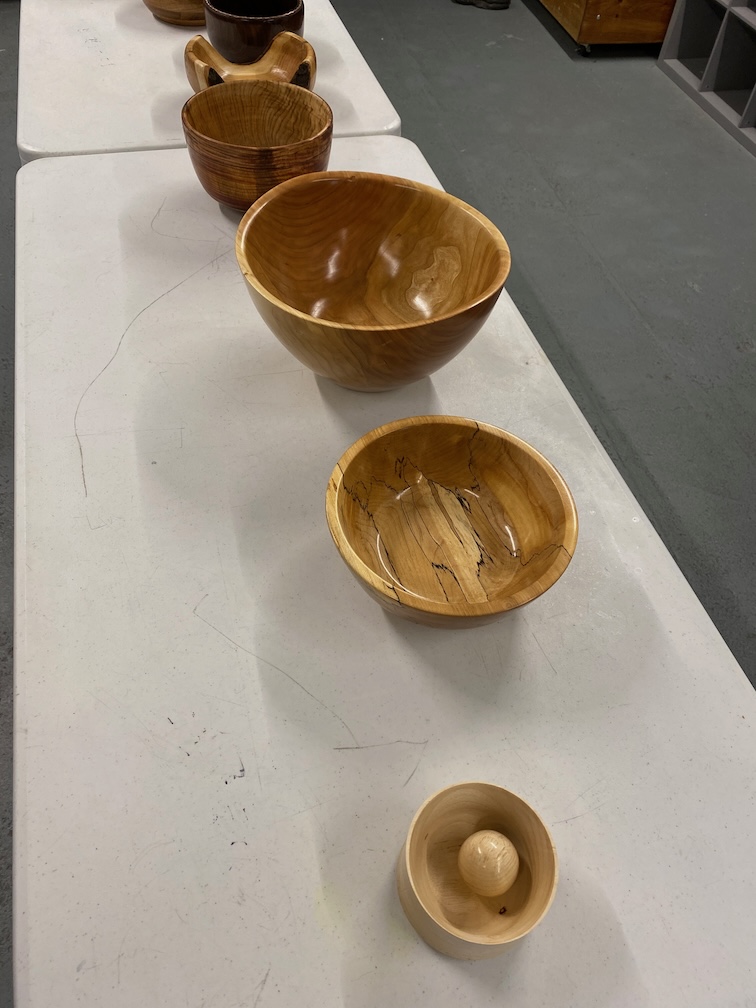
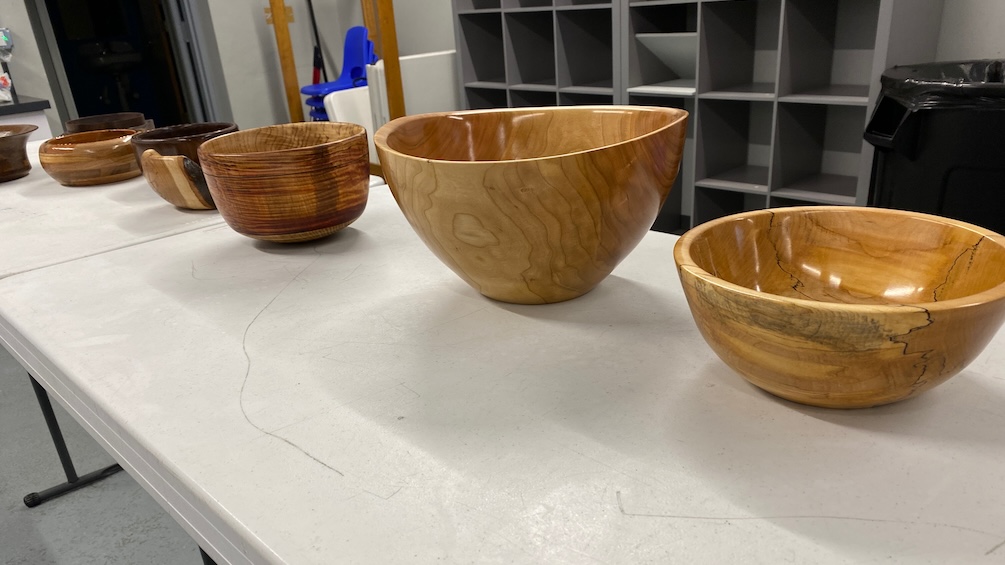
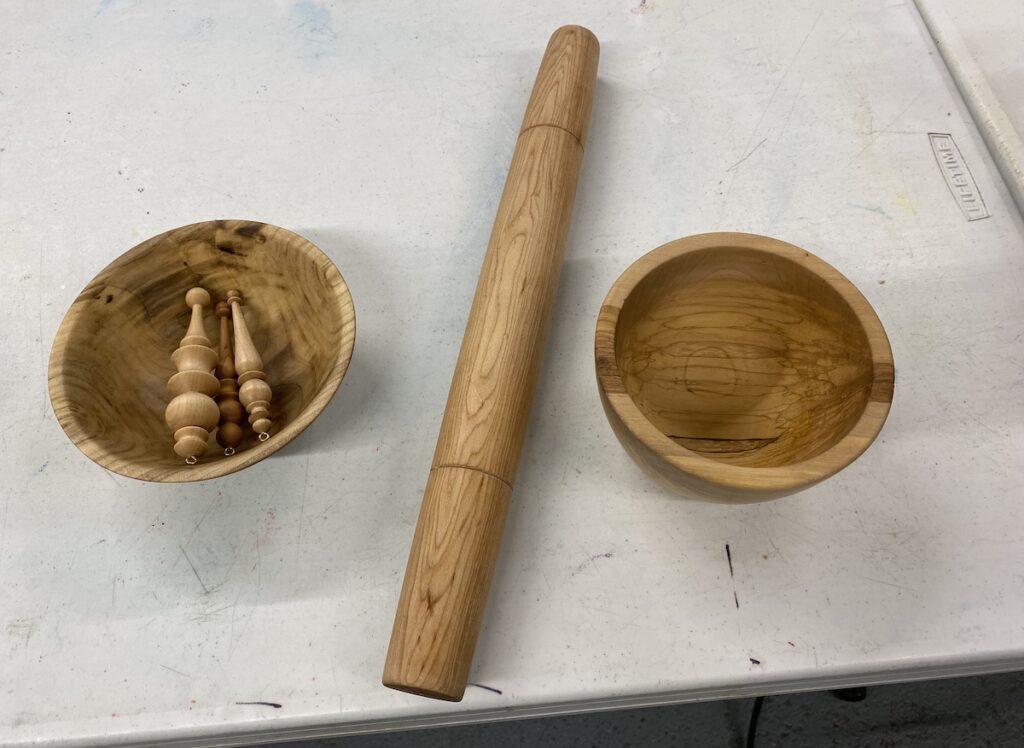
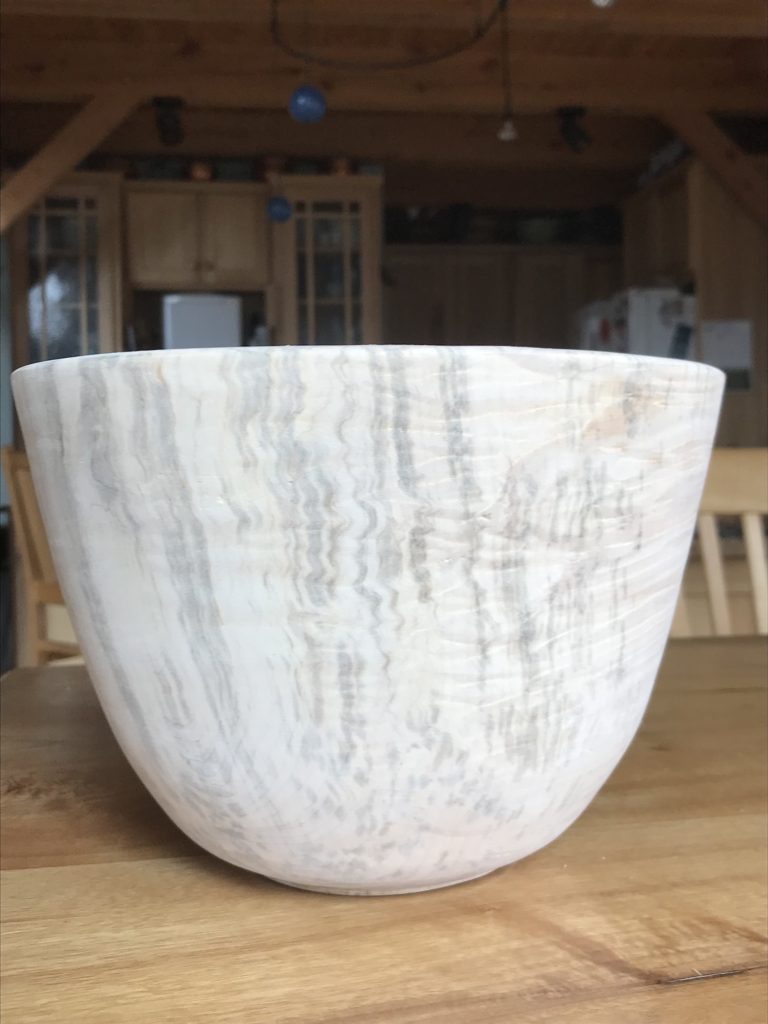
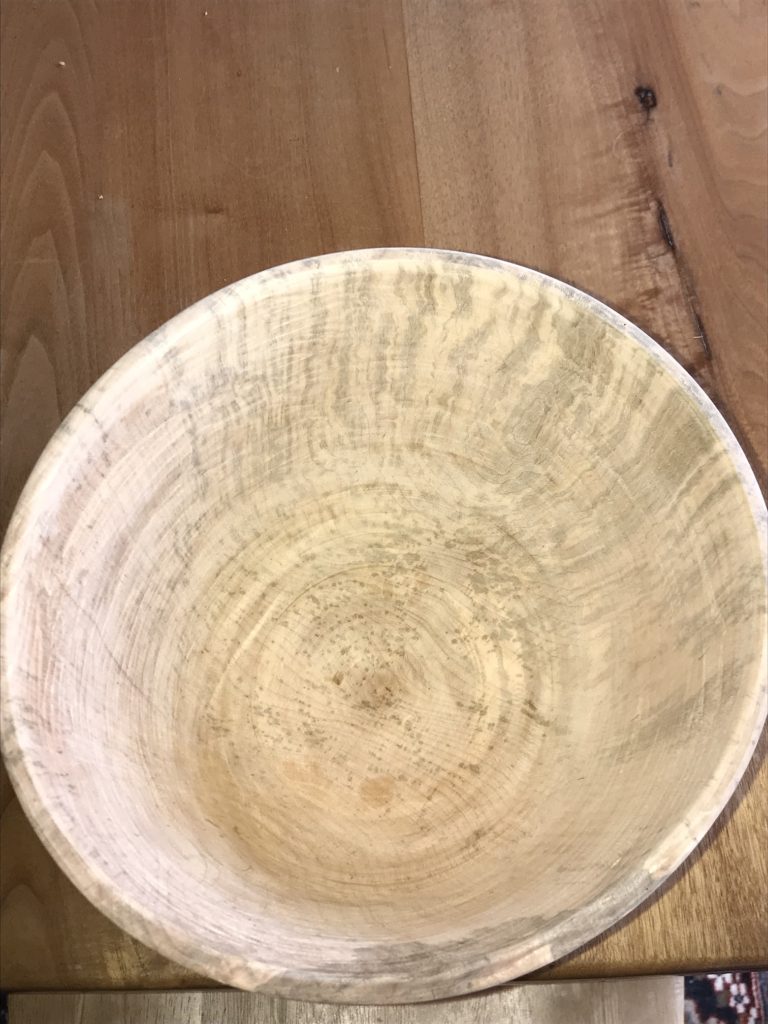
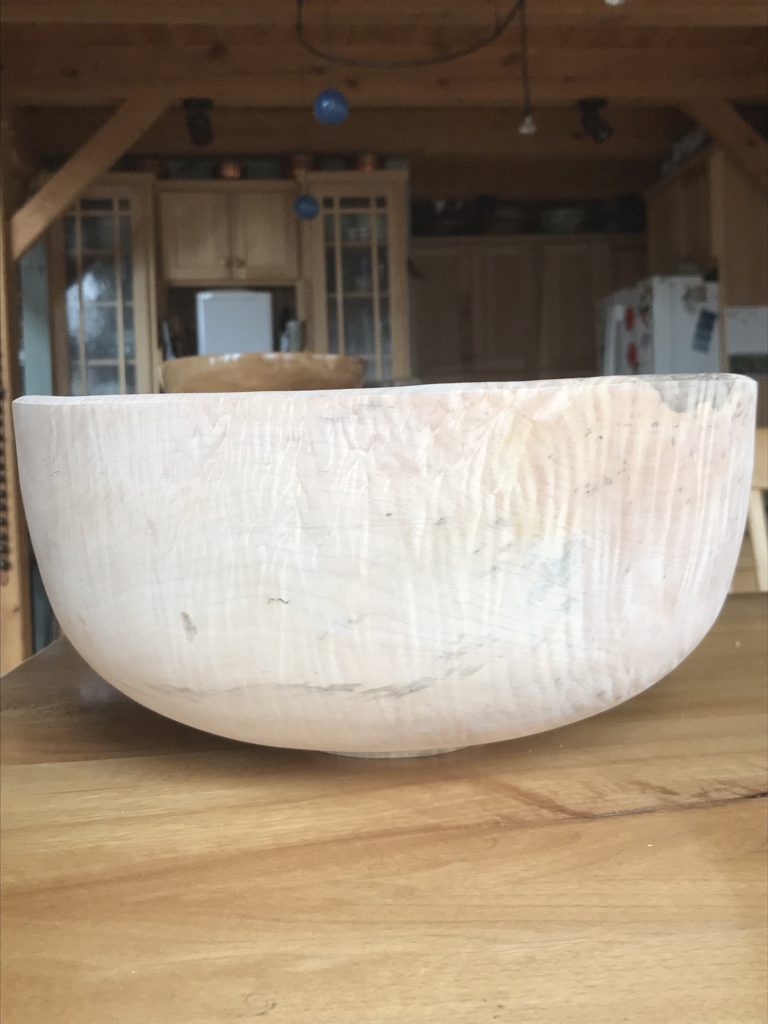
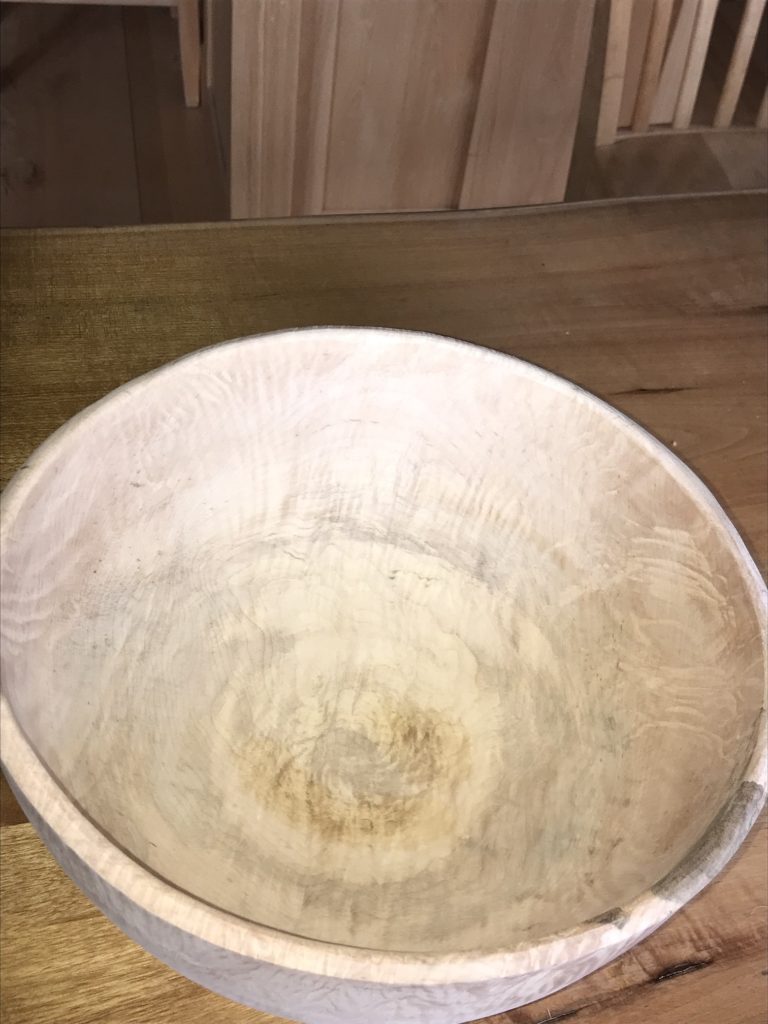
Several people showed the nice pieces they had created
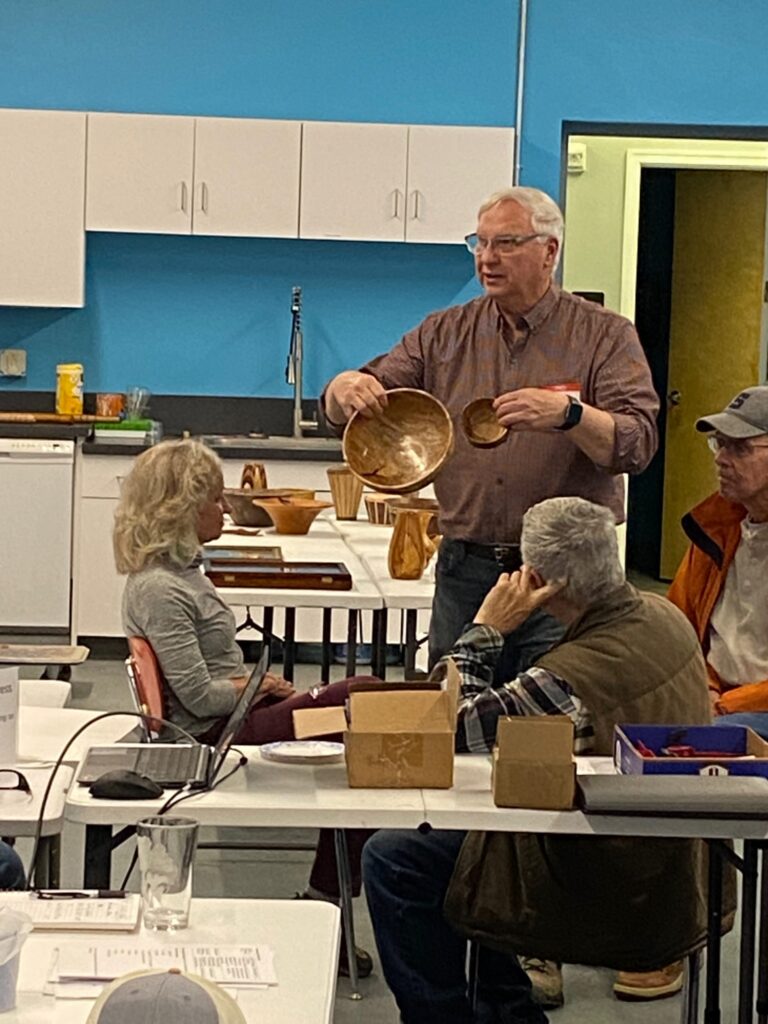
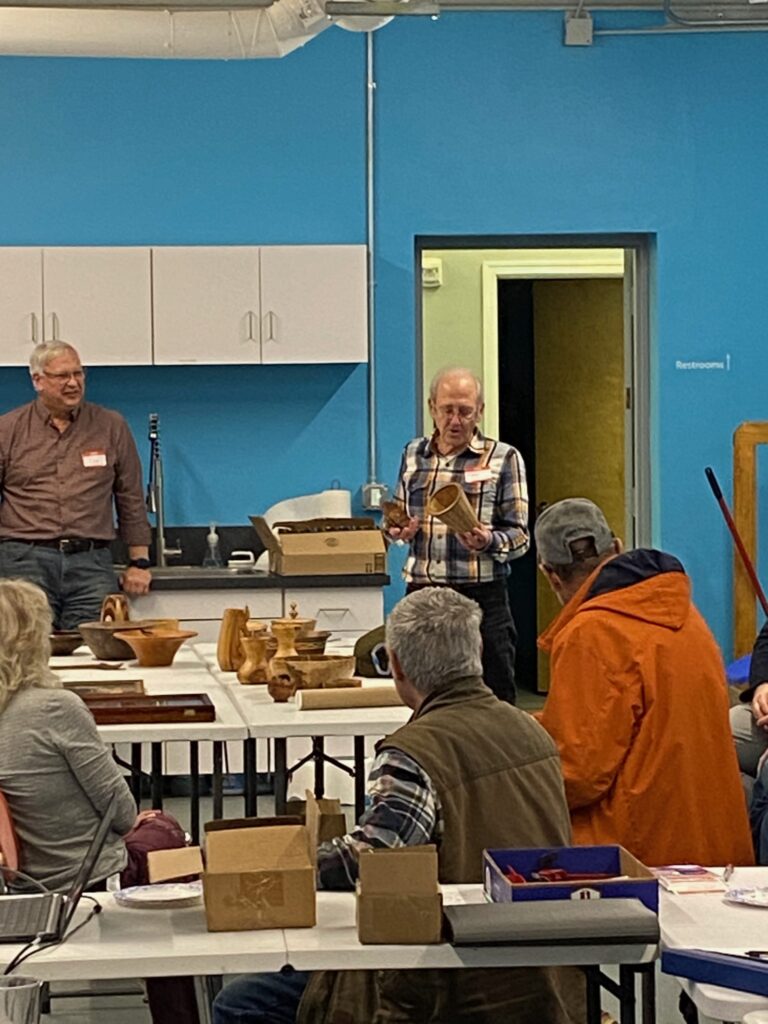
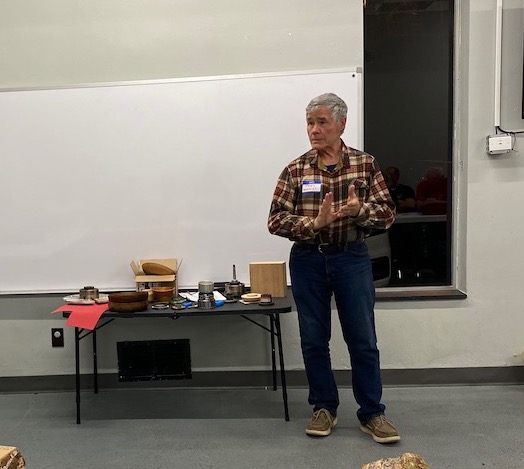
Larry showed us how to sharpen our tools
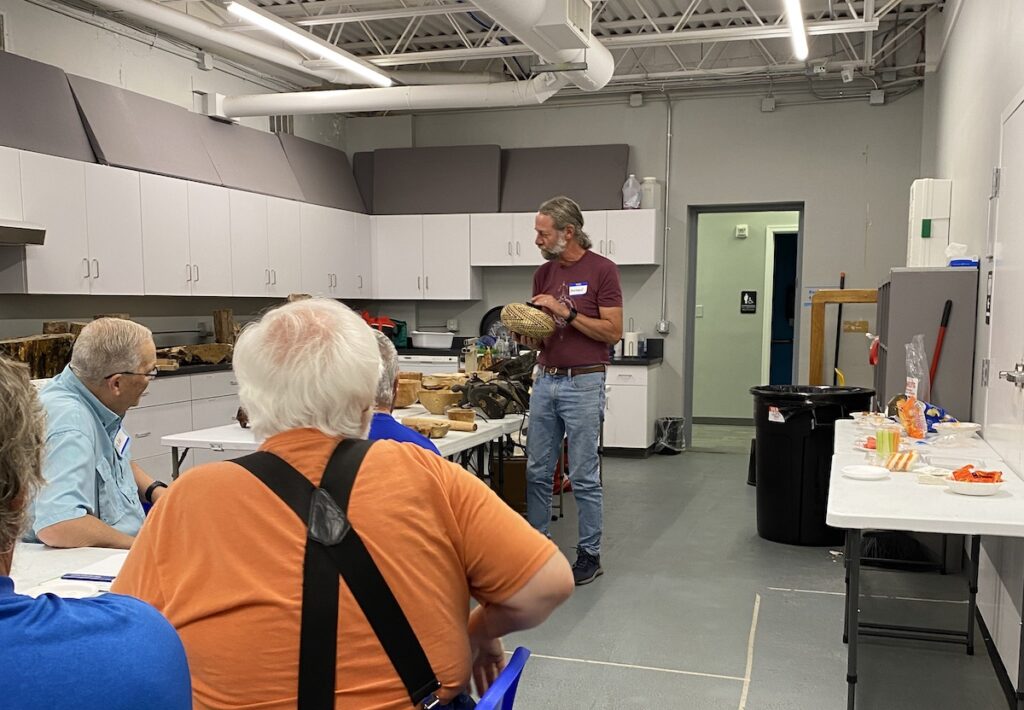
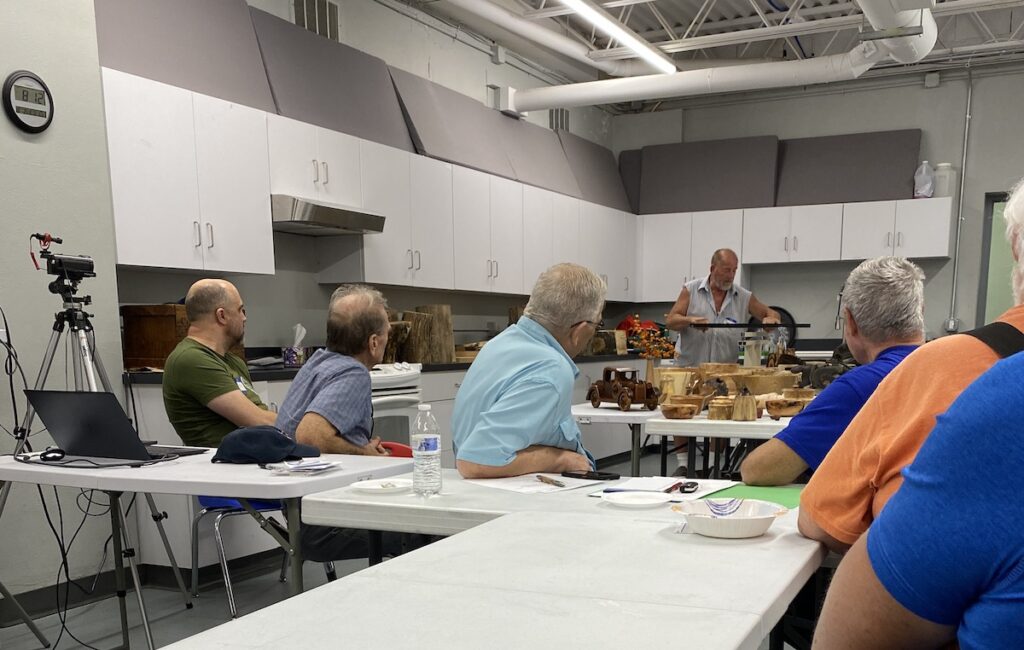
We had a normal meeting in January which featured the business meeting, wood auction, show & tell as well as a discussion and walk through from Gib Corl on how he creates bowl blanks using left over hardwood flooring as well as how he recycles home wiring into a nice rim decoration.
The steps involved include:
This was our Holiday celebration meeting where everyone brought in something to eat and we had extra time to hang out and chat. We held a truncated business meeting, short wood auction and show & tell.

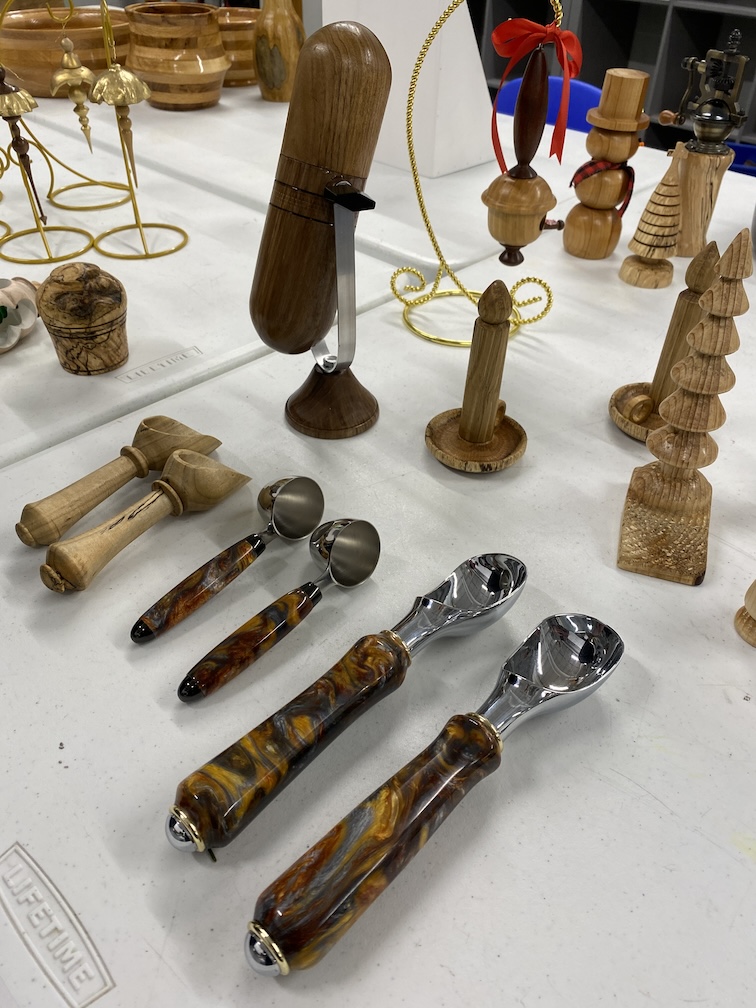

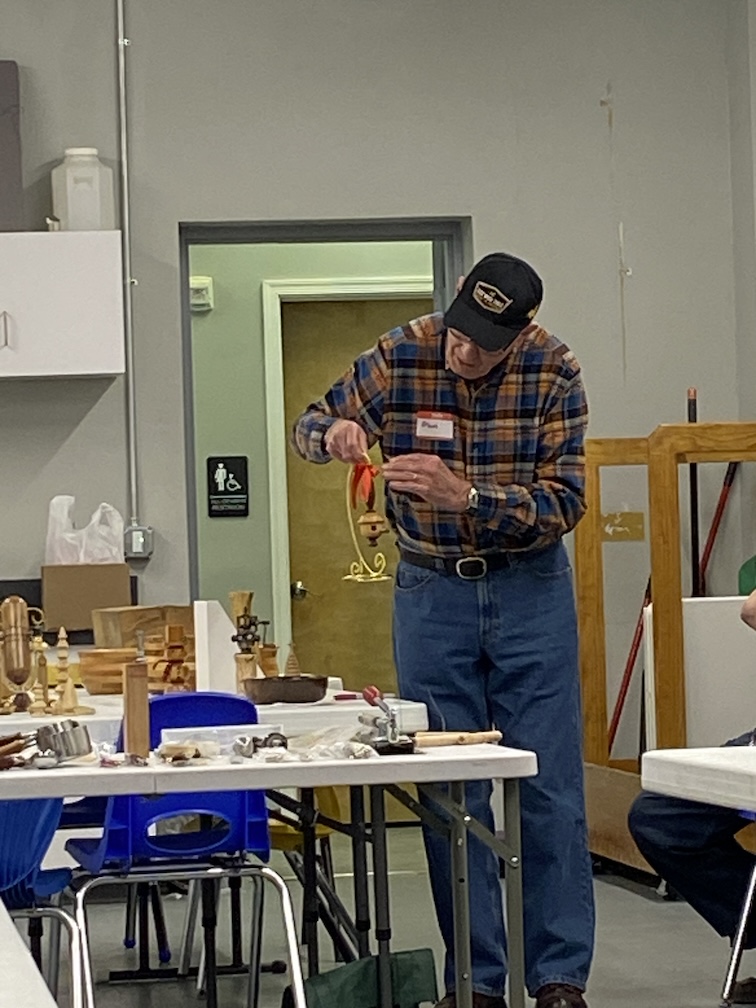
Paul Demmert discussed many different options of things you can make from skills gained after making pens. There are many things like coffee scoops, ice cream scoops, pizza cutters, measuring cups and spoons, and seam rippers which go together much like pens by tuning handles. You can find kits for such projects at places like Penn State Industries.
Some tips Paul shared from the classes he’s taught included:
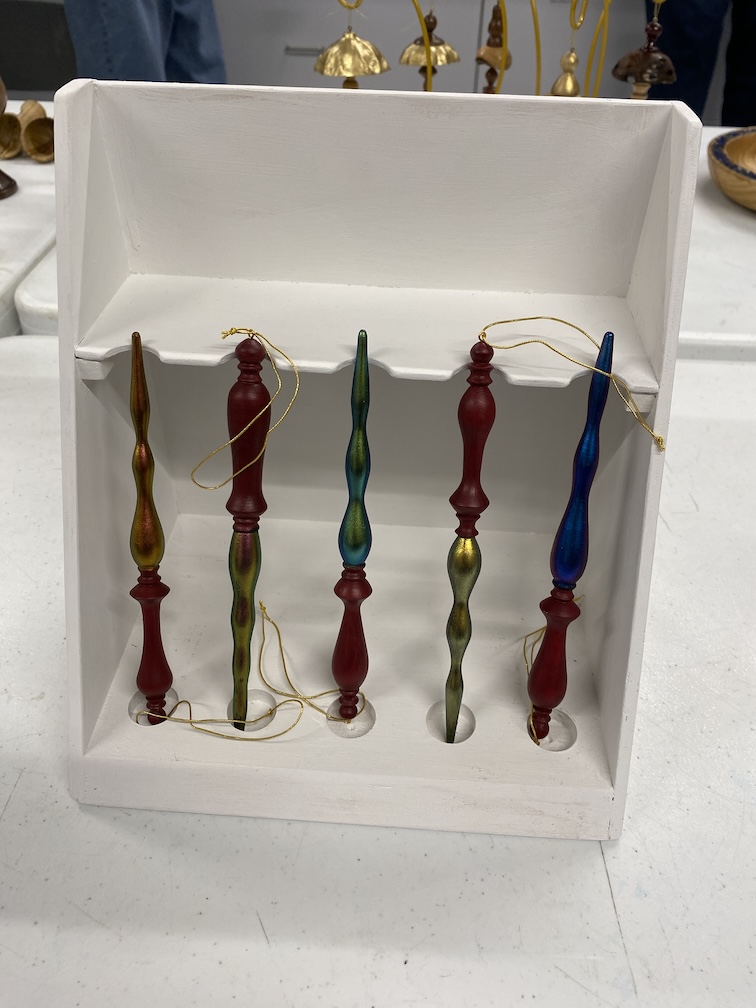
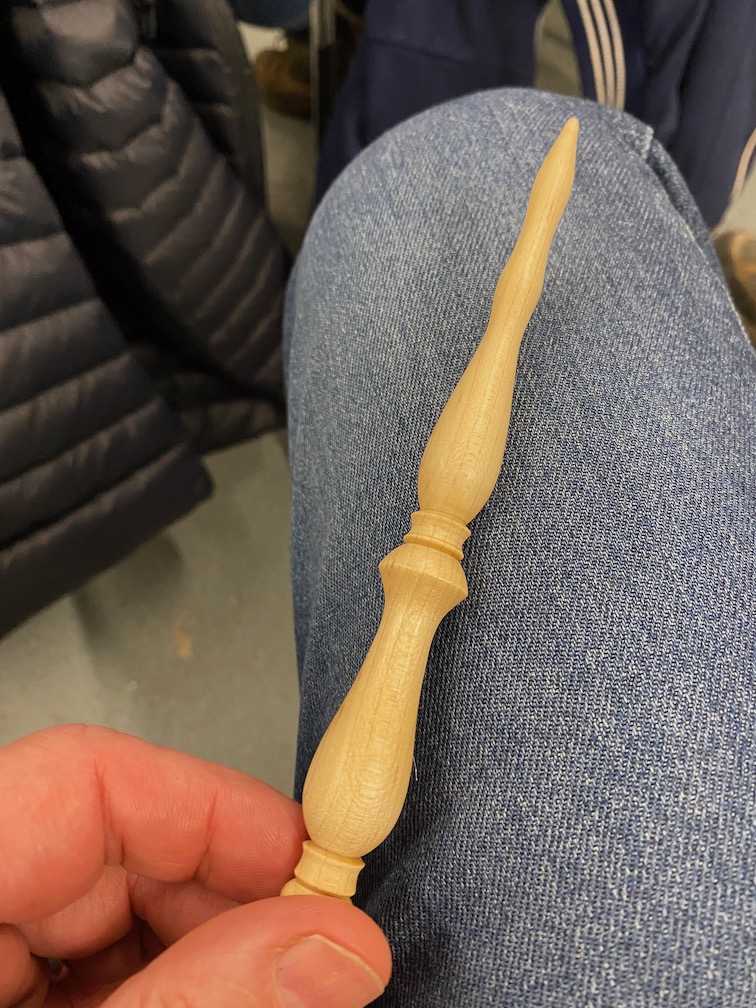
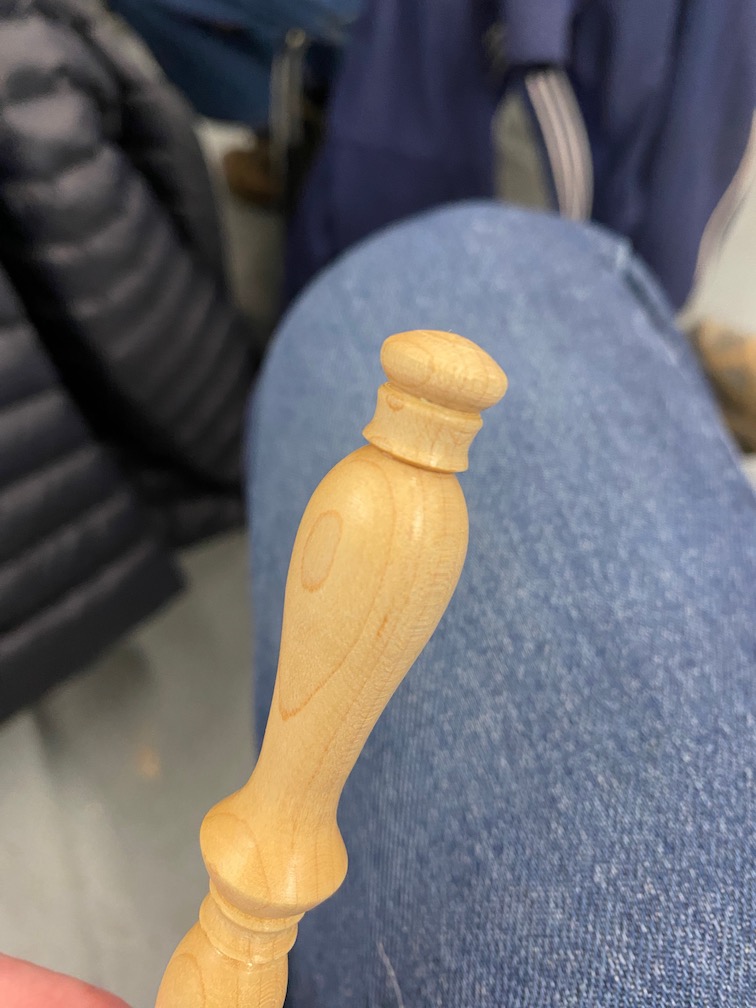
Dan Kozar demonstrated how to make a mini wizard wand ornament and a freeform finial style ornament highlighting his skills with a skew.
Some of the tips he shared included:
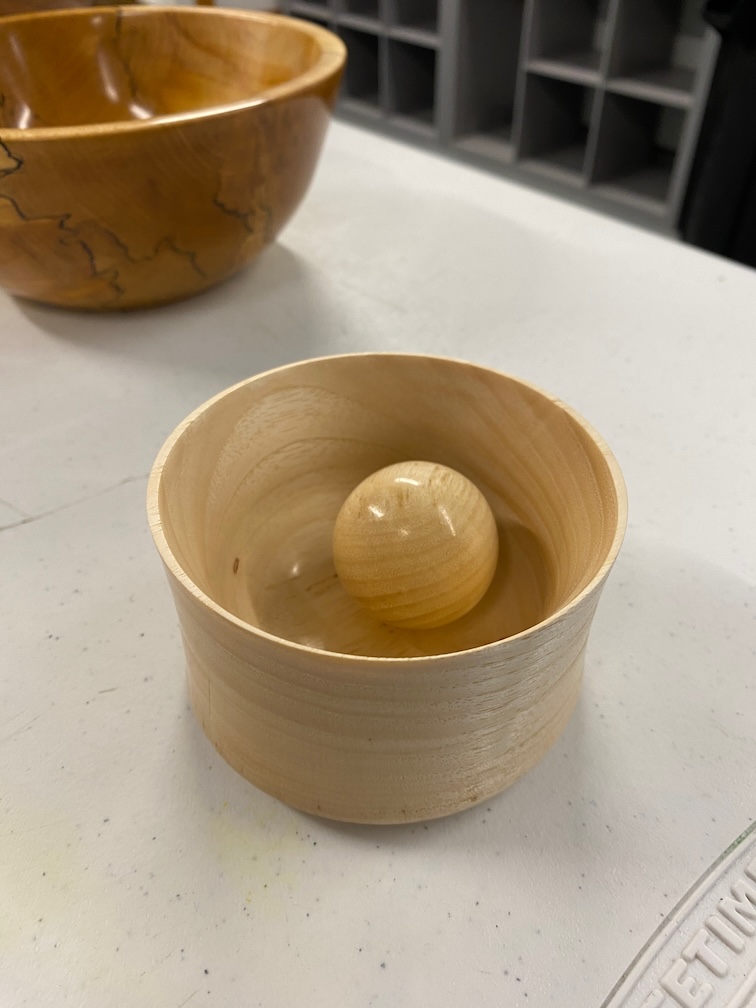
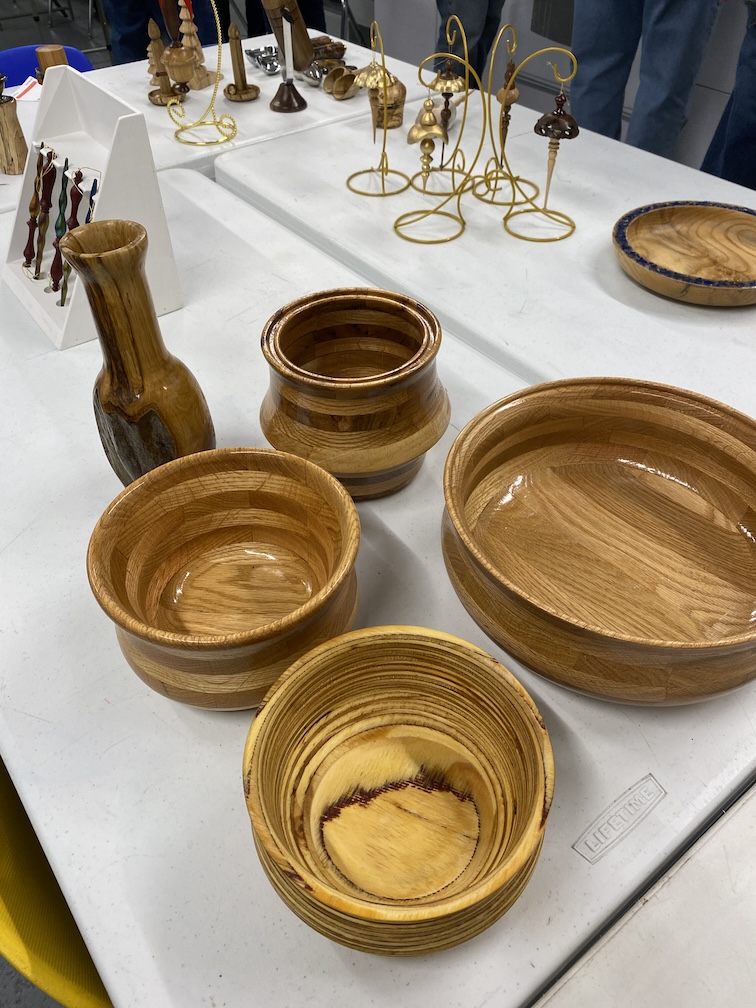
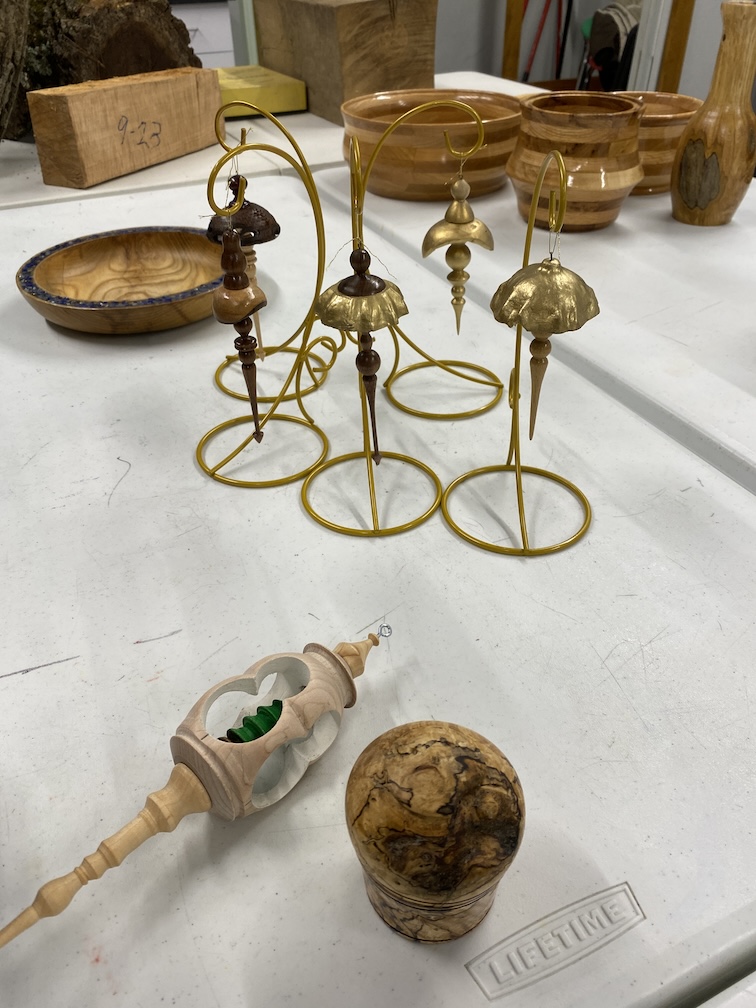
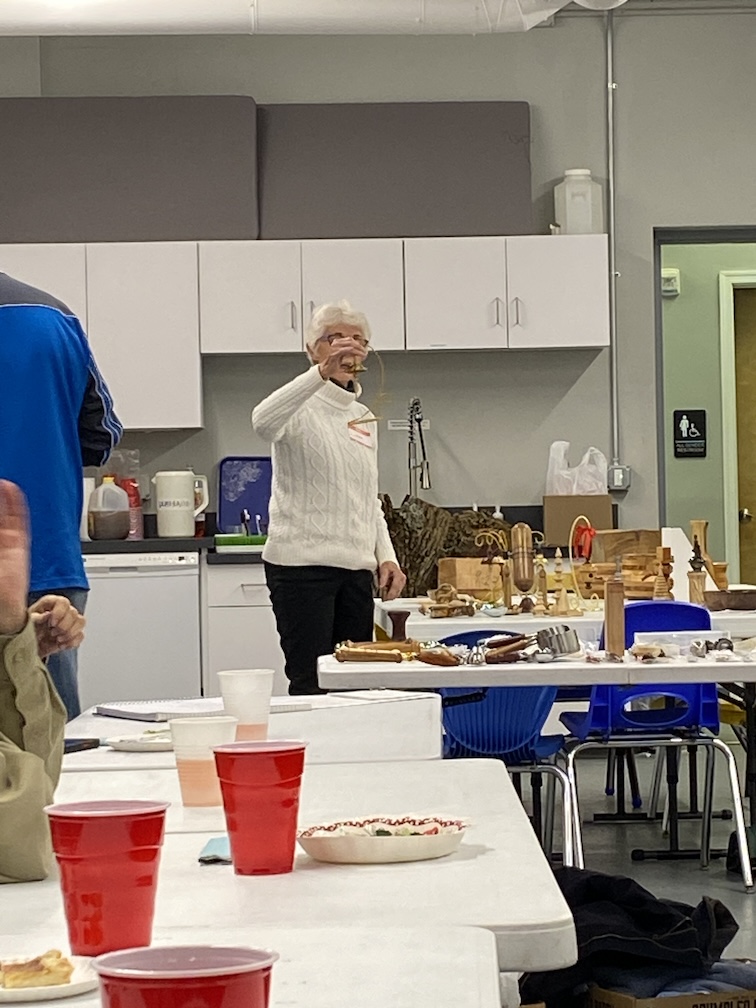
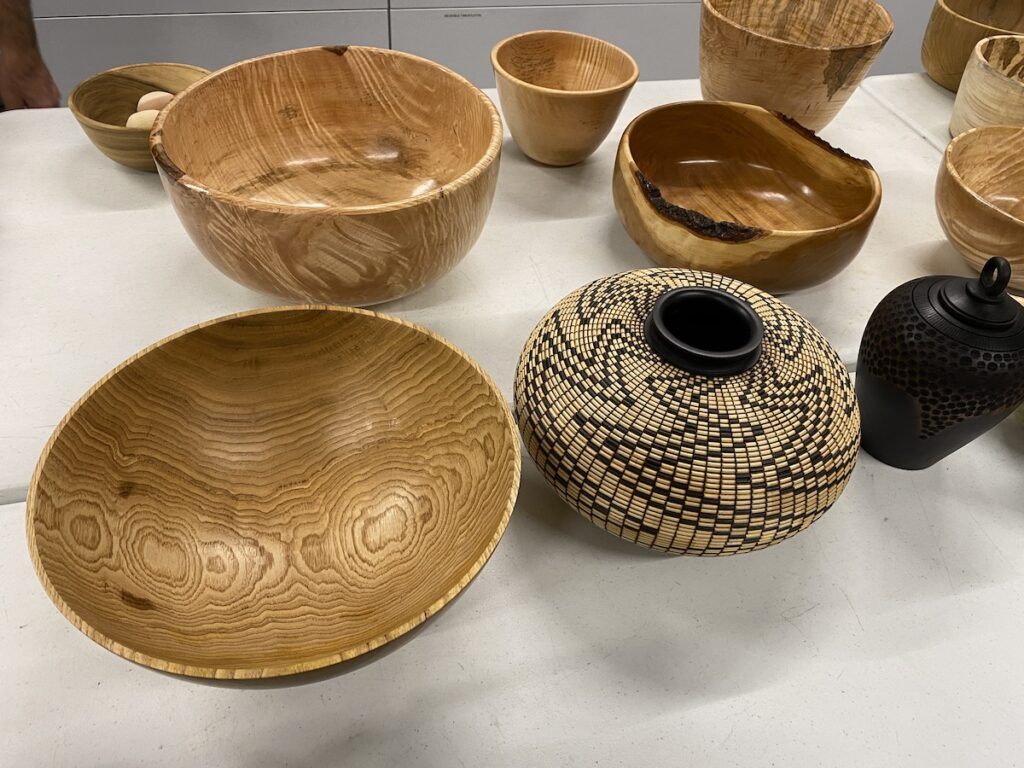
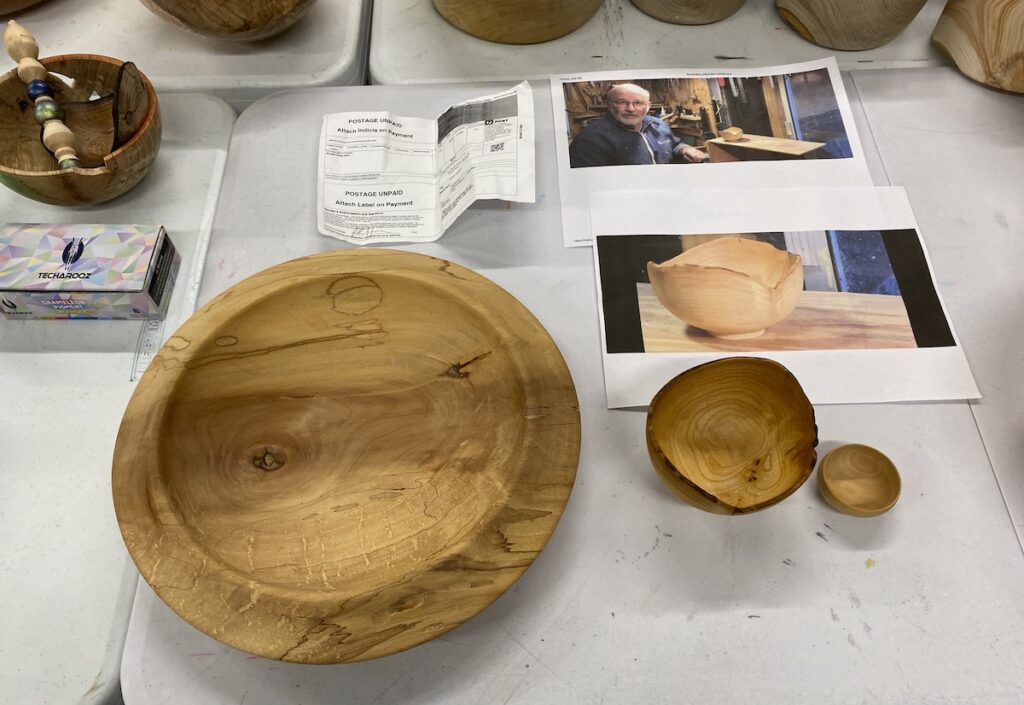
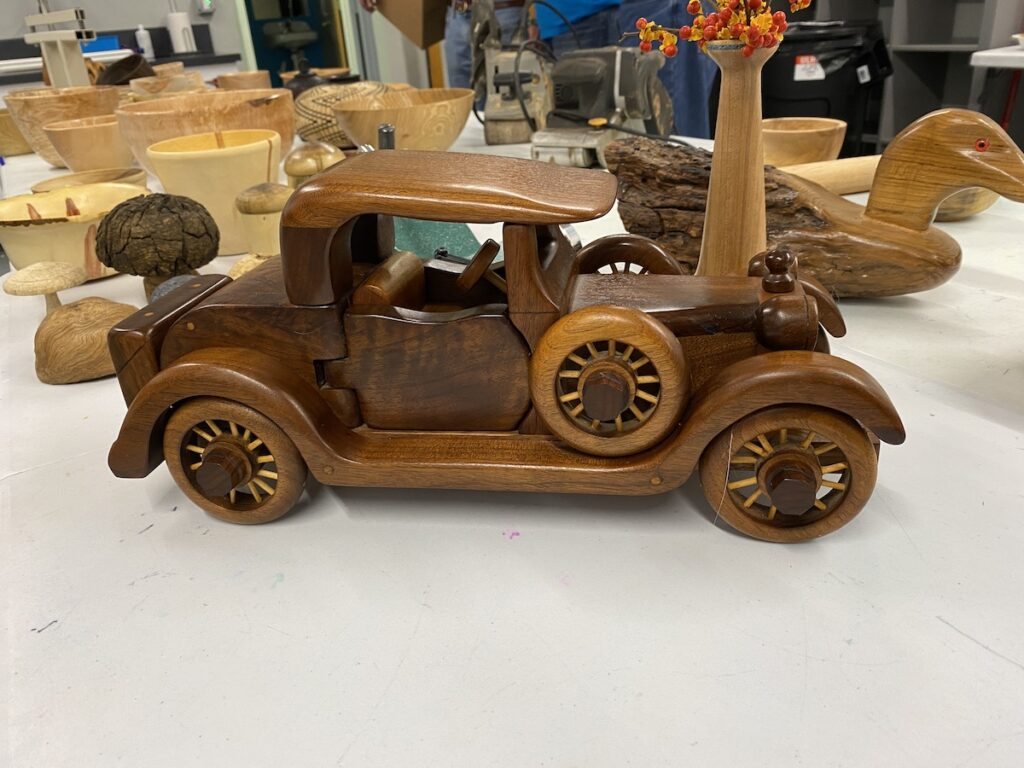
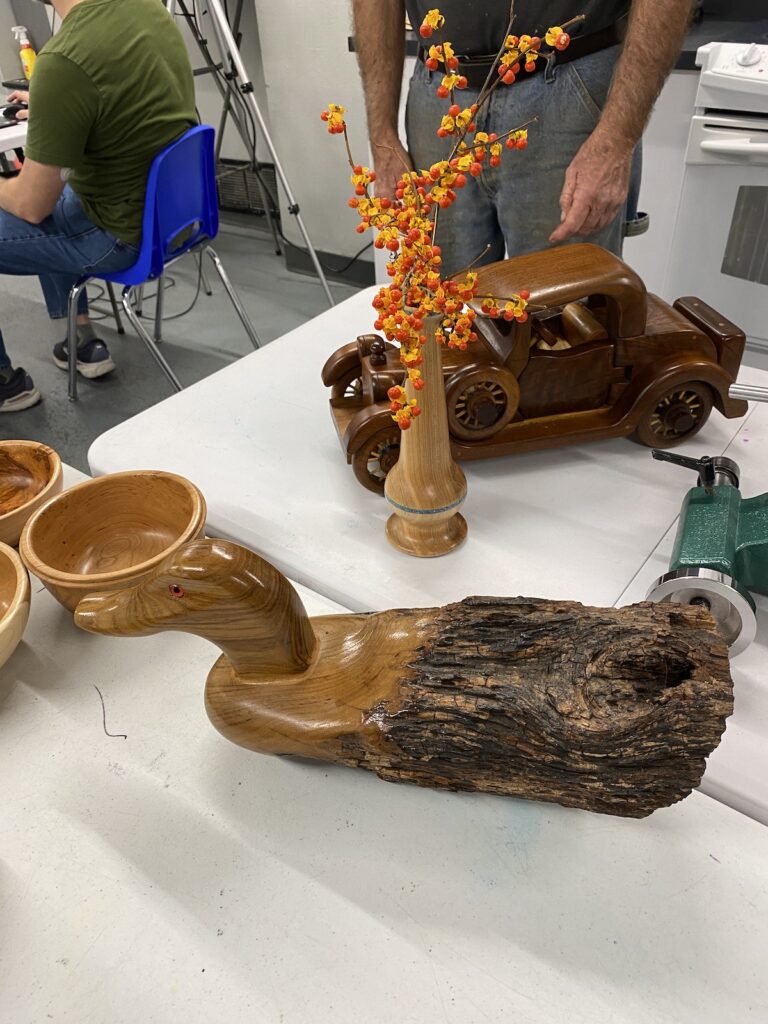
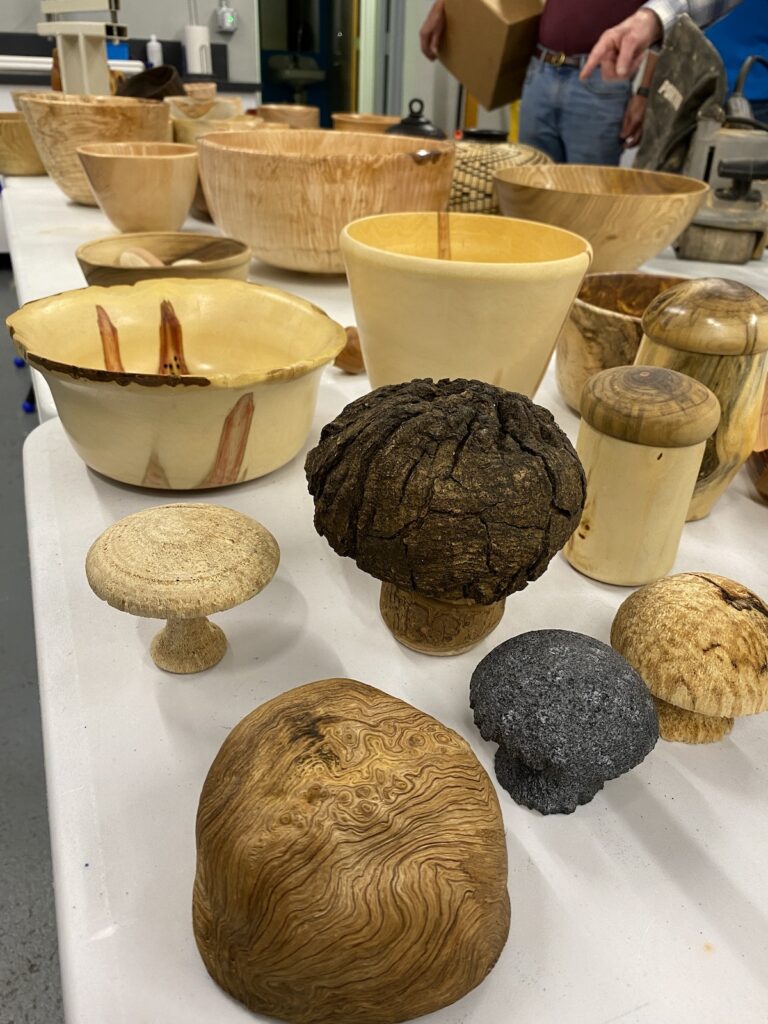
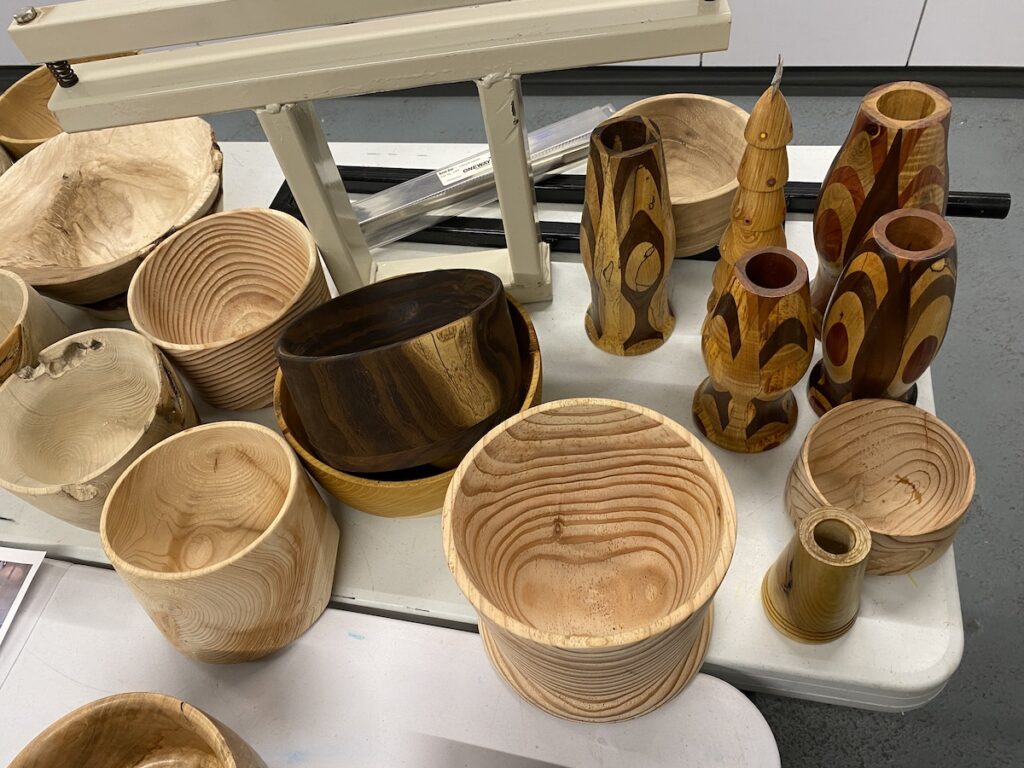
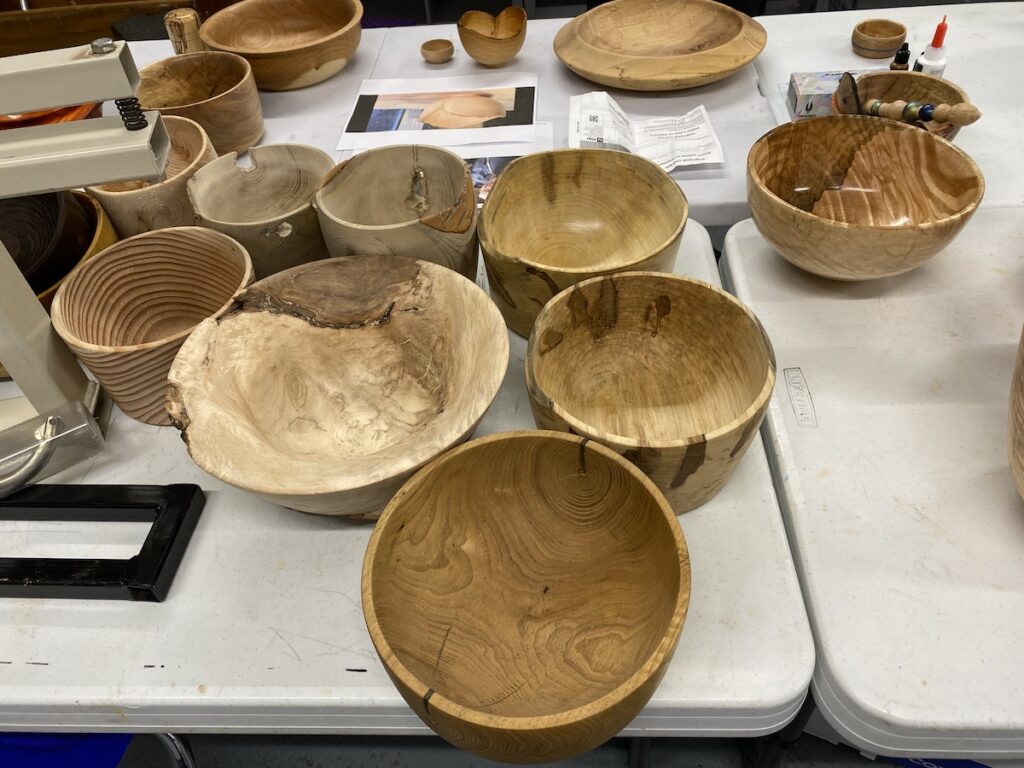
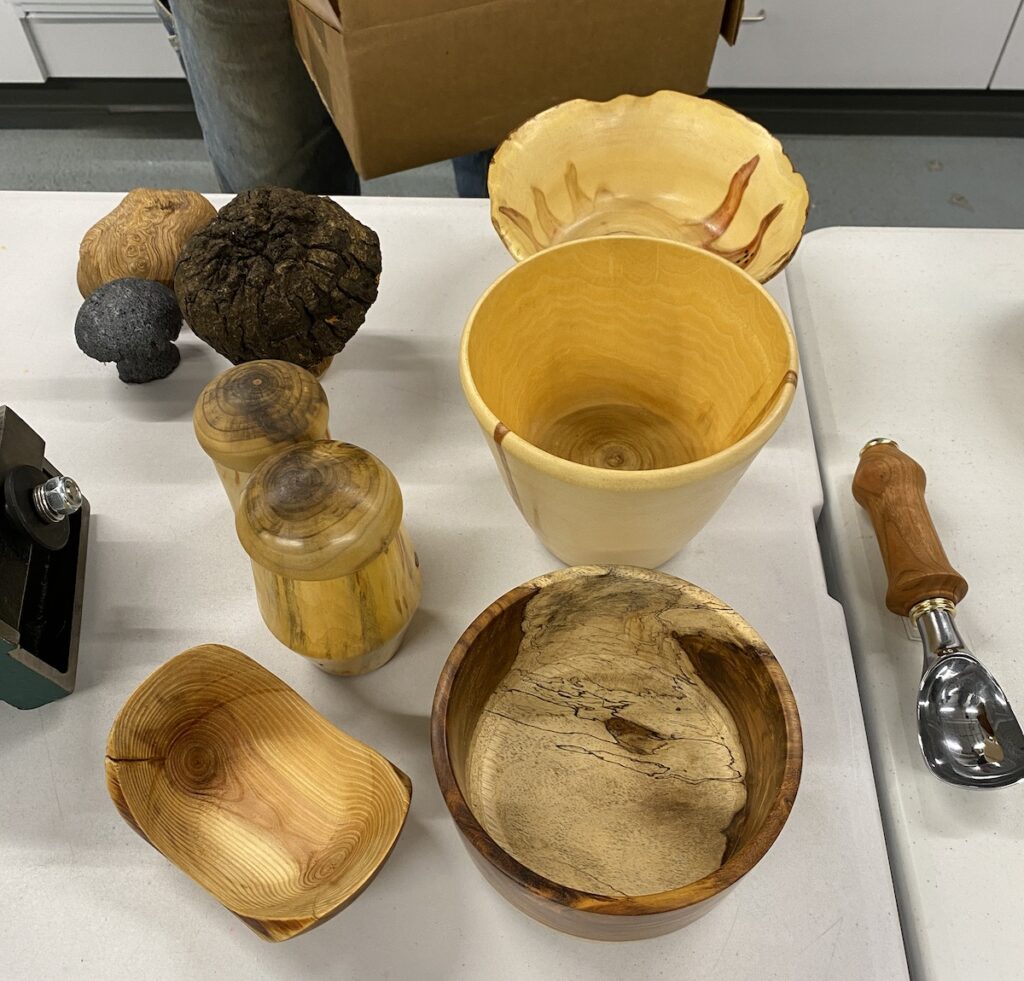
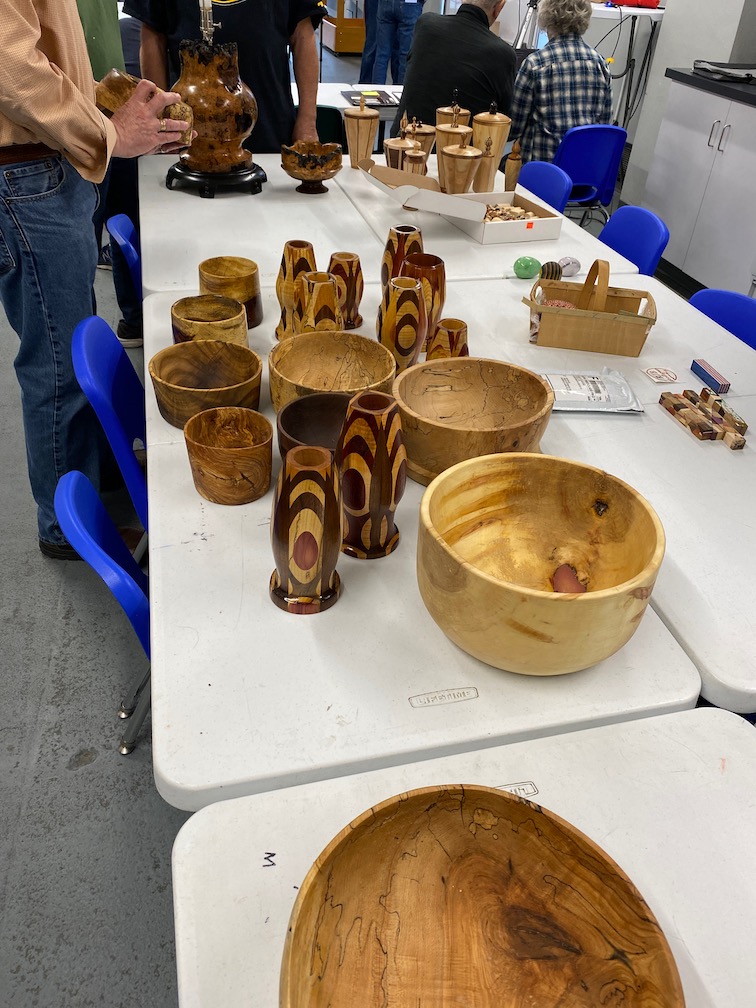
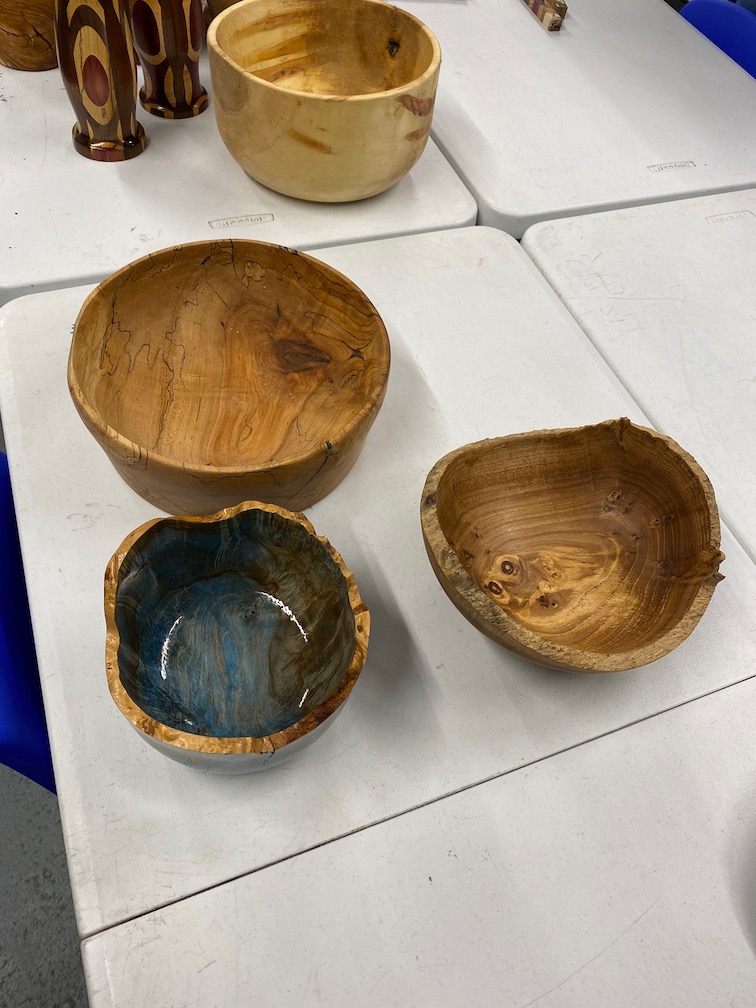
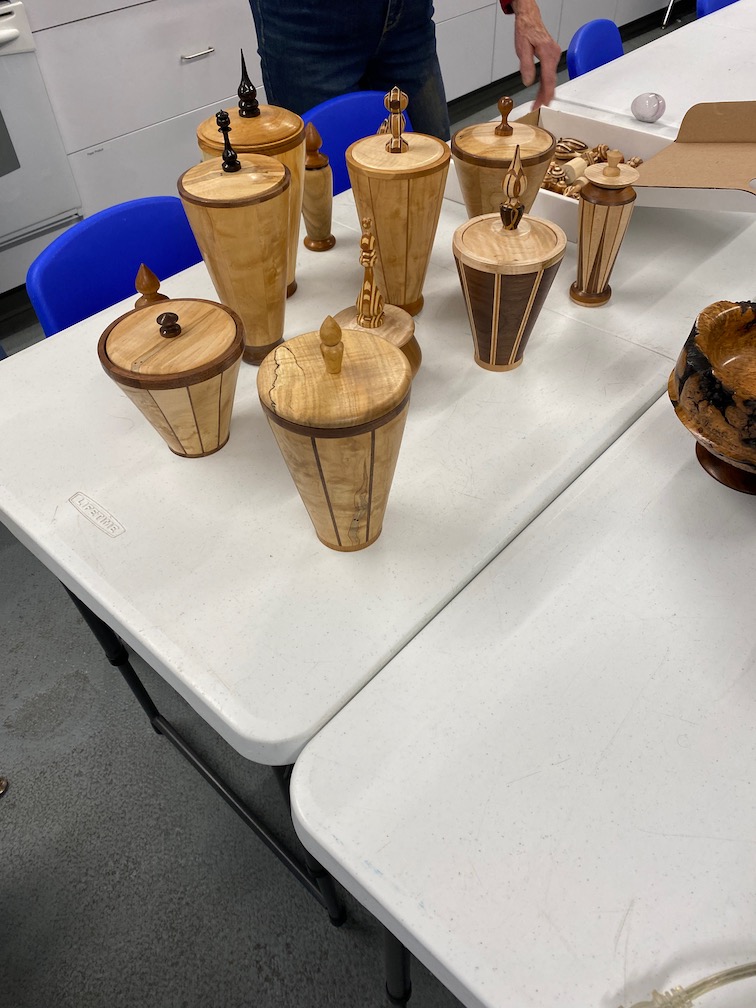
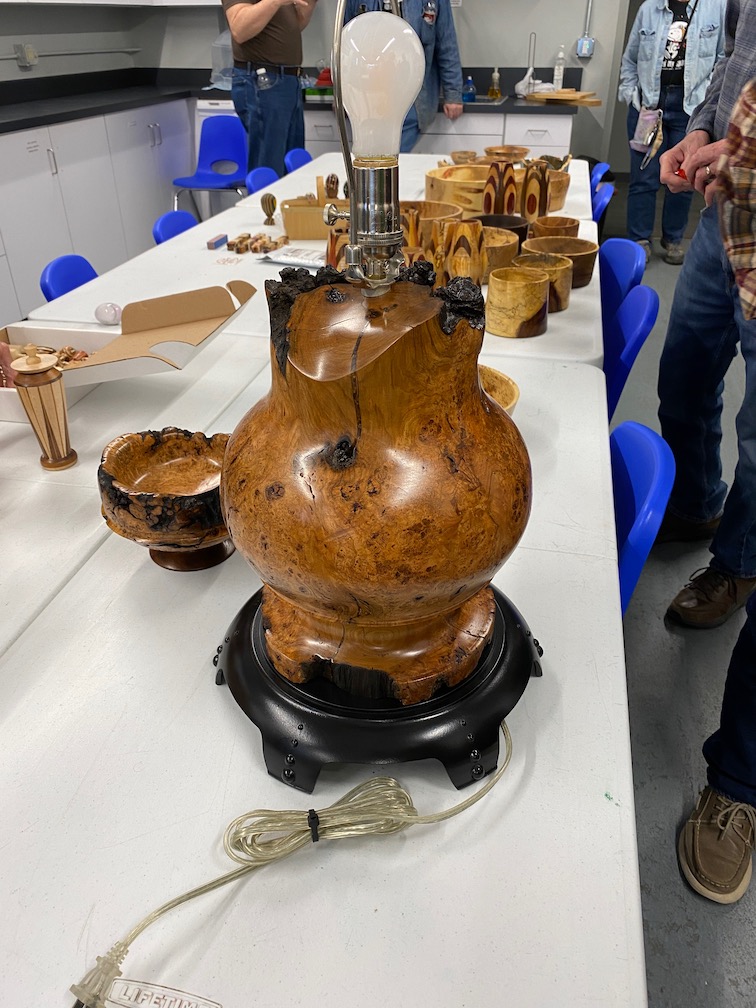
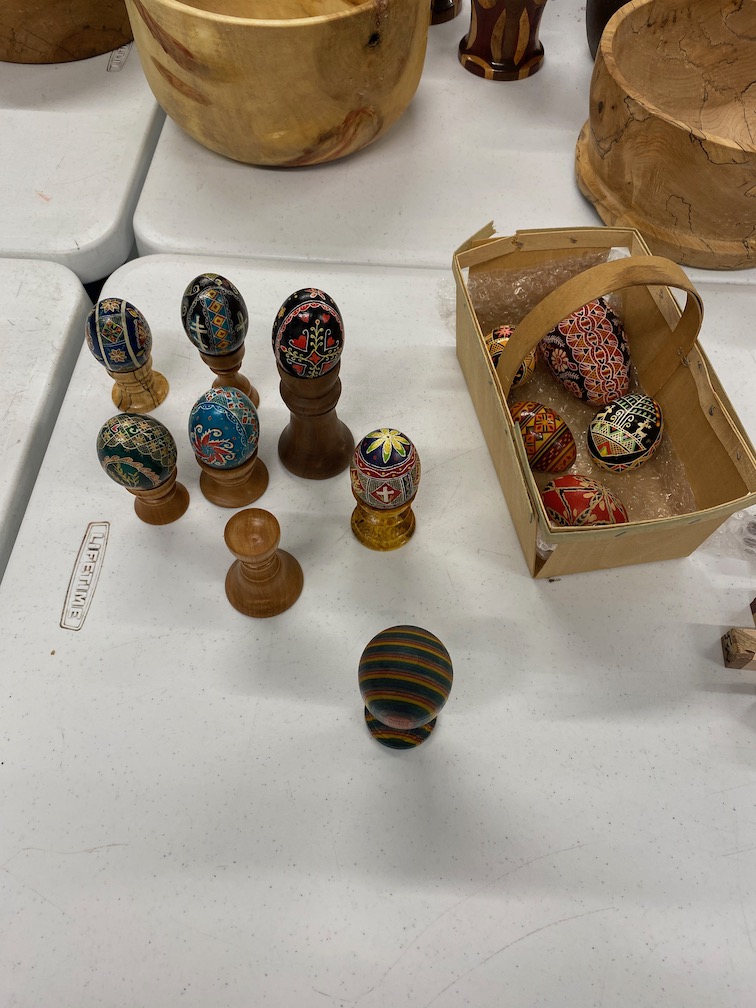
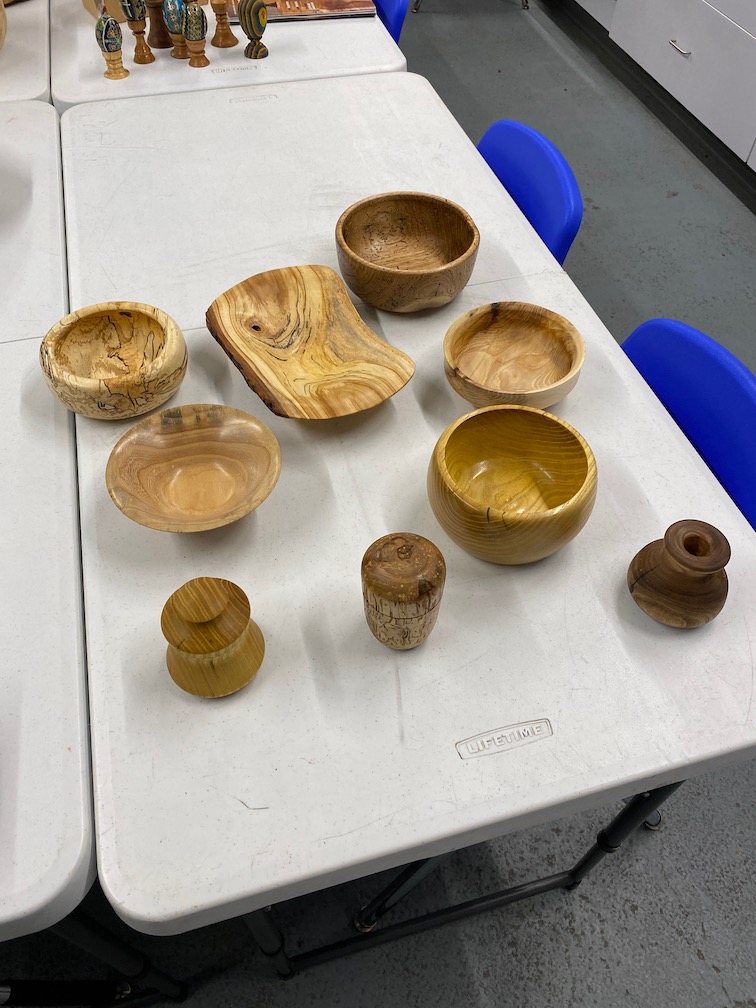
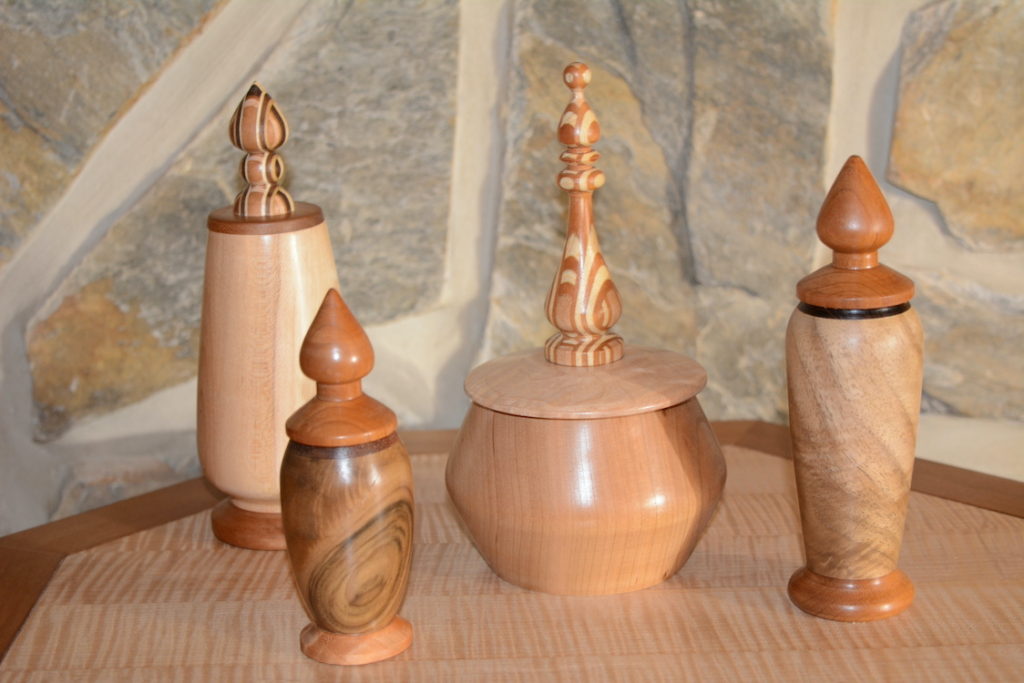
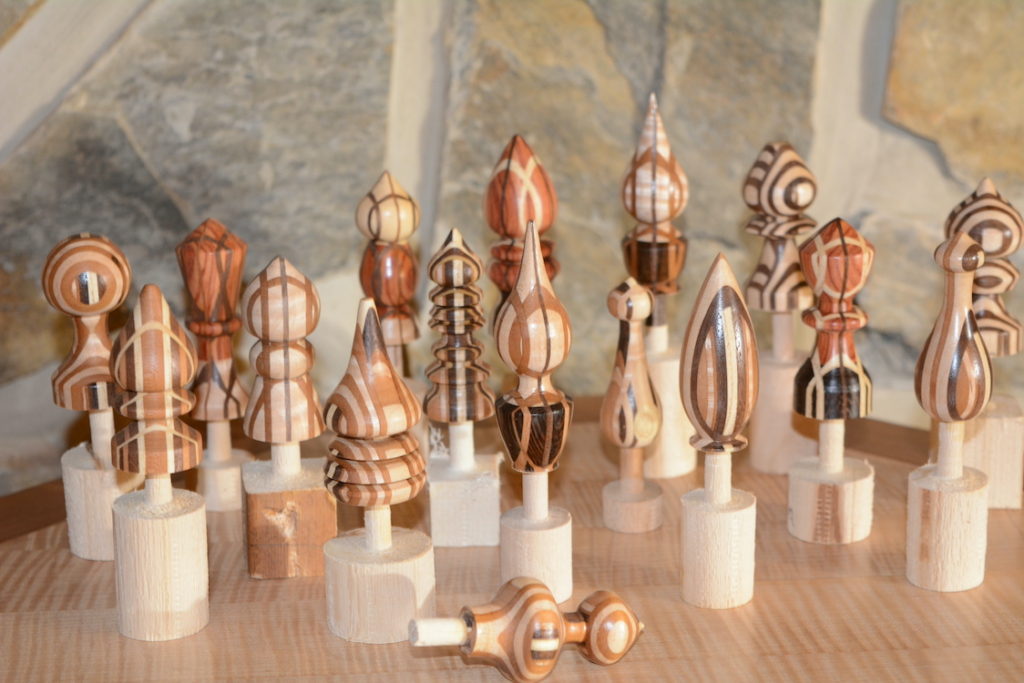
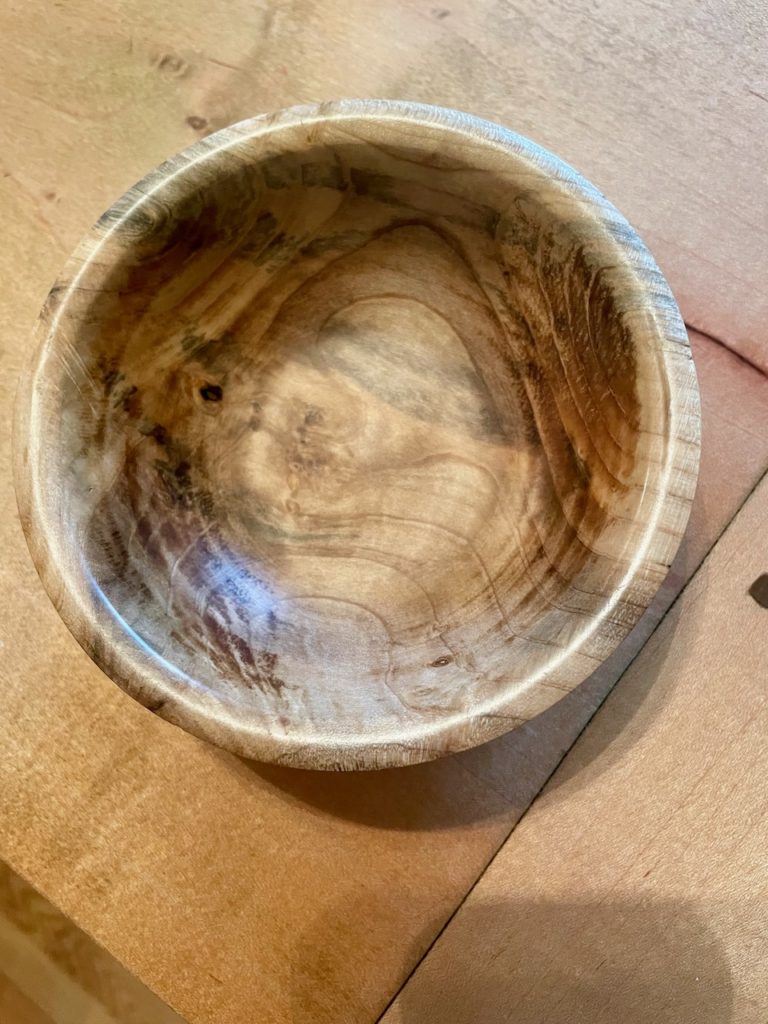
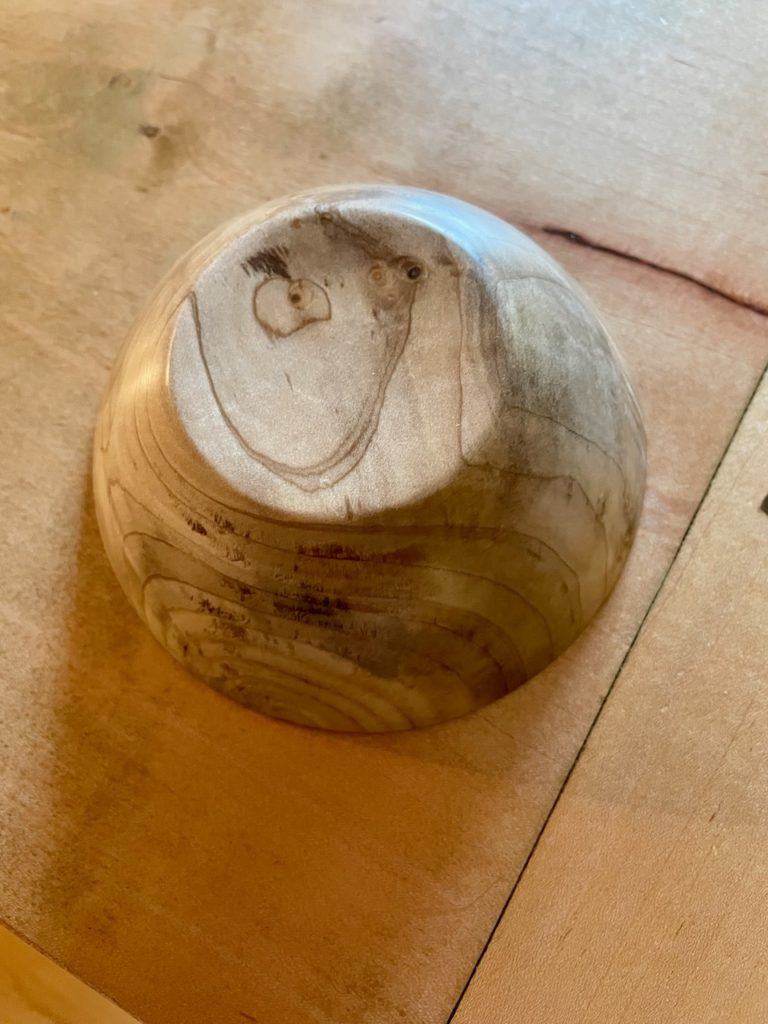
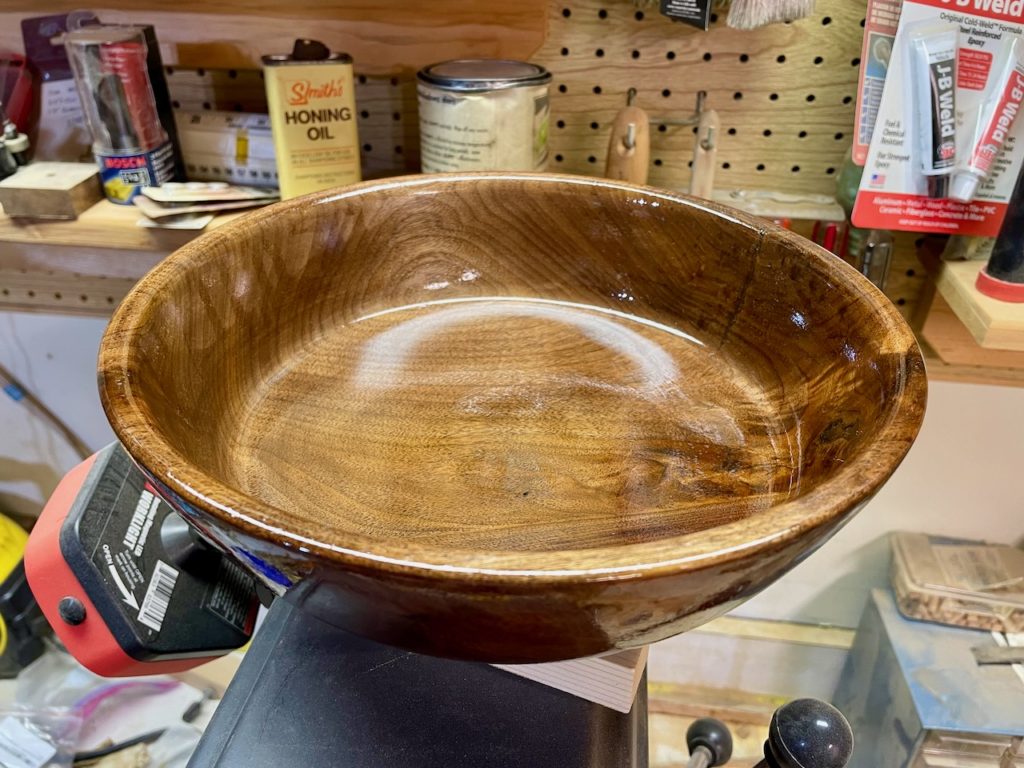
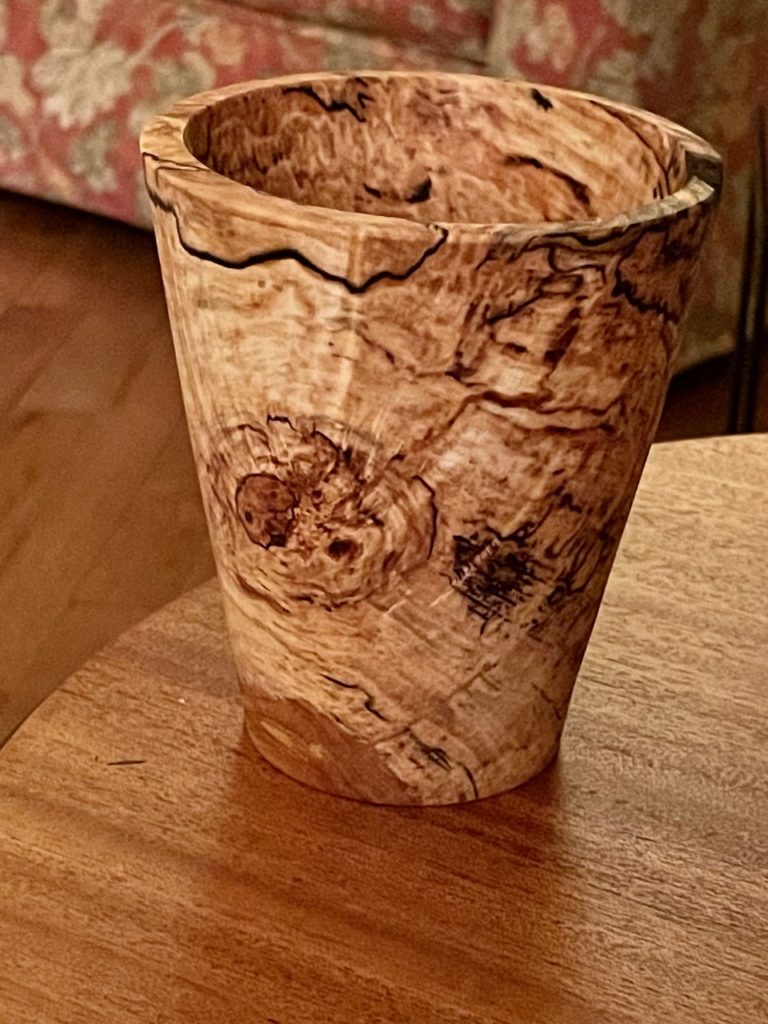
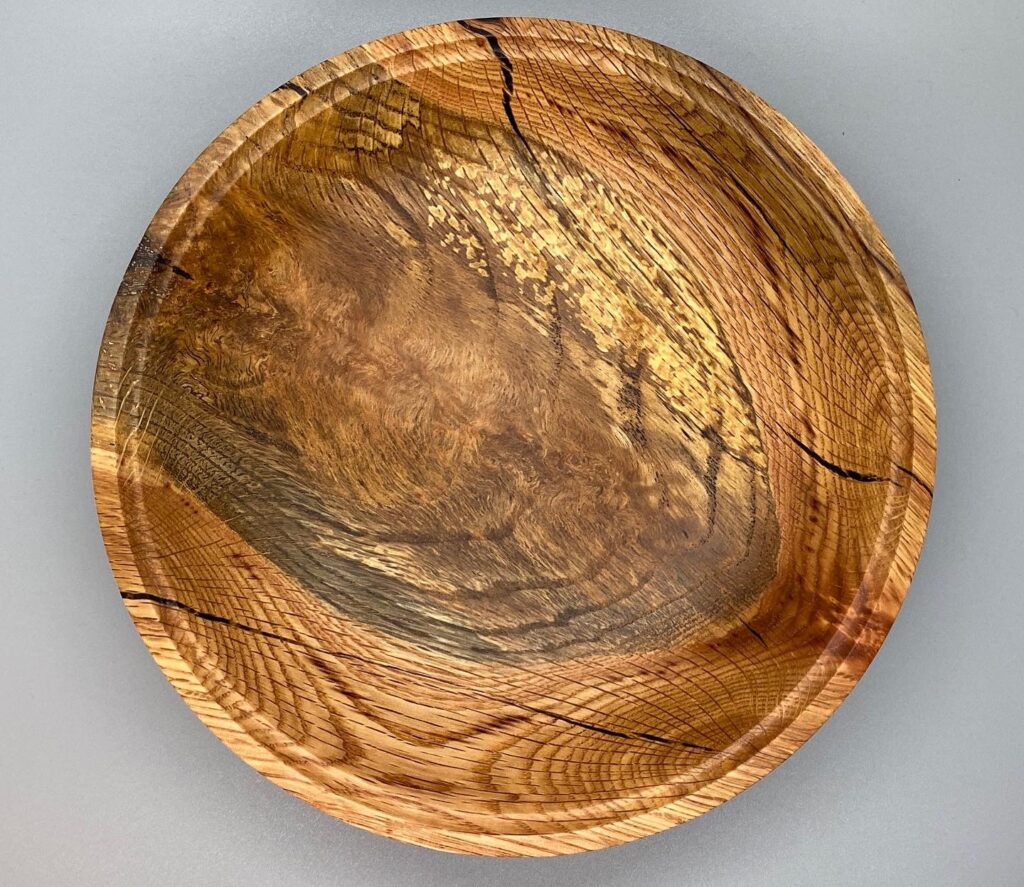
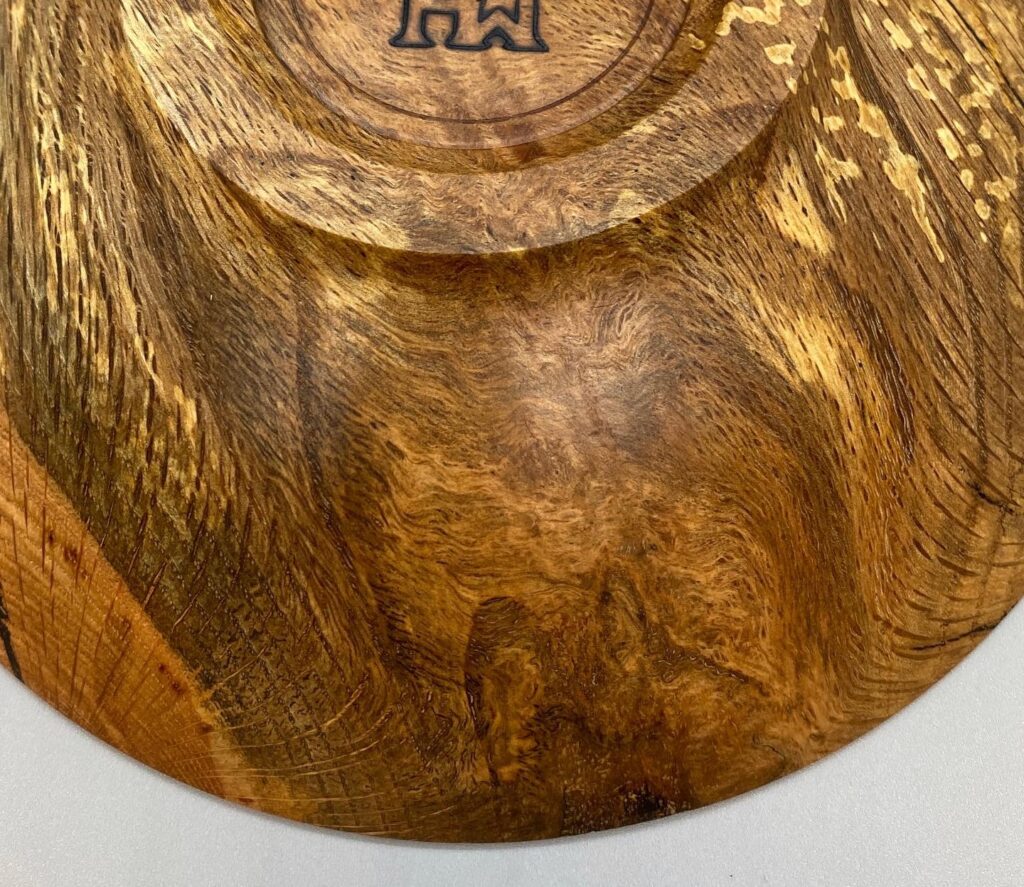
It was a show & tell bonanza…everyone brought things they made since the May meeting, so there was a lot to share. So many amazing pieces from the talented turners in our club.


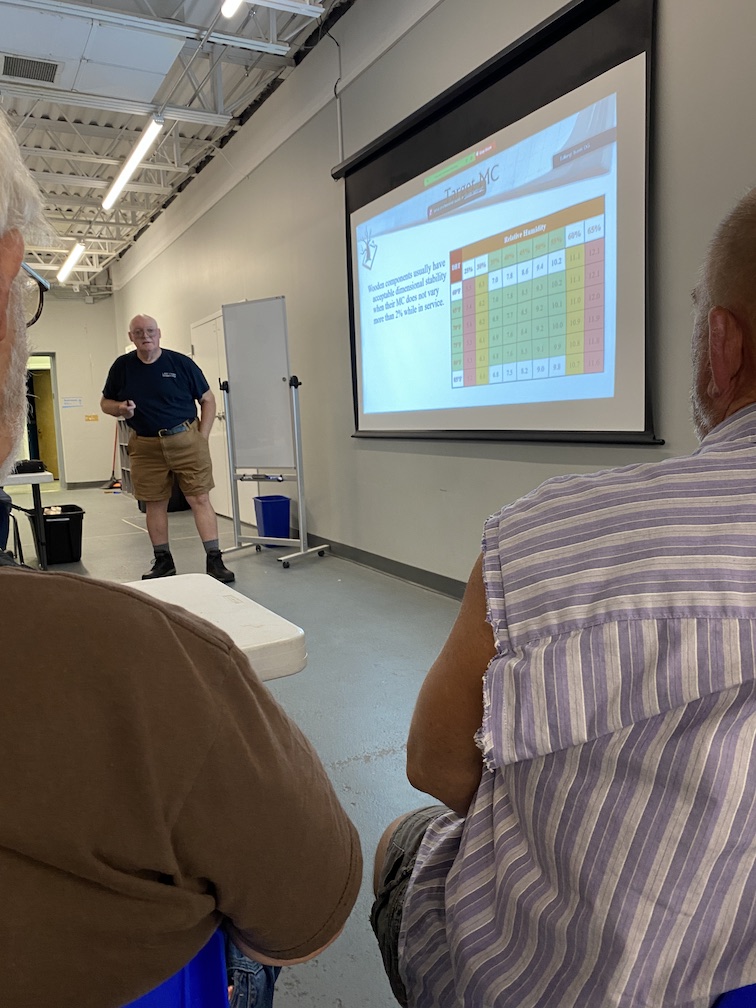
During our first meeting after the summer break, Lee Stover gave his “Using Wood Intelligently” presentation which covered how and why and all the details about wood movement. Lee shared his expertise from his experience kiln drying and manufacturing of innovative hardwood flooring , including how to identify a tree by the microscopic cellular makeup.
Paul Demmert walked through the various ways to attach and secure a wood blank to the lathe to make a bowl using a chuck, faceplate and even the drive spur.
We also had a great turnout for the show & tell at our meeting. Look at all the amazing work our members made recently.
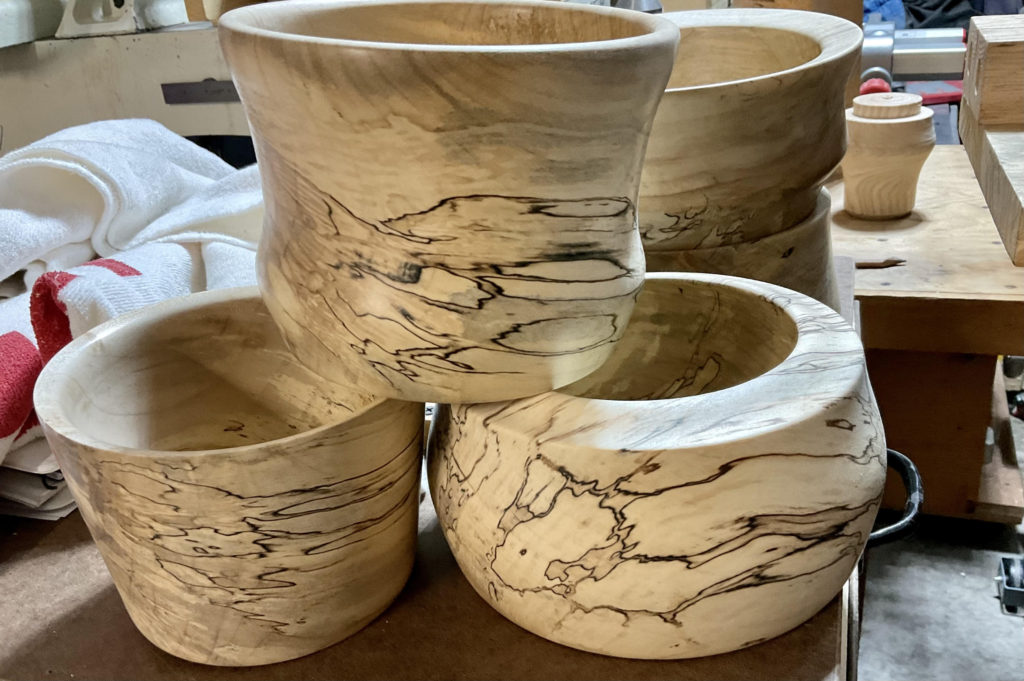
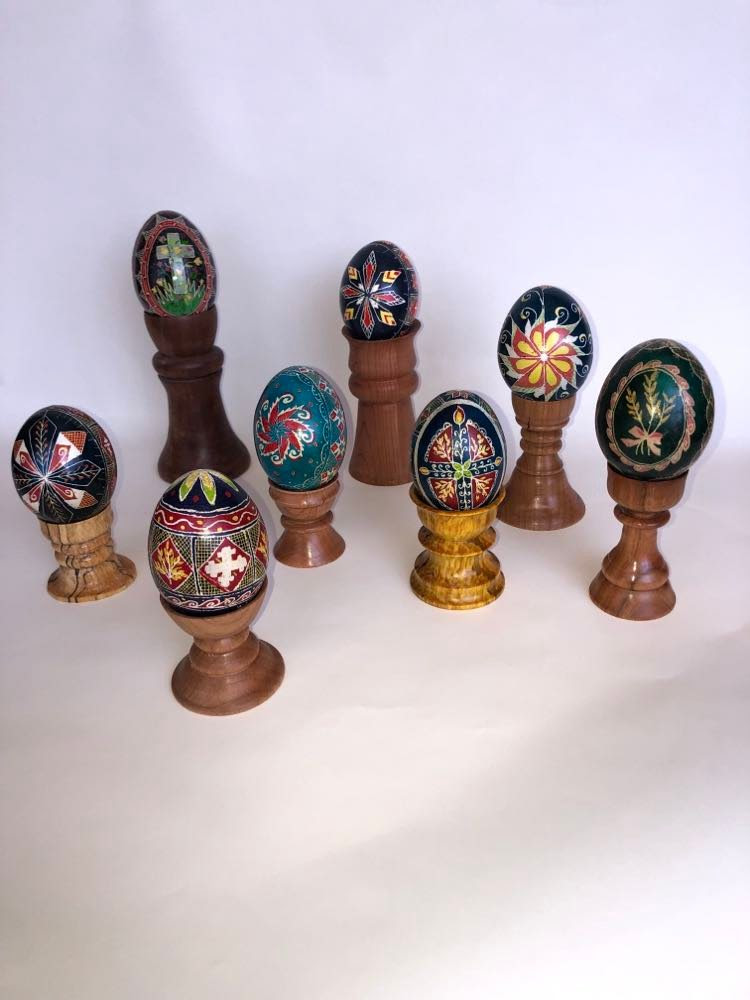
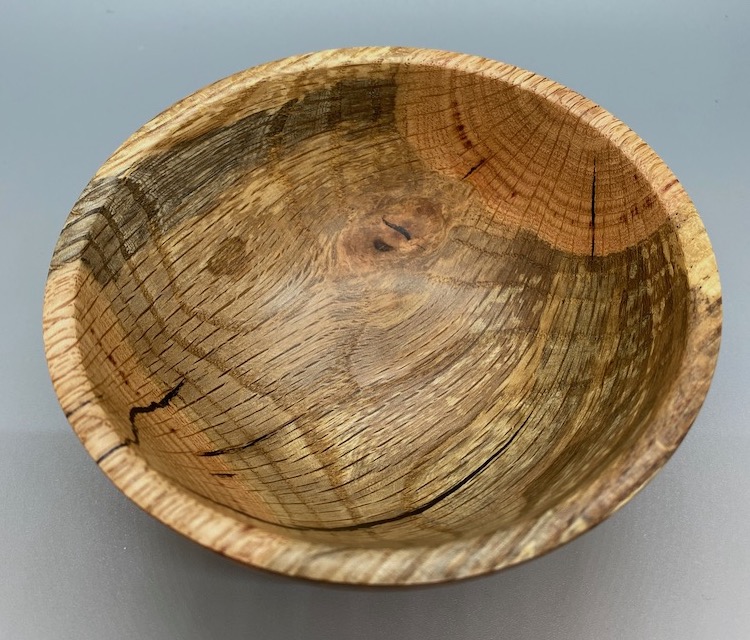
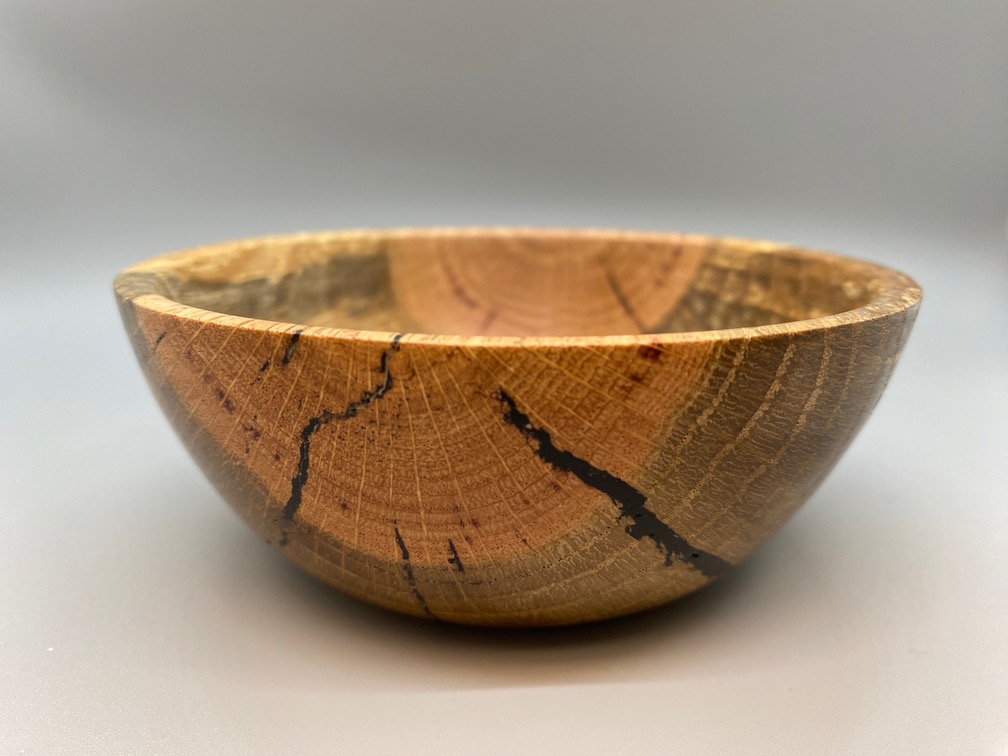
Unfortunately we could not meet in March as planned due to a COVID outbreak at our normal meeting place, but our members had kept busy turning and below are some of the items we likely would have seen at the show & tell time. Enjoy the craftsmanship and hopefully it sparks some new ideas for you as well.
Stephen Tuttle not only sent a picture of what he’s been working on, he also explained how it was done, the plan and tools he used and how to get your own. We nearly got a virtual demonstration for this one.
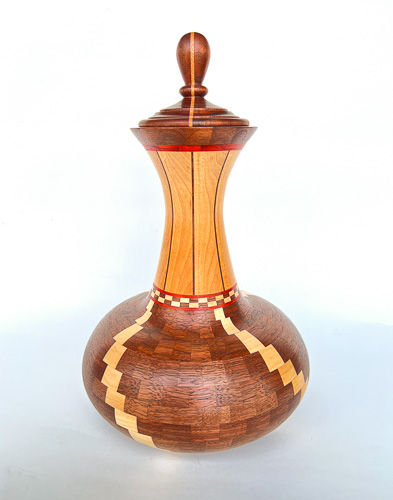
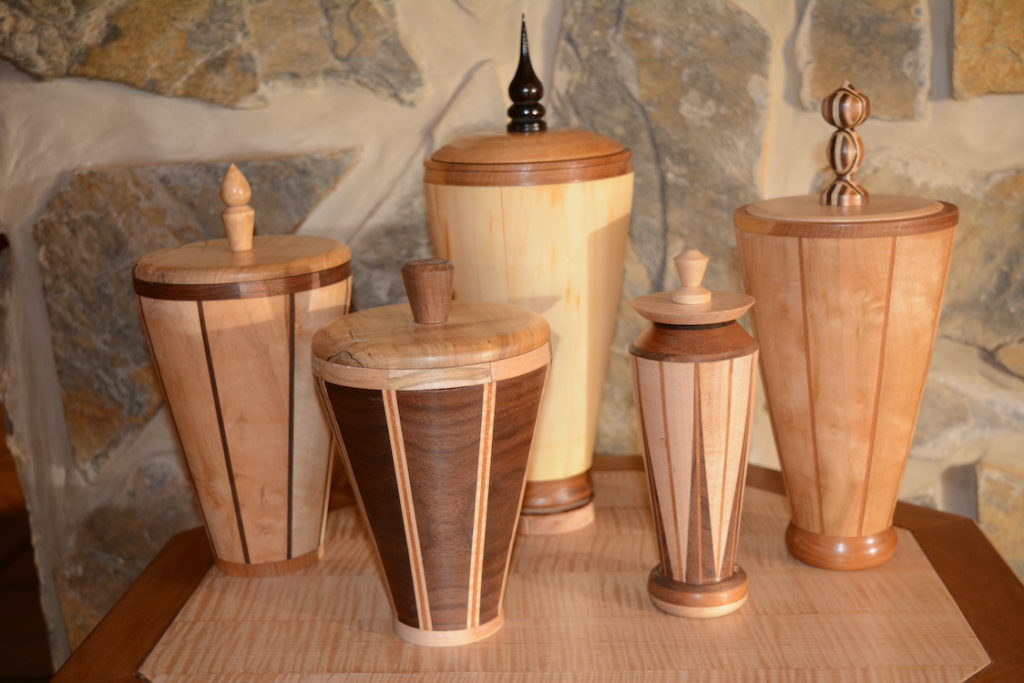
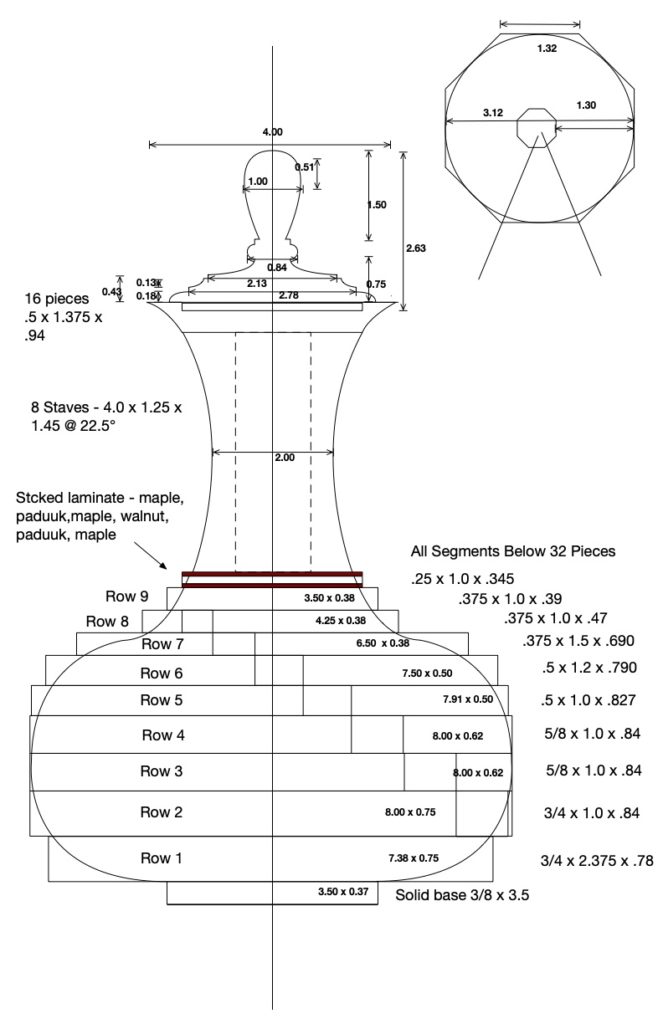
Segmented Ornamental Carafe – Walnut, maple, padauk, 7 1/2″ x 14″h
After seeing a lot of fantastic work in the “segmented turning” realm I was inspired to try it myself.
These turnings have to start with a plan. You could do it on graph paper but I use inexpensive MAC software called iDraw.
Once you know the circumference of your piece this online segment calculator is very helpful to figure out the size of each segment.
http://www.woodturnersresource.com/extras/projects/segmentcalc/index.html
This jig greatly simplifies cutting accurate segments that make up each ring.
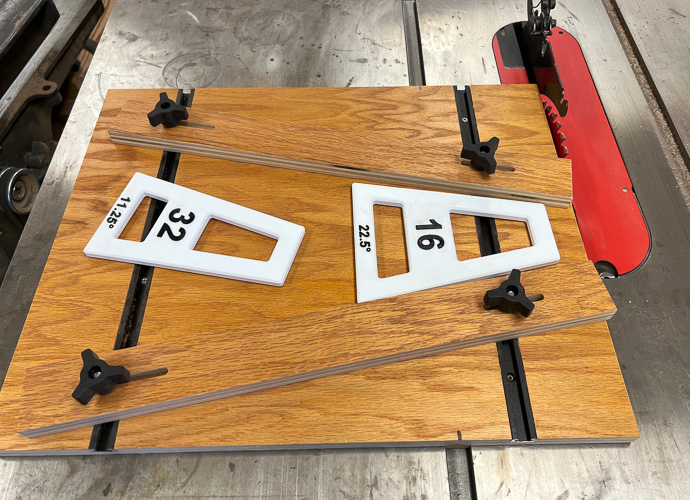
I made the “wedgie sled” following this YouTube video:
And I purchased “wedgies”, computer generated shapes for any angle or number of segments/ring, to set up the jig.
https://www.etsy.com/listing/850428444/segmented-bowl-wedgies-wedges-for
These two items worked very well to create tight joints in the rings. Rings are glued up using hose clamps that can be gotten at any hardware store.
Once all the rings are made they are glued in a stack. I did this incrementally – the bottom half of bowl section was done first and notched to receive top half. The throat was a little different as the sections are staves and not cut with the sled. This was turned separately and glued to the completed bowl section.
This technique is definitely not for everyone as it is more figurin’, calculatin’, cuttin’ and gluin’ than turning. If I do more of it I think I will keep it simple. I don’t think a 10,000 piece masterwork you see online is in my future. It does have positives in that it can be done with many of the scraps that accumulate in a shop. There are no drying issues. There isn’t any end grain exposed in the circumference of the turning. You can make a large bowl with more manageable pieces of wood.
I know I have seen this shape before, but where?…

Perhaps our next president’s challenge should be making Genie bottles. Now you have all you need to make your own.
Dear Friends of Xylem Rotating in Circles:
When I presented my acrylic bottle stoppers at Wednesday’s meeting, someone asked how I sanded them. I sated that I started sanding with Abranet mesh. One of you said that you had never heard of Abranet, so I thought I’d point you to a source here: https://www.pennstateind.com/store/PKMESHKIT.html. This isn’t the only place to buy Abranet, but I have found PSI’s prices to be fairly reasonable.
I also mentioned that after dry sanding to 600 grit with Abranet, I moved on to wet sanding with abrasive pads. Coincidentally, I received an order of these just a couple of days ago: https://www.pennstateind.com/store/MMESHPADS9.html. That price may seem high, but notice that these pads are 3×4 inches. The ones I currently own are 2×2 inches. When I went to Penn State, 3×4 offered three times more surface area than 2×2. So pay close attention to sizes as well as prices if you should order these. I think they work best wet as a sanding slurry is created when wet that I think helps with sanding and extending the life of the pads. You can also choose to use a polish on the acrylic after sanding to 12,000 grit. It’s hard to get much smoother than that.
If you should decide to move into turning bottle stoppers regardless of material, this chuck is essential: https://www.pennstateind.com/store/PK-BS1-MJ.html.
If you wish to use acrylic, it’s cheaper to buy this size (https://www.pennstateind.com/store/WXACL03L.html) and cut it into thirds, than to buy this size (https://www.pennstateind.com/store/WXABS04.html). I cut my blanks into three sections with a hacksaw to minimize wear on my bandsaw blades and waste as little acrylic as possible to kerf. As I stated on Wednesday, this stuff is harder than woodpecker lips, so somewhat different technique is needed than for wood. But as with other hard materials, it can be fra-gee-lee, like Ralphie’s old man’s leg lamp, so handle accordingly. Those at the meeting saw what happened when I tried to tap a small hole in my blank to minimize drill bit skating.
Someone Wednesday asked if you can use any lathe chisels to turn acrylic. My answer is yes, but you have to have a gentle hand and a degree of patience. If you get too aggressive, you will likely get catches, chipping, etc. that will diminish your fun. If you use carbide-tipped tools, I recommend negative rake cutters as they are less aggressive than the standard cutters. I bought this set some years back from Rockler (https://www.rockler.com/carbide-mini-turning-tool-3-piece-set). As you can see from the price, manufacturers are VERY proud of their carbide tools. For some time, Rockler stated that they did NOT supply negative rake cutters for these tools, but while visiting a Rockler store in Houston, I complained about that to a store employee who found a negative rake cutter from another manufacturer (I think Easy Wood) and said it would work on my tool. He was right, and I have been pleased with the result. I strongly recommend the negative rake cutters.
Mike Messina